Windows installation


The Maya FBX Plug-in is compatible with the following versions of Microsoft Windows®:

To install the Maya FBX Plug-in:

  1. Exit Maya or deactivate fbxmaya.mll in Maya's Plug-in Manager before installing.
    NoteIf you install the Maya FBX Plug-in while the fbxmaya.mll driver is in use, the installation cannot occur and an “Error opening file for writing” message displays.
  2. Download the install file from www.autodesk.com/fbx. See Downloading the Maya FBX Plug-in for information on downloading the latest Maya FBX Plug-in.
  3. Double-click the install file to launch the Autodesk Maya FBX Plug-in installer.
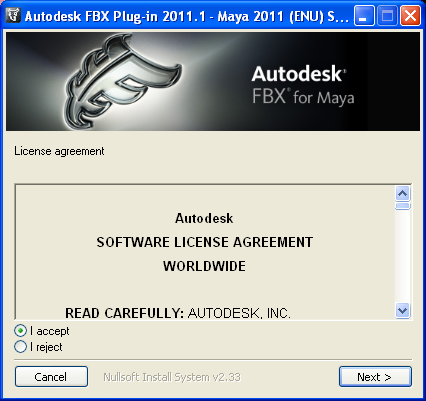
  4. Click I accept to accept the terms of the license agreement, and then click Next.

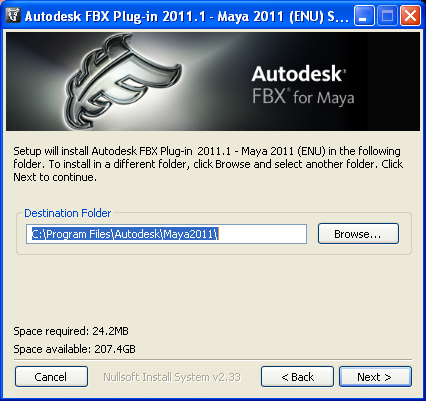
  5. The next window shows the recommended installation location for the plug-in. To specify another location, click Browse to launch the file browser.

  6. Click Next.
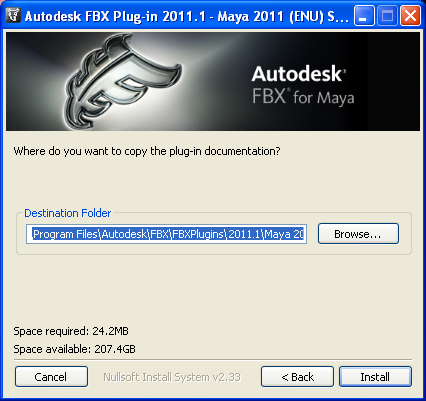
  7. The next window shows the recommended installation location for the plug-in documentation. To specify another location, click Browse to launch the file browser.

  8. Click Install.
  9. A series of dialog boxes appear asking if you would like to keep older versions of the plug-in (if applicable), open the plug-in documentation or view the read me file. Select Yes or No for each of these options.
    NoteThe readme is located in the Program Files > Autodesk FBX folder, along with this Help system.
  10. The Installation completed window appears. Click Close to exit the installer.

The Maya FBX Plug-in is now installed.

Removing the Maya FBX Plug-in from Windows

To remove the Maya FBX Plug-in manually:

  1. In Maya, disable the fbxmaya.mll Loaded and Autoload options in the Plug-in Manager.
  2. Exit Maya.
  3. Delete fbxmaya.mll from the Maya<ver>\bin\plugins directory, where <ver> is the version of Maya you have installed.