Show in Contents

Add to Favorites

Home: Autodesk Maya FBX Plug-in Help

Switching the FBX UI

FBX Plug-in UI

Storing presets

Creating a custom preset
You can design your own
preset where you design the UI with options and settings specific
to you needs. You can then share this preset with others.
To create a custom
preset
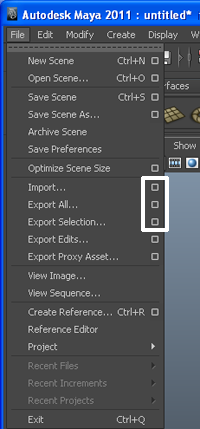
- Select File and
click the option box next to Import, Export
All, or Export Selection.
NoteYou cannot create
custom FBX presets using the Export Edits and Export
Proxy Asset option boxes.
The Options dialog box
appears.
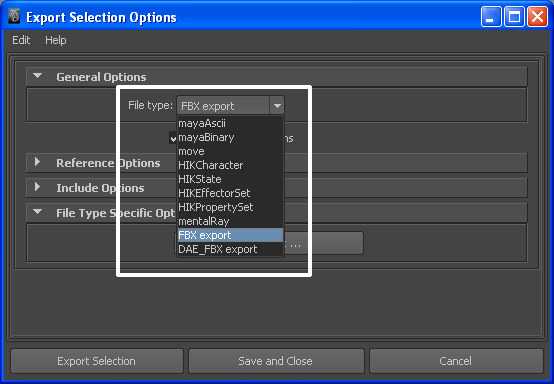
- Select FBX export from
the General Options File
type menu.
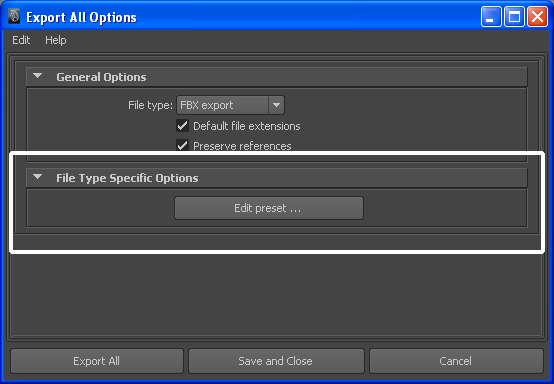
The Edit
Preset button appears in the File Type Specific Options rollout.
- Click the Edit Preset button
to show the Export/Import Options dialog box.
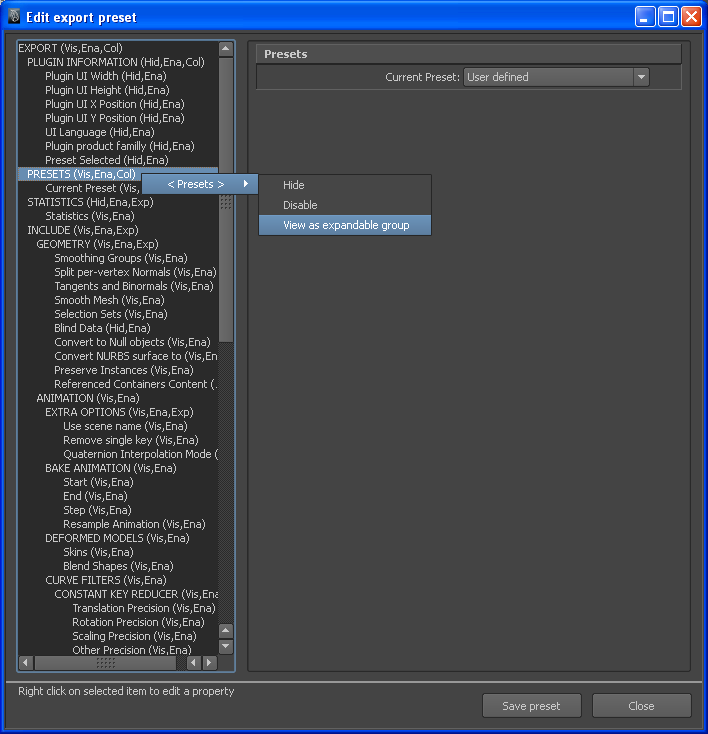
- The UI of the Edit Preset dialog
box is split into two sections, adding a tree view of the FBX
options in the left section.
- Select, and then right-click elements
in the Tree View to access the Edit options.
See
Edit mode options for
a guide to the available preset design options.
NoteSome edit options
are common to all structure levels, while some are specific to a
particular structure level. You can apply some options at any level of
the options structure. See
Edit mode options.
- Once you have finished, click Save
preset.
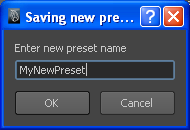
- The Saving new preset dialog
box appears. Type the name of the new preset for example, “MyNewPreset”.
The new preset appears
in the Maya FBX Plug-in the next time you load Maya.
The Maya FBX Plug-in stores custom presets
in a file so you can share them with other users. You can find custom
preset files in My Documents\Maya\FbxPresets directory.
NoteBake
Animation Start/
End/
Step values
cannot be saved in presets. The Maya FBX Plug-in always derives these
values from the exported scene. For more see
Preset Bake Animation settings
