Every environment texture and solid texture in your scene has an associated Texture Placement Object. The Texture Placement Object determines the origin position and direction of the texture relative to the XYZ coordinate system and to the objects in your scene. By transforming the Texture Placement Object (using the standard Transform tools), you can control how the texture maps to the environment or to the surfaces in your scene.
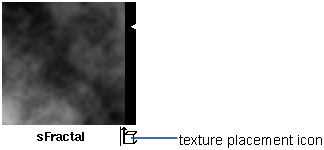
By default, the Texture Placement Object for all textures is invisible. You can display a texture’s Texture Placement Object in the modeling windows by clicking the texture placement icon in the bottom right corner of the texture’s Multi-lister swatch.

The Texture Placement Object for a solid texture appears in the modeling windows as a cube with one crosshatched face, and an arrow pointing in one direction. By default, the Texture Placement Object for any solid texture is positioned at the origin with its arrow pointing in the positive Y direction.
The Texture Placement Object for a Projection texture is different for each Projection type.
See Projection texture.
The Texture Placement Object for an environment texture appears in the modeling windows as an icon with an arrow pointing in one direction. The type of icon is different for each type of environment texture. By default, the Texture Placement Object for any environment texture is positioned at the origin with its arrow pointing in either the positive Y direction (for Y-up scenes) or the positive Z direction (for Z-up scenes). For example, the Texture Placement Object for the Sky texture consists of a line between the sun and the origin, allowing you to see the sun’s azimuth and elevation easily.

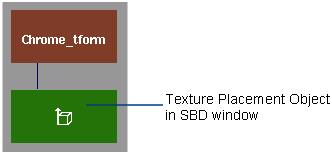
The Texture Placement Object also appears in the SBD window as a separate transformation node beneath the texture node.

The name of the Texture Placement Object is listed in the texture’s Control Window with the 3D Placement parameters.

To associate a texture placement object with surfaces, use Render > Place Projection .
.