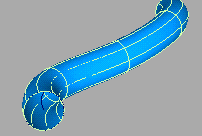
Creates a new surface by extruding a generation curve along a path curve. Normally used to make tubular objects with symmetrical cross sections.
Create a new surface by extruding a generation curve along a path curve. Normally used to make tubular objects with symmetrical cross sections.
To extrude a profile curve along a path curve
 icon, or choose Surfaces > Swept Surfaces > Extrude from the tool palette.
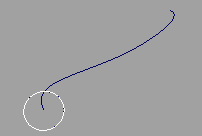
You can select free curves, curves on surface, isoparametric curves, trim edges or even faces.
You can select a free curve, a curve on surface, an isoparametric curve, or a trim edge.
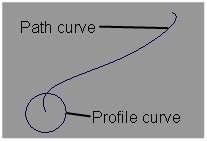
The Extrude tool creates the new surface starting at the position of the generation curve and following the shape of the path curve.
To accomplish this, use the Plane tool to create a construction plane at the start of the path curve, perpendicular to the tangent. Then create the profile curve on the new construction plane.
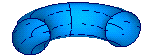
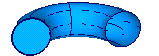
To correct this problem, use the Insert tool to increase the number of edit points/CVs on the path curve in the problem areas, so that transitions between CVs are more gradual.
Caps can be created at the ends of the surfaces if the extruded objects are closed planar curves.
Off – Do not create caps at the ends of the extruded surface.
Cap Start – Create a trimmed surface to cap the first end of the extruded surface.
Cap Both – Create trimmed surfaces to cap both ends of the extruded surface.

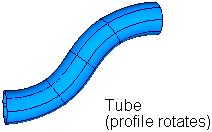
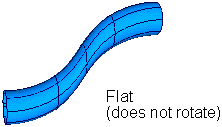
This option controls which pivot point to use when you are extruding more than one profile curve.
This option appears when Style is Tube.
Closest – Pivot the profile curves around the endpoint of the path curve closest to the bounding box of all the profile curves.
This option is the default. It works best when you have a profile curve near the start or end points of the path curve.
Component – Pivot each curve around its own individual pivot point.
This option works best when you want to extrude text.