3D geometric environments allow you to map an image to a geometric shape that surrounds your model. The environment updates with the model when you change the view, enhancing digital design reviews.
To add a geometric environment to your scene
 .
.
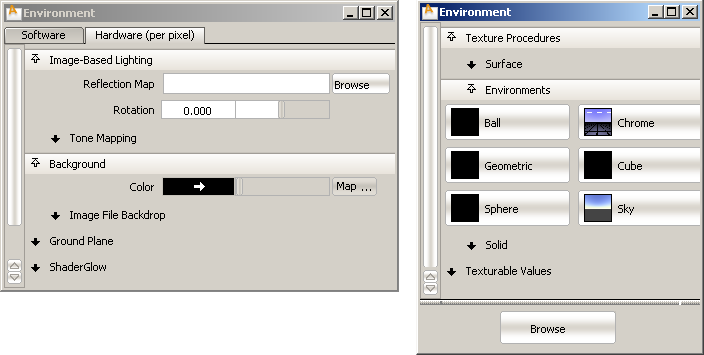
 ❒, turn on the Show Background option and click Shade On.
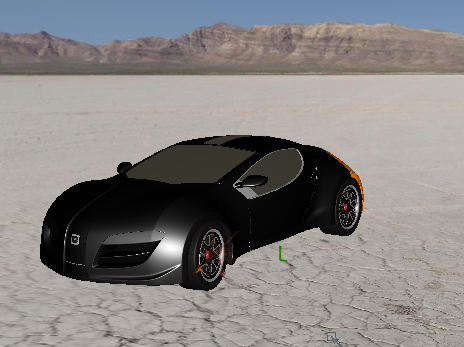
The geometric background appears. When you rotate and pan the view, the environment texture file moves with the model.
To adjust the shape, position, and size of the geometric environment texture
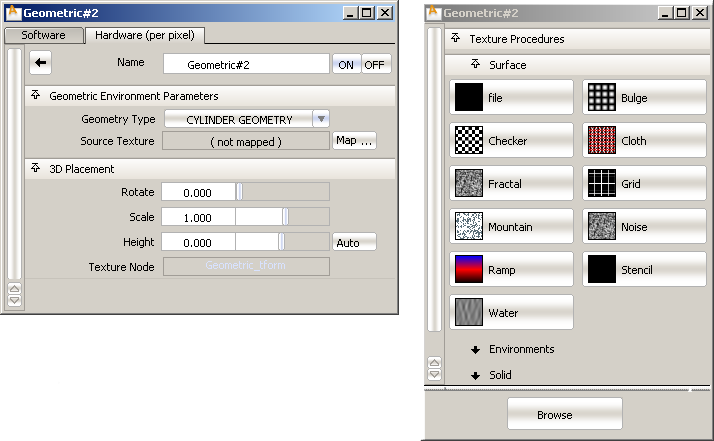
The background image is mapped to either a Dome or a Cylinder (depending on the Geometry Type chosen in the Geometric Environment window) that surrounds your model. This geometry cannot be directly manipulated or rendered; you must use the Rotate, Scale, and Height sliders to transform it.
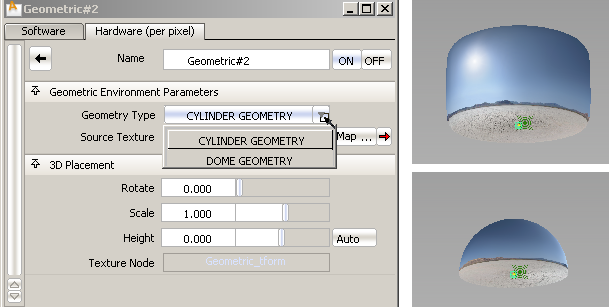
Scaled down texture node showing the shape of the environment geometry.
The geometric texture has an associated texture placement node that also lets you move, scale and rotate the environment (using the usual Transform tools) to adjust it around your model.
To use preset geometric environments from the Shader Library
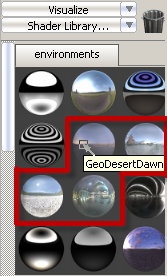
The Shader Library in the Visualize Control Panel contains four environments with geometric textures: GeoDesertDawn, GeoDocks, GeoGypsumCrater, and GeoNightPlaza.
To use a preset geometric environment:
The geometric texture appears int the Resident Shaders section of the Control Panel.
❒ in the menu.
The geometric background appears around your model.


