How to animate the assembly of components of your model.
Create an exploded view animation
How to create an exploded view animation.
After your model has been created you can apply keyframes to positions of each of the main parts to display the order of assembly of the final model.
An animation that shows all parts of an assembly arranging themselves to form the object. The best way to accomplish this type of animation is to start at the end with the assembled model and develop the animation backwards.
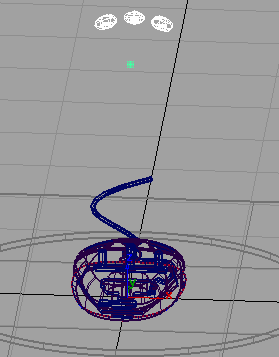
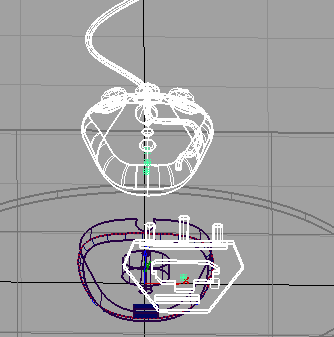
To explain this concept we have used an example of assembling a computer mouse where it first appears assembled, then being assembled, and finally fully unassembled.
We are assuming that you have a completed model.
 and drag a pick box around the entire model to select all of its components.
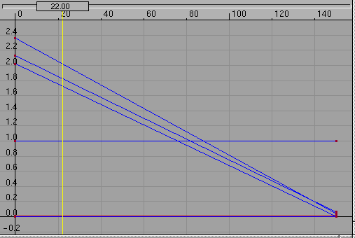
 and create a keyframe for each models component at its current position. Set the keyframe for frame final time.
and pick a component of your model you wish to animate first.
and create a keyframe for each models component at its current position. Set the keyframe for frame final time.
and pick a component of your model you wish to animate first.
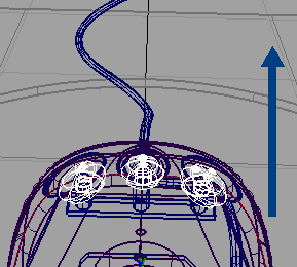
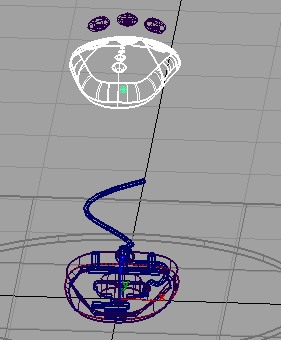
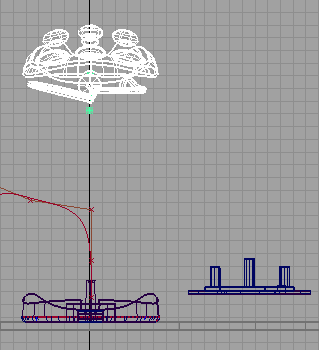
The mouse buttons have been moved above the model.
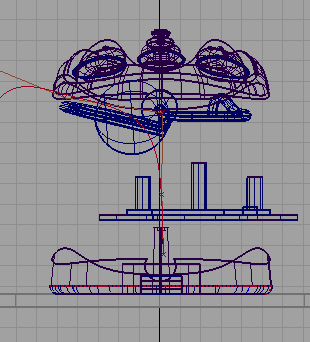
Drag the right mouse button up to move the top surface well above the rest of the model but just below the mouse buttons.
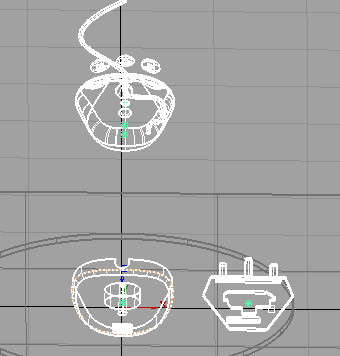
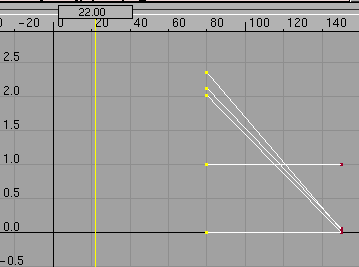
As the model components come together, they intersect each other. In our example, the circuit board is in its final position in the base of the mouse well before the rest of the components come together.
Prevent collisions in your exploded view animation
How to prevents objects in you animation from colliding into each other.
To change keyframes of object to not collide
 .
.


 .
.