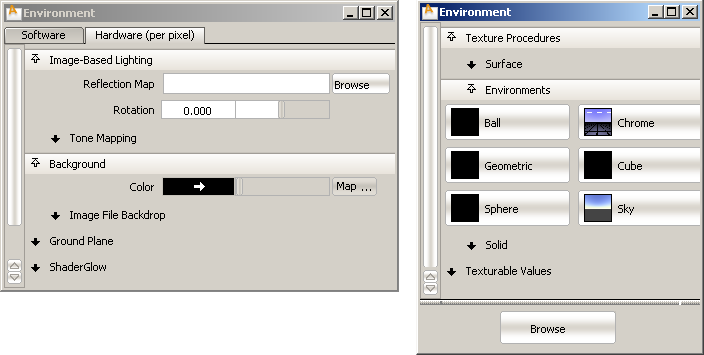
We have added a 3D geometric environment to the Multi-Lister. This allows you to map an image to a geometric shape that surrounds your model. The environment then updates with the model when you change the view, enhancing digital design reviews.
To add a geometric environment to your scene
 .
.
 ❒, turn on the Show Background option and click Shade On.
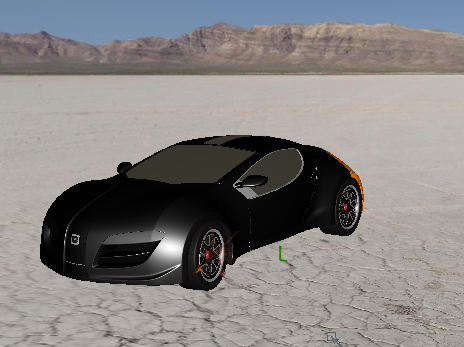
The geometric background appears. When you rotate and pan the view, the environment texture file moves with the model.
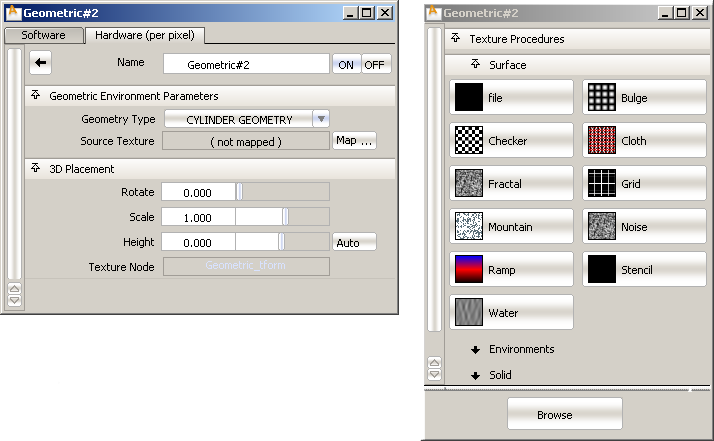
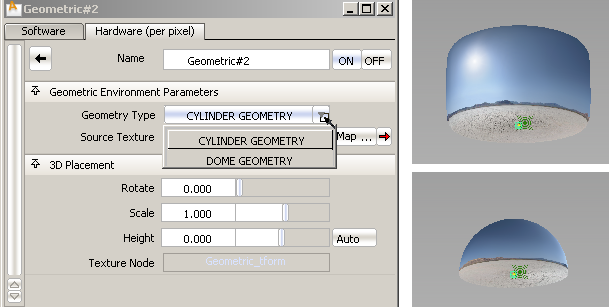
Adjusting the shape, position, and size of the geometric environment texture
The background image is actually mapped to either a Dome or a Cylinder (depending on the Geometry Type chosen in the Geometric environment window) that surrounds your model, but this geometry cannot be directly manipulated or rendered.
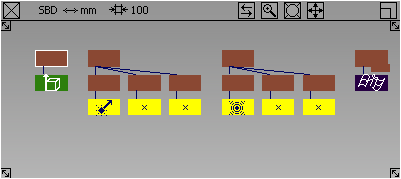
Scaled down texture node showing the shape of the environment geometry.
You can also use the Rotate, Scale, and Height sliders in the Geometric Environment window, to respectively rotate the environment geometry texture around the Up (vertical) axis, scale it proportionally, or move it to a certain height above or below ground level (Z = 0). Clicking the Auto button automatically sets the base of the environment geometry to the bottom of the model's bounding box.
The geometric texture has an associated texture placement node that also lets you move, scale and rotate the environment (using the usual Transform tools) to adjust it around your model.
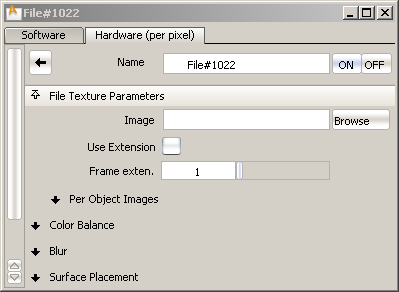
The source texture may be manipulated in the same way as any other texture.
Saving the geometric environment texture
The geometric environment texture is saved to the wire file just as any other texture. To embed the source texture image into the wire file (instead of just referencing it), turn on Embed Image References in the Save As option window.
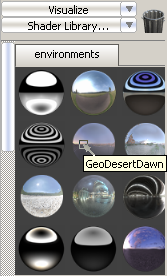
New geometric environments in Shader Library
In the Visualize Control Panel you can find four new environments which contain geometric textures: GeoDesertDawn, GeoDocks, GeoGypsumCrater, and GeoNightPlaza.
To use a preset geometric environment:
The geometric texture appears in the Resident Shaders section of the Control Panel.
❒ in the menu.


