This tool allows you to adjust the tonal range of an image by providing sliders for saturation and value. It also lets you compare the original image with a preview image showing the modifications as you change the slider values.
 ) or pick the layer to be adjusted in the Canvas Layer Editor.
 . The active layer is loaded into the Saturation and Value window.
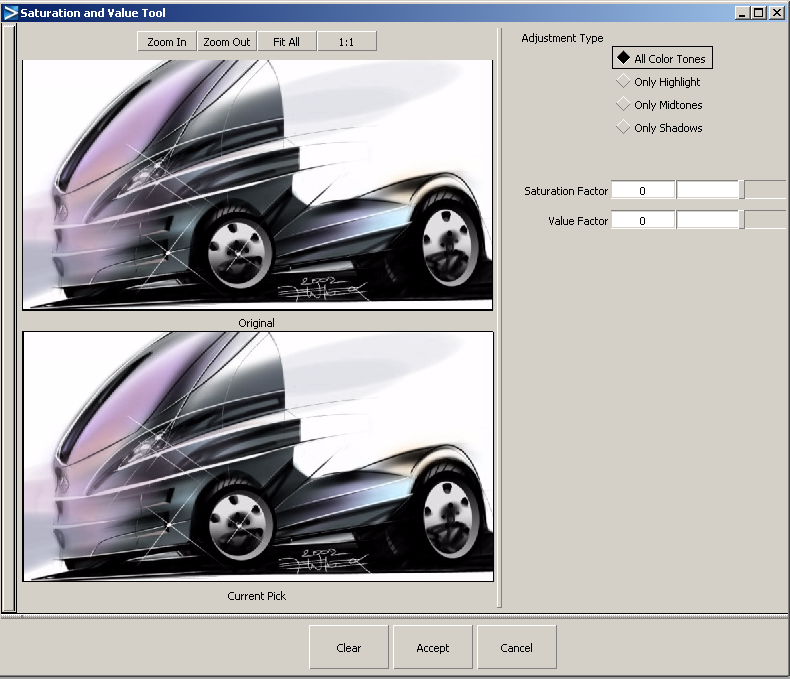
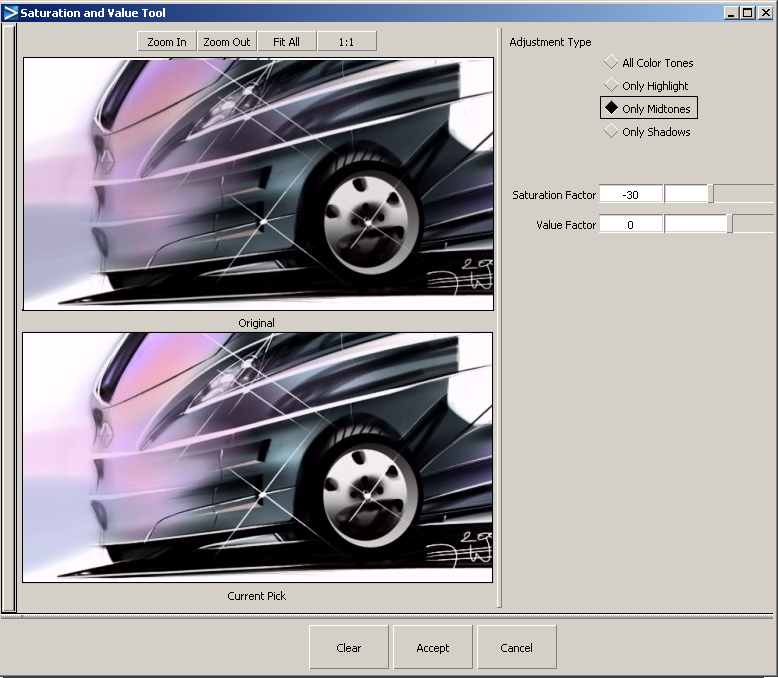
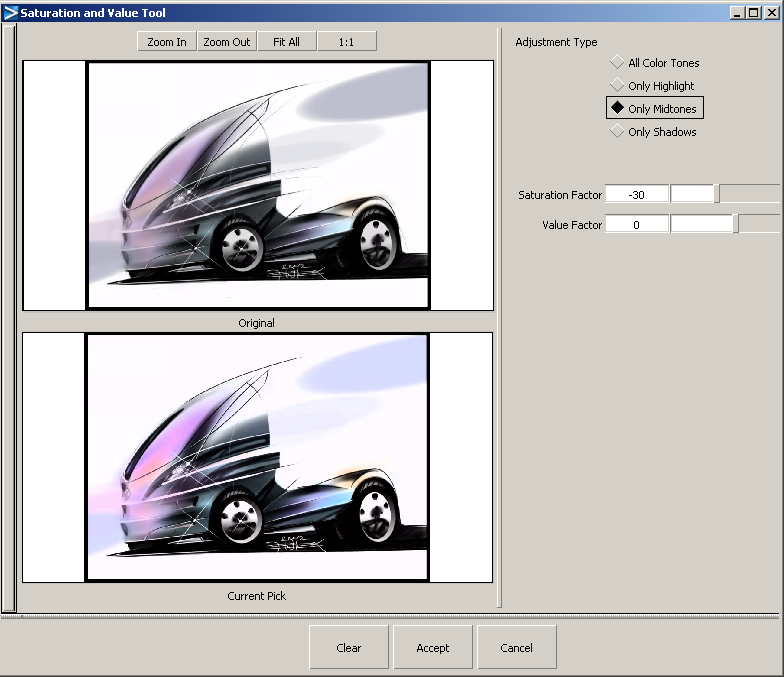
Decide what tonal value to change. In this example, we’ll increase the saturation of all the colors in the image to make the sketch more dramatic, and then decrease the saturation for only the midtones.

The changes are applied to the layer and the Saturation and Value window closes.
again to reopen the window.
The changes are applied to the layer and the Saturation and Value window closes.


