- Import the image (File > Import > Canvas Image
 ) or pick the layer to be adjusted in the .
- Choose Paint Edit > Color Correction > Color Balance
 . The active layer is loaded into the window.
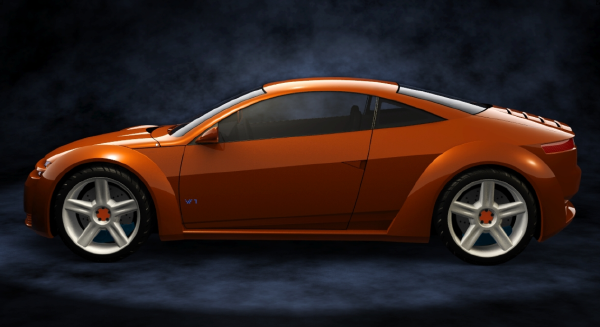
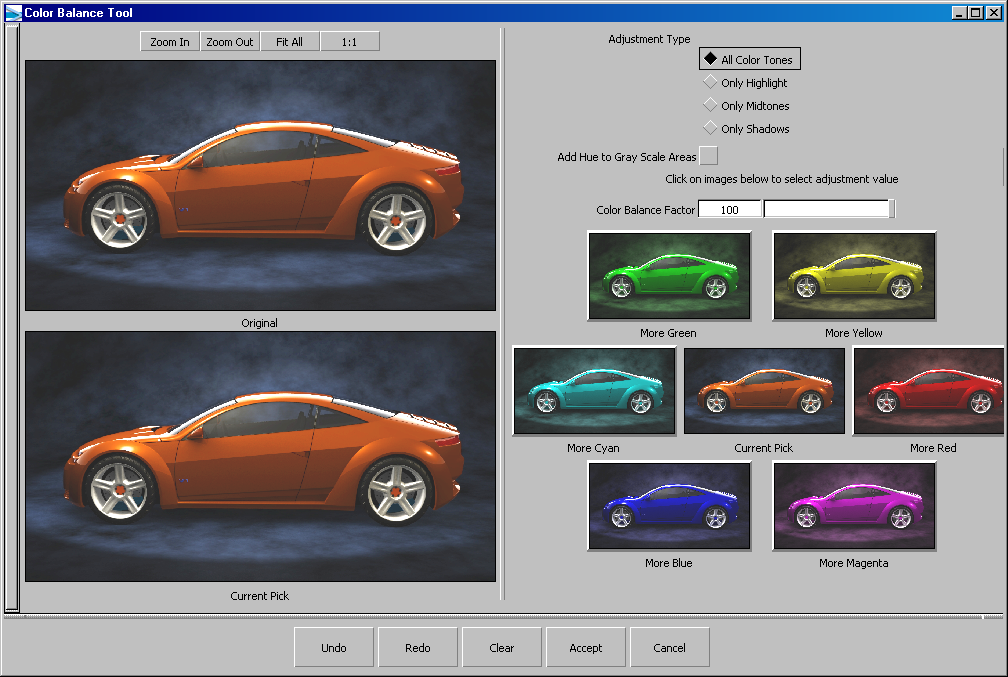
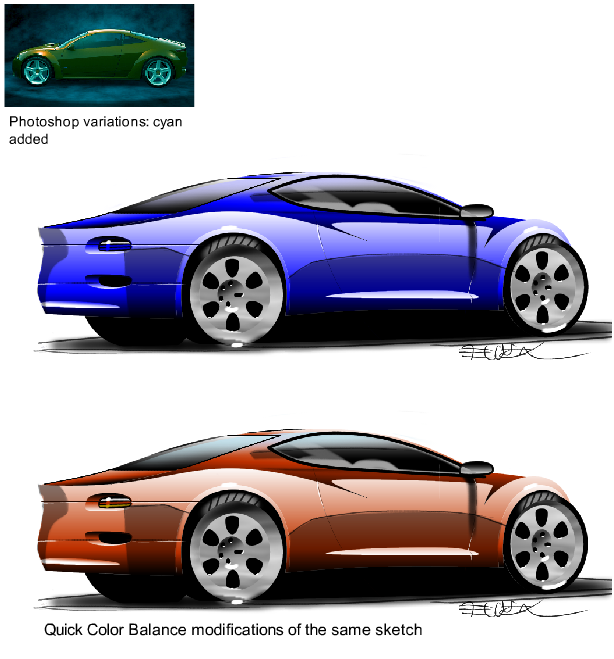
In this example we want to add blue to the image — that is, convert the bright rust color to a pure blue color.
- First we change the slider to 100%. This shifts all hues to pure color but maintains the current saturation and value (shading range). Note how
the thumbnail icons change to preview the possible color balance changes when you click the thumbnail.
- Click the thumbnail and watch the preview window update to the current adjustment value as shown below.
- Now click the thumbnail and watch the preview window update to the current adjustment value. Also note the rear orange indicator light
has changed because no mask layer or selection mask was used.
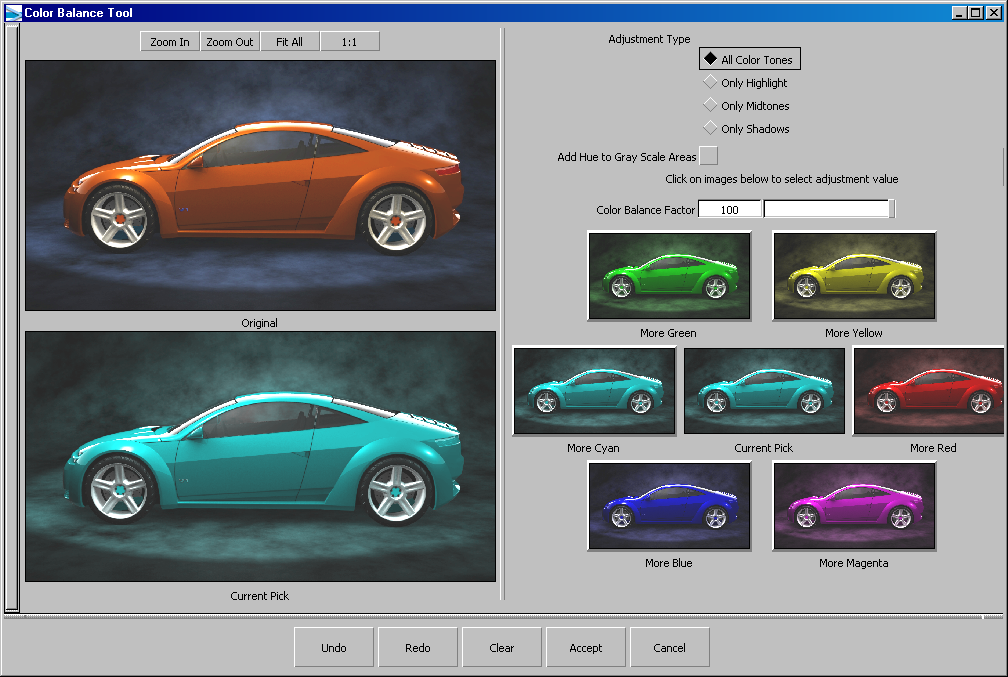
- The hue looks very strong, so click at the bottom of the window to restore the original image.
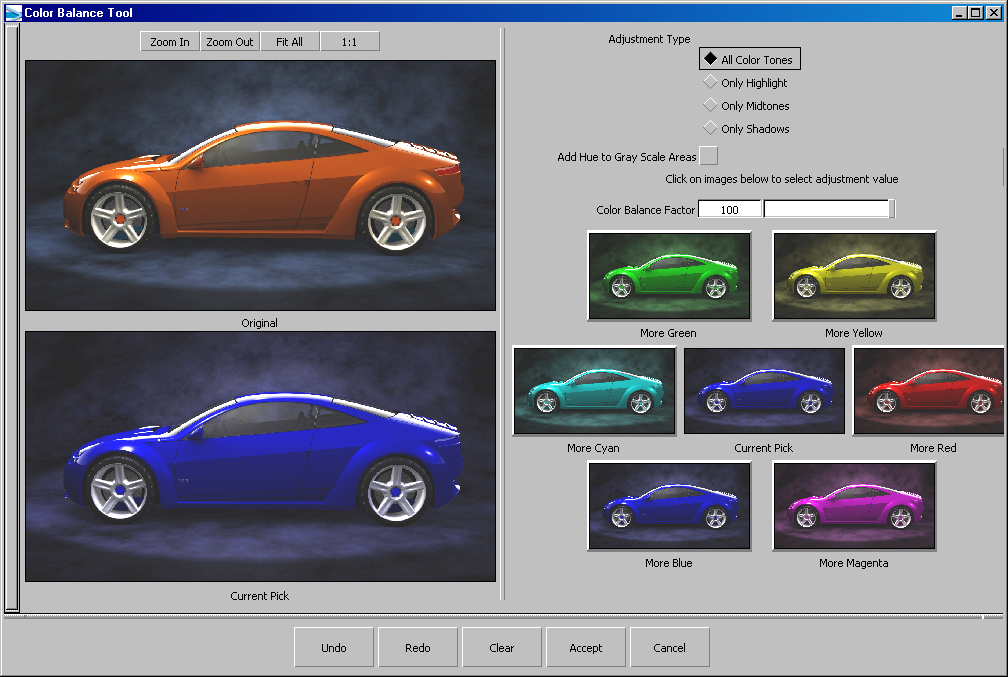
- Adjust the color balance amount to 50% and click on the thumbnail. This now adds 50% cyan to the original image. If you click the thumbnail again, it will add more cyan to the current
selection.
The color balance window encourages experimentation with color balance, so play and have fun: when you are pleased with the
preview, click and the current adjustment values are applied to the active image layer.