When you first create a light, its illumination is unrestricted. That is, depending on the light’s type and parameters, it can potentially illuminate every surface in your scene.
You may, however, want to restrict a light’s illumination by linking it to a particular surface (or group of surfaces). If you link a light to a surface, that surface is illuminated only by that light; all other lights are ignored. If the link is non-exclusive, the light also illuminates other surfaces. If the link is exclusive, the light only illuminates the surface it is linked to.
You can link forces to objects using the same method for linking lights to surfaces.
You can link a light to a surface using either the Link Lights tool in the Multi-lister, or the Light Link Editor.
To link a light to a surface using the Multi-lister
 to select the surface(s) you want to link.
See Link Lights in Render > Multi-lister .
.
To link a light to a surface using the Link Editor
to select the surface(s) and light(s) you want to link.
 to open the Light Link Editor.
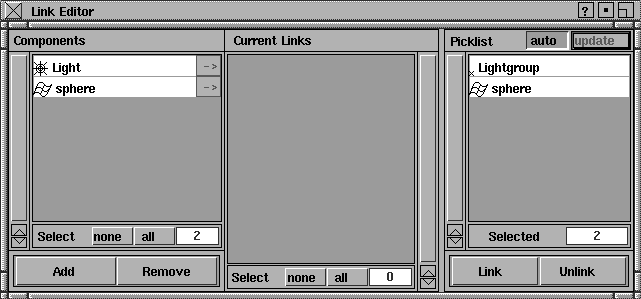
All active lights and surfaces are listed in the Components list (at the lowest component level) and in the Picklist.
See Link in Render > Editors > Light Links.
To change the list of lights and surfaces in the Picklist, see Render > Editors > Light Links.
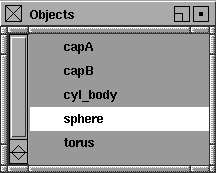
To view a light link in the Objects window
See List Objects in Render > Multi-lister.
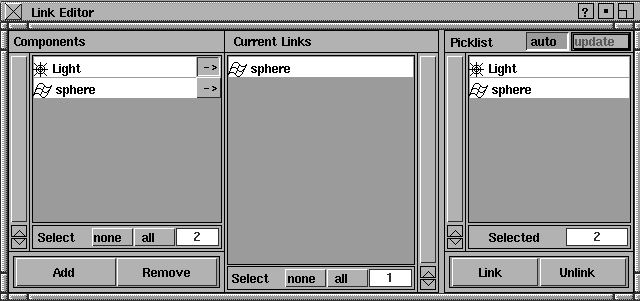
To view a light link in the Link Editor
to select the linked surface(s) and light(s) you want to view.
to open the Light Link Editor.
To remove a light link using the Multi-lister (Method 1)
to select the surface(s) you want to unlink.
See Unlink Lights in Render > Multi-lister.
To remove a light link using the Multi-lister (Method 2)
 key and click the names in the Objects window until all objects are highlighted.
See Unlink Lights in Render > Multi-lister.
To remove a light link using the Link Editor
to select the linked surface(s) and light(s).
to open the Light Link Editor.
See Unlink in Render > Editors > Light Links.


