How to smooth out regions on meshes.
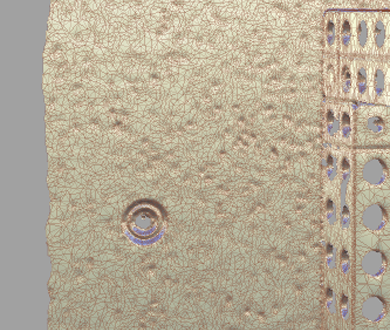
To better see the smoothing effect, first shade your mesh by using Diagnostic Shading or WindowDisplay > Hardware Shade . Increasing the mesh Transparency (in the Control Panel) will also help.
 .
.
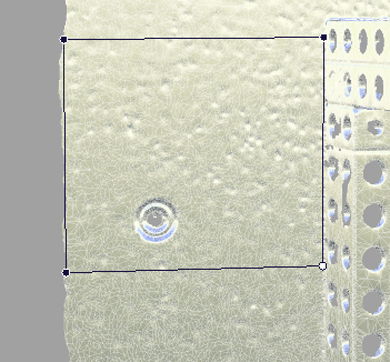
 to place points that will define the region to smooth. At least three points are required to create a region.
To modify the position of a point, click and drag it. To add a new point anywhere, click on the line between any two points.
The view must be maintained to complete the region. If the view is modified, the polyline region disappears.
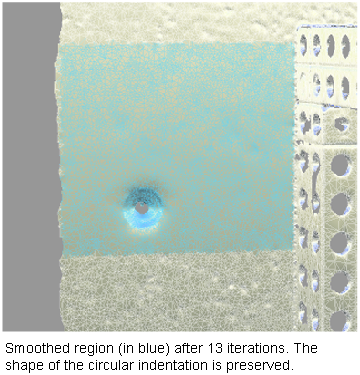
The selected triangles are highlighted in blue.
The mesh updates after each iteration.
The color map display updates each time you click the Smooth button.
The color map display updates for each smoothing step that you undo.
When exiting the Smoothtool, the display returns to the shading mode (if any) that was applied to the mesh prior to entering the tool.


