How to reduce mesh display density for faster response time, and adjust transparency for display purposes.
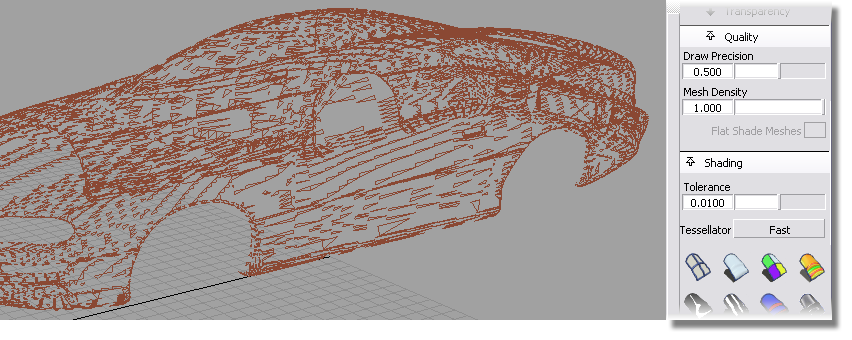
Change the mesh display density
 , if it is not already open.
By default, the slider is set to 1.0 (all the triangles are drawn). The density setting applies to both shaded and wire frame modes.
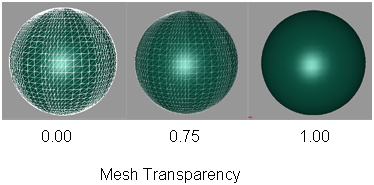
In the Transparency section of the Control Panel, adjust the Meshes slider to control the level of transparency of the mesh wireframe. A value of 0.0 means the mesh is completely opaque. A value of 1.0 means the mesh is completely transparent (that is, invisible).
This is particularly useful when displaying the mesh in a shaded mode. (See Shade a mesh).
By default, the slider is set to 0.0. The transparency setting applies to both shaded and wire frame modes.