Isolate and change a precise color range without the need of complex masking.
The replace color tool is the most complex color adjustment tool but it is extremely powerful because it allows very fine
control of hue, saturation, and value ranges.
- Import the image (File > Import > Canvas Image
 ) or pick the layer to be adjusted in the .
- Choose either the Paint Edit > Color Correction > Color Replace (HSV)
 (Hue, Saturation, Value) or Paint Edit > Color Correction > Color Replace (HSL)
 (Hue, Saturation, Luminance) tool. The active layer is loaded into the window.
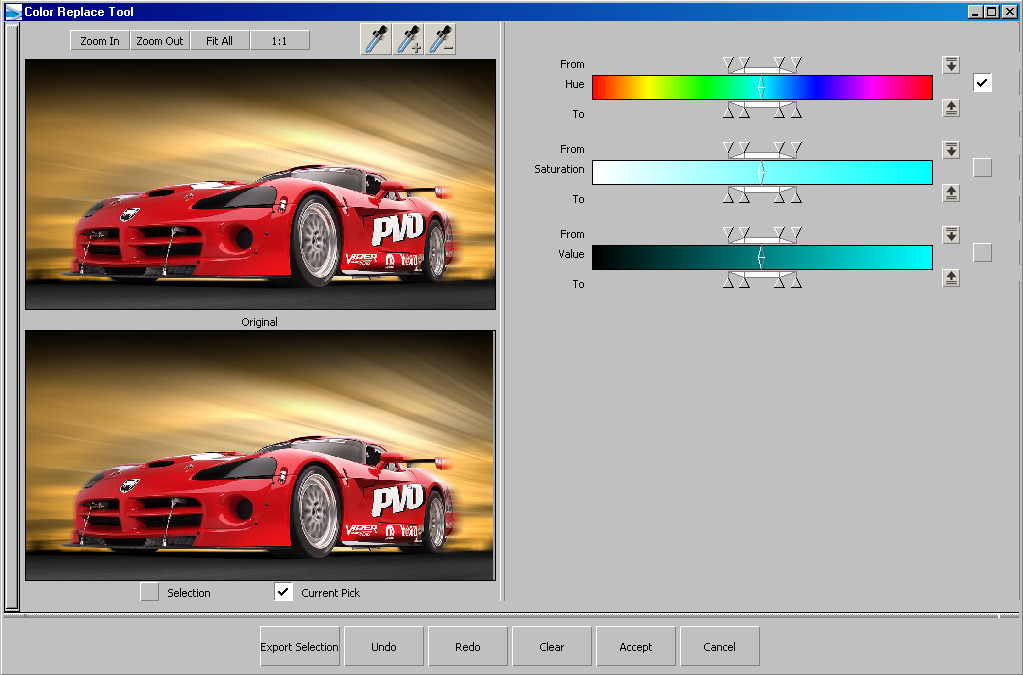
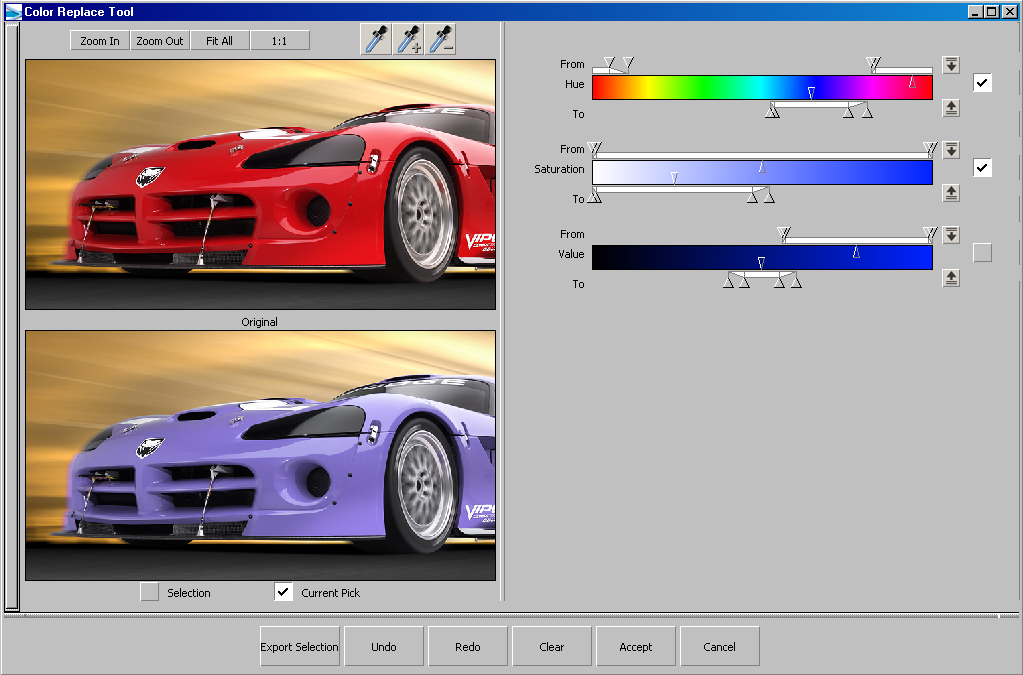
- Decide what to adjust: hue, saturation, and/or value, and click the check marks in the right of this window. In this first
example, modify only the hue of the sky without changing any other color of the car.
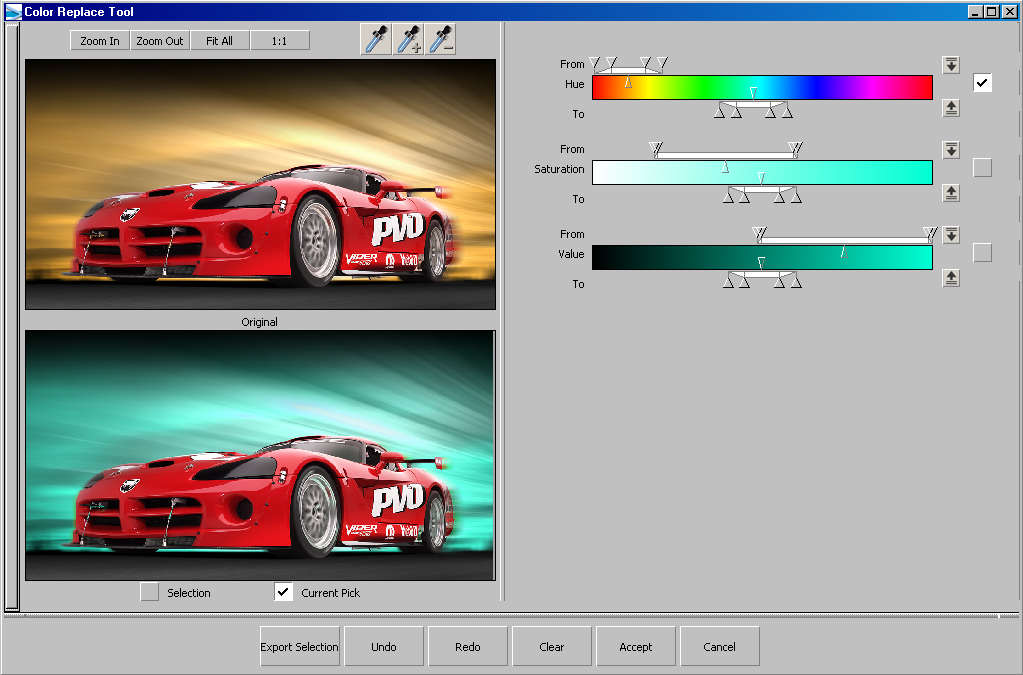
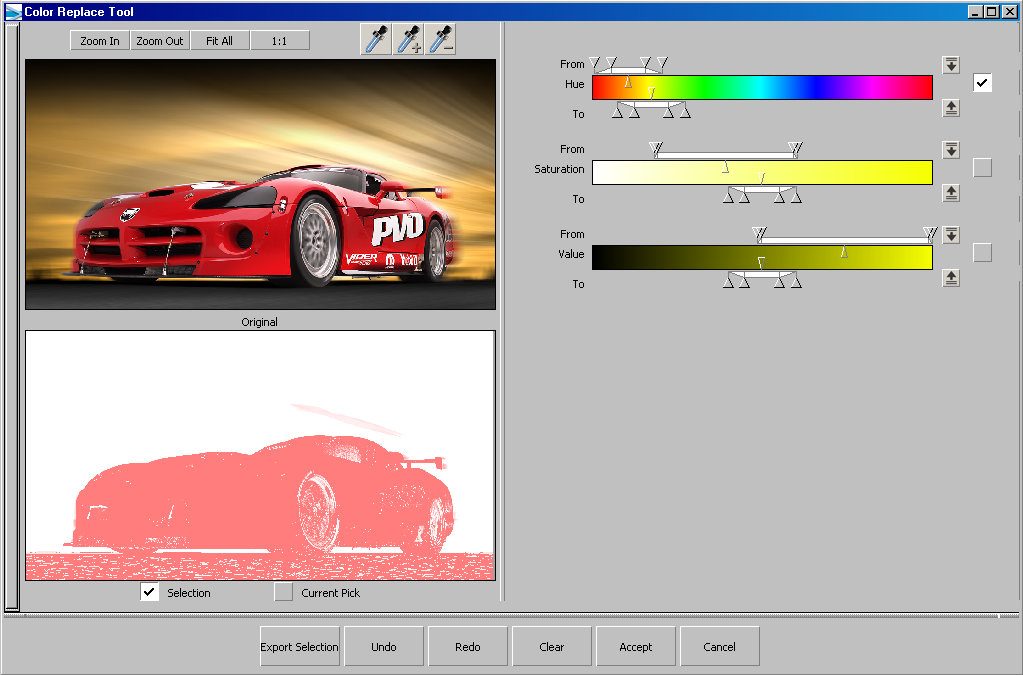
- Using the eye dropper tool, select the sky color. Notice how the hue region changes so only hues that are defined by the from range can be modified. In the image below, the hue range is set to cyan. You may need to broaden or narrow the color range using the sliders or by using the eye dropper or tools.
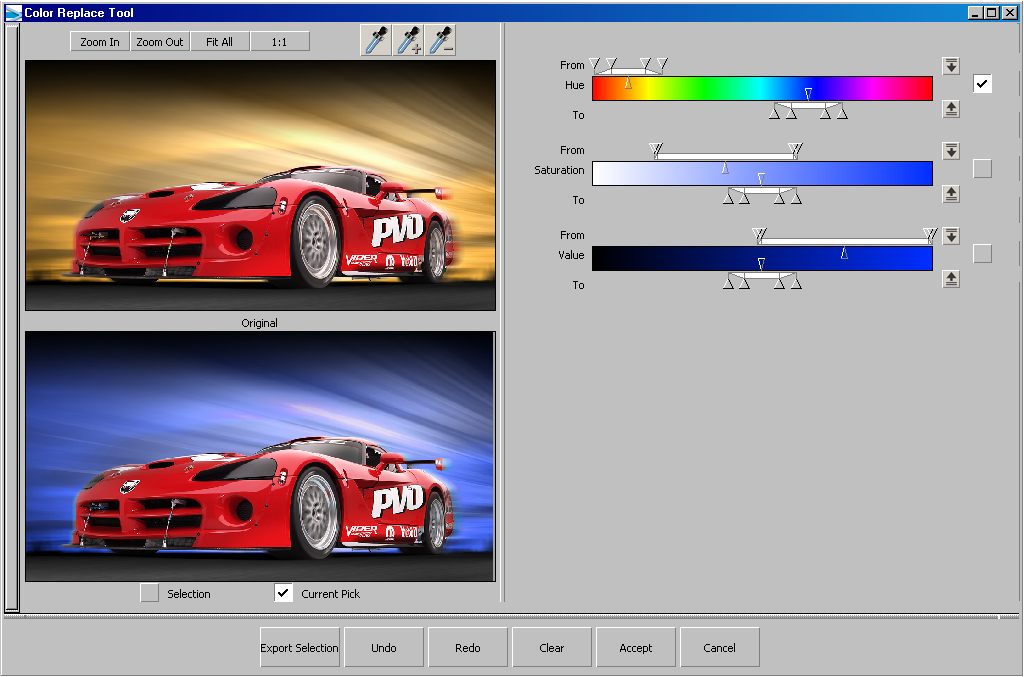
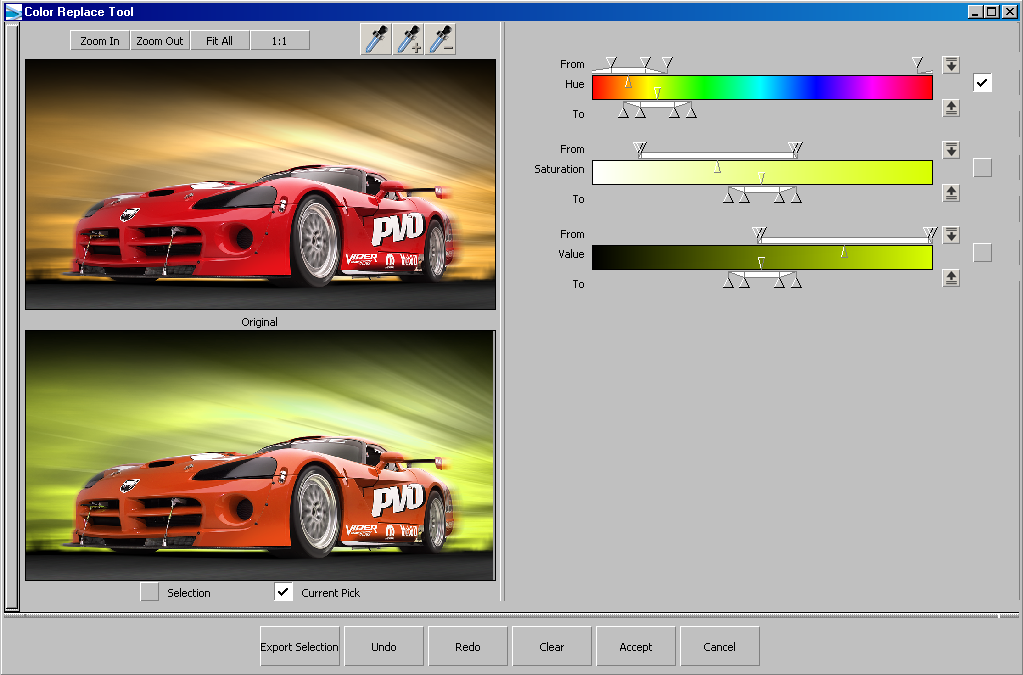
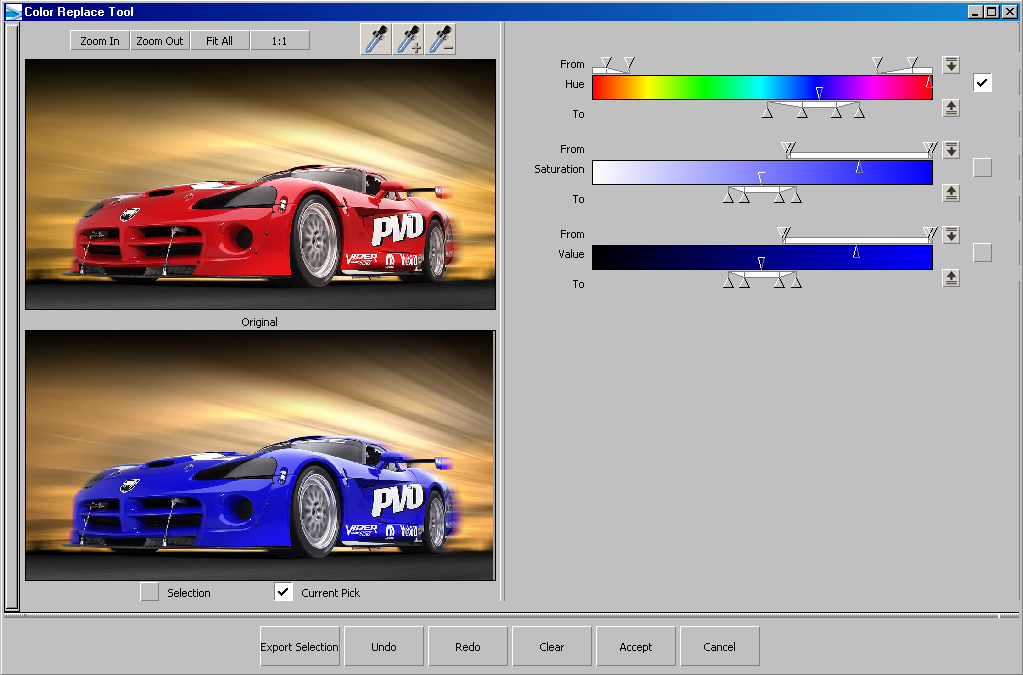
- Use the center arrow to shift the hue range to different regions, such as the blue region of the hue spectrum.
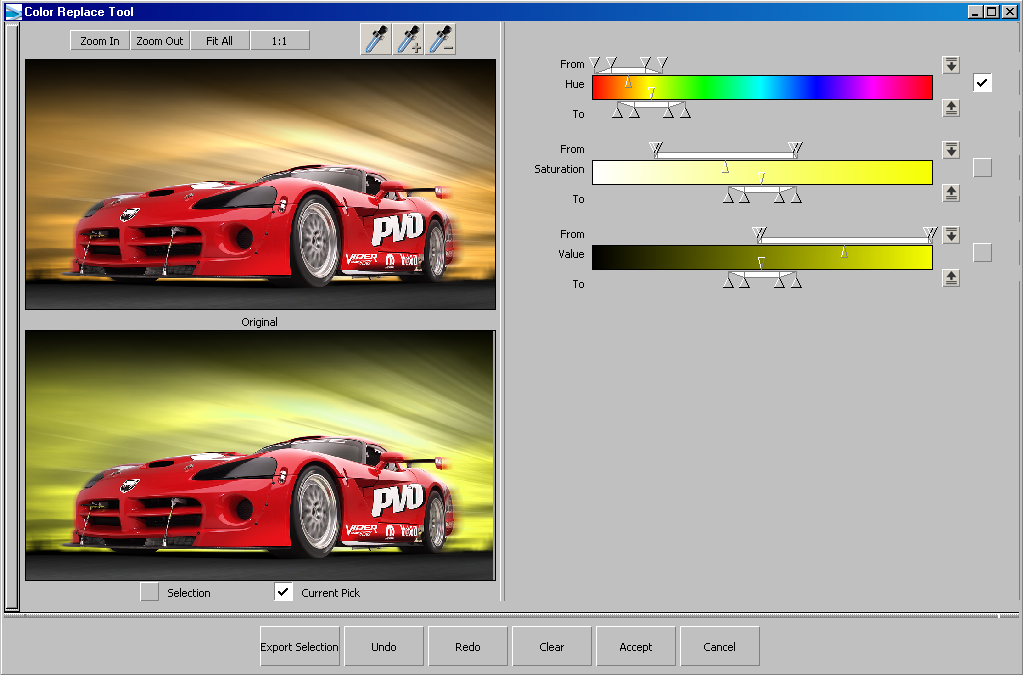
- Or try yellow:
To see what precise areas of the image are protected from change, switch the preview area to .
- Choose to display the mask in the preview box. Protected areas are masked pink, and unmasked areas are white. Partially masked areas
(areas covered with a semi-transparent mask) appear as varying levels of pink according to their opacity. In this example
you can see the car is protected but any sky reflections in the car will change. Note how this image has almost black areas
in the floor that contain an orange > yellow hue.
- If the replace color range is incorrect, pick the eyedropper to add areas, or use the eyedropper button to remove areas.
- Adjust the tolerance of the hue mask by dragging the outer slider arrows. This controls the feathering to which related colors
are included in the selection. In the example below we have adjusted the tolerance sliders so they feather into the red hue
of the car; this means the mask is semi-transparent.
The icons to the right of the color range sliders allow fast alignment of the to and from range.
This example shows hue and feather. The range has been reset using the eyedropper, clicking the red of the car and the hue range has been moved to blue.
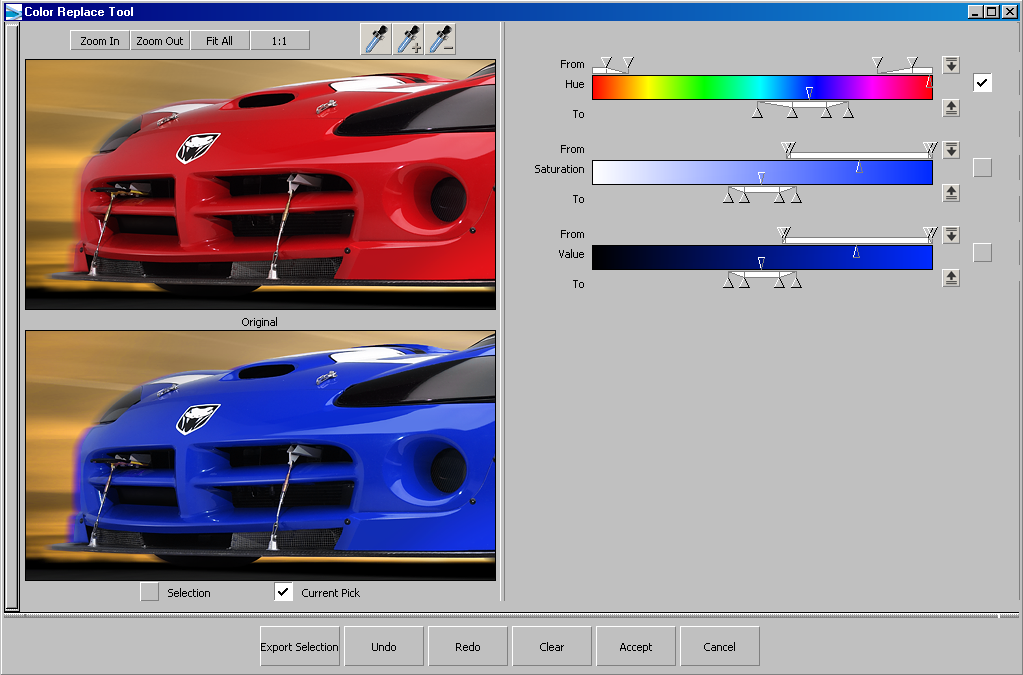
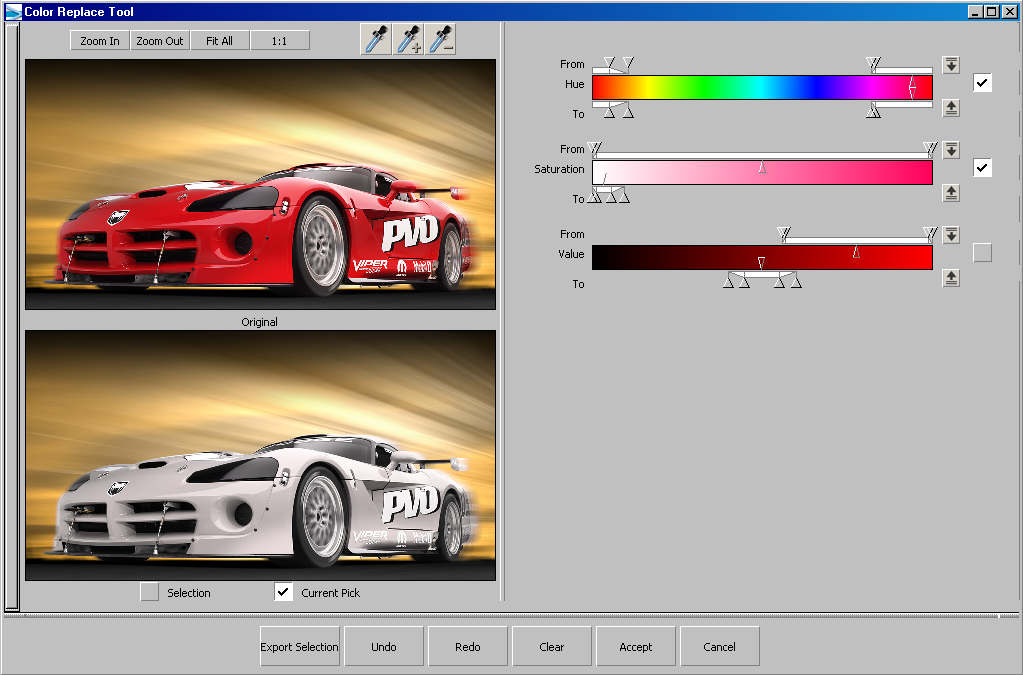
- Zoom into the front of the car and adjust the from outer sliders to remove the red tint from the body panels.
Now turn on the range and reduce the range to make it smaller than the range. This reduces the saturation of the blue car.
This example shows how the hue range has been restored to the original but the saturation range is dramatically reduced, removing red from the car body
panels.
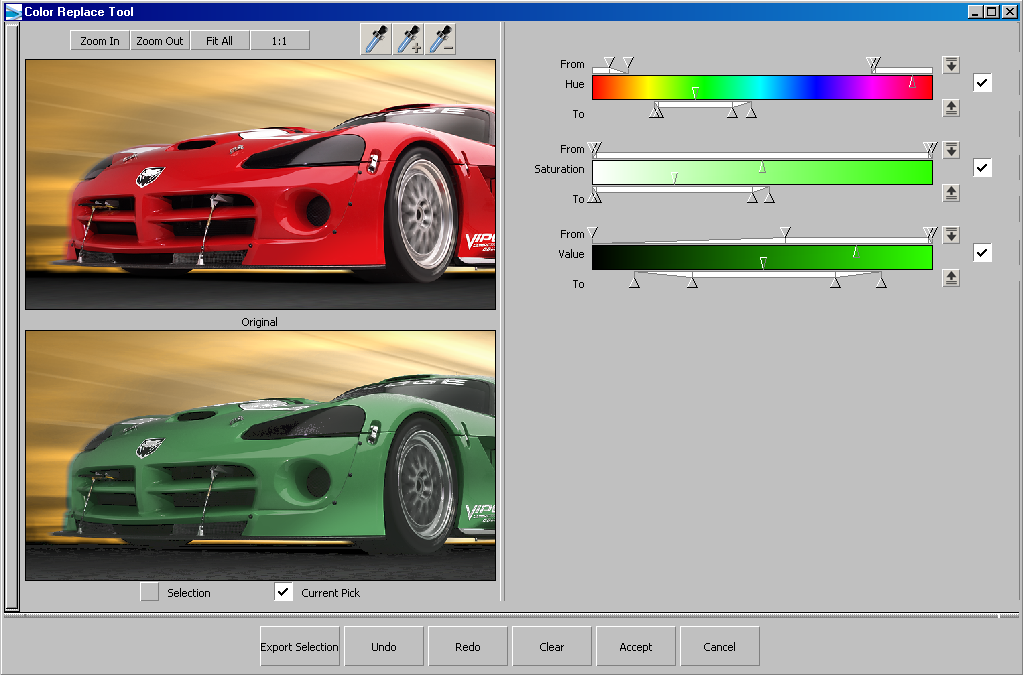
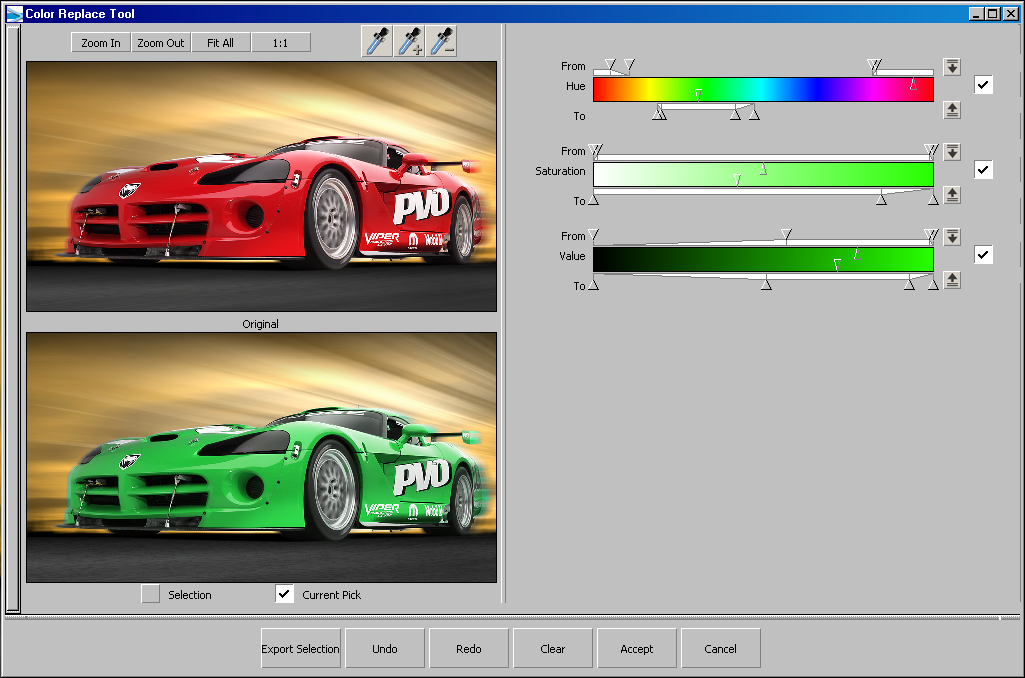
- Now adjust the hue to green, broaden the saturation and turn on the value range, and move the value to the left to darken the body panels.
The color replace tool is extremely powerful for adjusting the hue, saturation or value of an image and can automatically
mask the image.