Set options that control modeling NURBS curves and surfaces, including tolerances and units of measure.
Open the construction options window
 .
.
Changes to the settings in this panel are always saved automatically. You do not have to click a Save button or choose Preferences > User Options > Save Options .
.
Model for transfer to a specific CAD package
Add a set of presets to the list of CAD packages
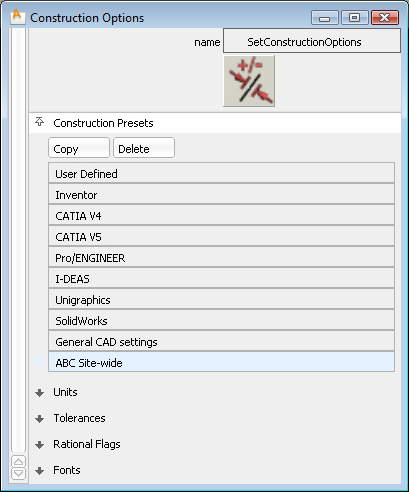
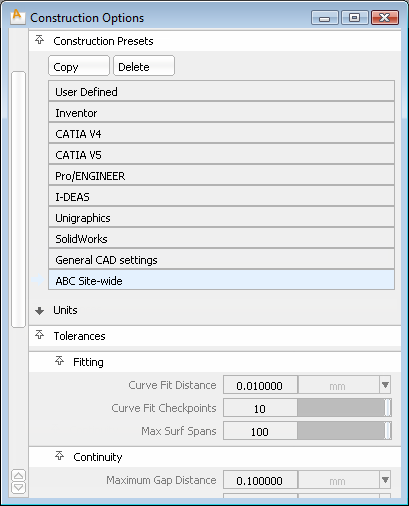
Set up site-wide construction presets
(Windows Vista and Windows 7) C:\Users\<username>\AppData\Roaming\Autodesk\Alias\UserPrefs2012\Options\ConstructionPresets
(Windows XP) C:\Documents and Settings\<username>\Application Data\Autodesk\Alias\UserPrefs2012\Options\ConstructionPresets
(Mac) /Users/<username>/Library/Preferences/Autodesk/Alias/UserPrefs2012/Options/ConstructionPresets
(Windows) C:\Program Files\Autodesk\Alias2012\UserPrefs.
(Mac) Applications/Autodesk/Alias2012/UserPrefs.
Alternatively, you can copy the file to a shared network location so that all users can access the same construction presets. (See Access site-wide construction presets on a network.)
The new construction setting is now the default and cannot be edited.
Access site-wide construction presets on a network
If your administrator has placed the construction presets file in a shared network location (see Set up site-wide construction presets), follow these steps to access it:
The construction option settings default to those in the construction presets file on the network. These construction presets cannot be edited.
If the environment variable is not set, Alias looks for the site-wide construction presets file in the usual location on the user's own installation.
If the administrator changes the construction presets file on the network, each user must re-launch Alias to see the changes in the Check Model and Construction Options windows.
I want to edit or delete the original CAD package presets?
You cannot edit or delete the original CAD package presets. If you want to change a set of presets, use the Copy button to create a copy of the set you want to edit, then edit the copy.


