Make a curve symmetrical
with the Object Edit > Symmetric Modeling tool,
then modify both sides simultaneously.
The following workflow
assumes that a curve has been created across the Y axis.
To modify a curve across
a centerline
- Choose Object Edit > Symmetric Modeling.
- Select the curve.
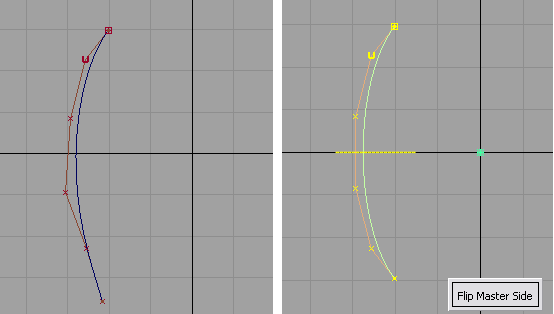
If the curve is not already symmetric, the tool
modifies the controls to make it symmetric. The position of the
controls from the beginning of the curve are applied to the symmetric
partners at the end of the curve. Click the Flip
Master Side button to have it work the other way around.
NoteSeveral
curves (and surfaces) can be selected at once. Symmetry constraints are
applied to each curve (or surface) individually.
A
yellow symmetry plane is displayed. This plane corresponds to the
default symmetry plane for the layer the object belongs to (XZ plane
by default). You can modify it by using Layers > Symmetry > Set Plane.
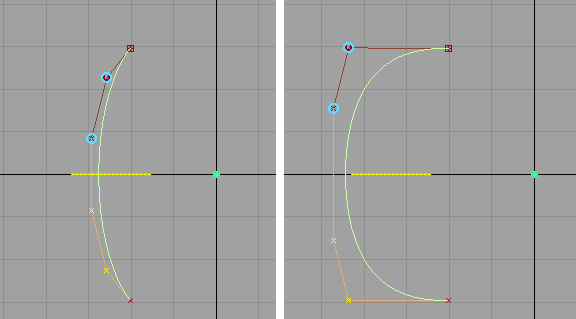
- Pick one or more CVs on one side of the
curve.
Blue
circles appear around the corresponding CVs on the symmetric half.
- Move the CVs. You can use any transformation tool,
such as Transform > Move or Control Panel > Move CV.
- The selected CVs follow the mouse. The
symmetric CVs move in the opposite direction on the symmetric side
of the plane.
NoteTo have the symmetric CVs update as you
drag the mouse, turn on
During Transform in
the
Construction History Updates section
of
Preferences > Performance Options.
- The curve has construction history so
that any subsequent operation on the CVs will continue to maintain
symmetry across the plane. If you want to remove the symmetry constraint
from the geometry, delete the construction history (Delete > Delete Construction History).
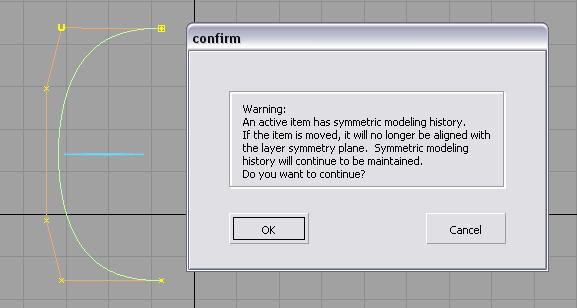
- If you move the curve, the symmetry plane
moves with it but is drawn in a different color to differentiate
the curve from symmetric objects still aligned to the layer symmetry
plane. A confirm box warns you. Clicking Cancel undoes
the transformation.


