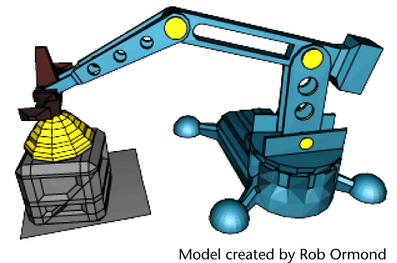
Inverse Kinematics (IK) allows you to efficiently pose your models and characters for animation. You pose the skeleton by positioning IK handles, usually located at the end of an IK joint chain (for example at the hand). The rotations for the other joints are calculated automatically by an IK solver. An IK solver calculates the rotations of each joint back up the hierarchy of the joint chain based on the position of the IK handle. See Creating a skeleton hierarchy for more information on skeletons and joints.
By contrast, Forward Kinematics (FK) requires you to rotate each joint in turn until you have the desired pose for a keyframe. This can be a tedious process when posing a complex skeleton. When using Inverse Kinematics, it’s faster to pose a character because the joint rotations further up the hierarchy are calculated automatically based on the placement of the IK Handle. Using both FK and IK techniques on the same skeleton is called FK/IK blending.
IK is obviously useful for posing animated characters that have a skeleton (two-legged, four-legged and so on) and has others applications, such as posing skeletons within mechanical-like models.
The goal of this lesson is to animate a mechanical arm so that it extends into a position over a cargo box, picks up and moves the cargo box to another location, and then sets it down.
As you work through the lesson, you’ll learn about many of the basic features related to skeleton hierarchies, IK, and parent constraints. Some initial setup of the model and IK is required so that it can be posed and keyframed to provide a convincing animation.
In this lesson you learn how to: