Now that you’ve created proxy files for the willow tree and zombie, you can replace the respective objects in your graveyard scene with those proxies.
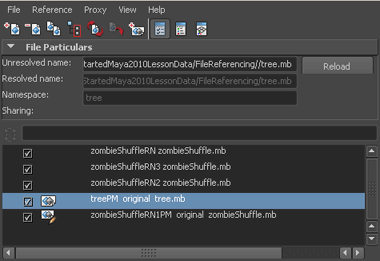
A new icon appears next to the reference file and the name changes to treePM original tree.mb in the Reference Editor. However, nothing has changed in the scene.

To reload the referenced tree as a proxy
 -click treePM original tree.ma.
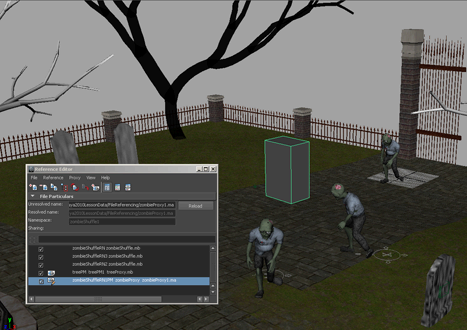
The willow tree is replaced with the proxy you created. You can change the proxy back to its original form by repeating the above steps and reloading the proxy as original.
Note that zombieShuffleRN1 already has an associated proxy since you created it earlier as part of the proxy asset procedure. You can reload this zombie (as well as any other zombies you made proxies for) as its proxy using the same steps you used to reload the tree as a proxy.
Now if you play the scene, the performance should be greatly improved since there is much less complexity.

If you select any of the proxies in the Outliner and move them around the scene, the changes affect both the proxy and the original referenced file. This allows you to dress your scene and test it with simple proxies rather than with their more complex originals.