To correct the texture on selected faces, you add additional mapping information for those faces. There are a number of ways to do this, but the Unwrap UVW modifier is the most versatile and interactive way: This lesson shows how to use Unwrap UVW.
Adding texture detail is a matter of how much time you want to spend, and how you plan to use the model. If the model will appear only in a long shot, you might be able to dispense with texture correction. If the model will appear in a medium shot or a close-up, you might have to go through these steps.
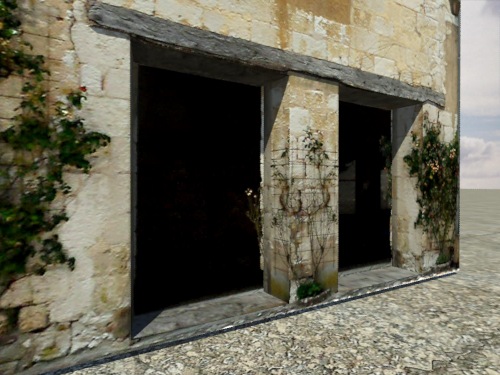
For the purposes of this lesson, we use the final rendering as a guide:
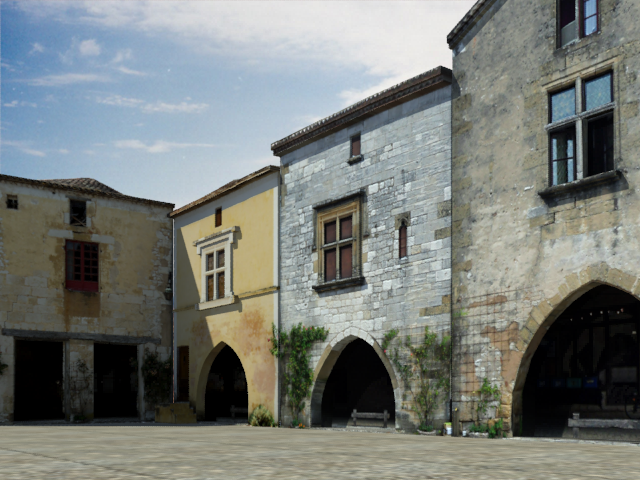
This is a medium shot. Facade1, on the left, is in shadow: But at another time of day, you would be able to see the right sides of the doorways. So we will show how to correct the sides of the doorway, and the doorstep.
The windows are too far away to see detail; the roof is seen only from below; and the sides of the house are obscured by other houses. So we won’t go through the steps for correcting these details, but at the end of this lesson, we show how the details might be corrected. (The completed model, facade_modeling_completed.max, has many texture corrections that these lessons don’t describe.)
 open \modeling\facades\facade_modeling_03.max.
 select the façade, go to
the
select the façade, go to
the  Modify panel, and make sure
that
Modify panel, and make sure
that  (Show End Result) is on
for all three levels of the stack.
Select Facade1.
Modify panel. In the modifier
stack, click the UVW Mapping entry to make this modifier active.
(Show End Result) is on
for all three levels of the stack.
Select Facade1.
Modify panel. In the modifier
stack, click the UVW Mapping entry to make this modifier active.
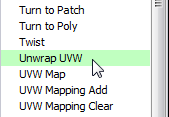
 (the plus-sign icon) by the
Unwrap UVW entry to expand the Unwrap UVW sub-levels, then click the
Face sub-object level to make it active.
(the plus-sign icon) by the
Unwrap UVW entry to expand the Unwrap UVW sub-levels, then click the
Face sub-object level to make it active.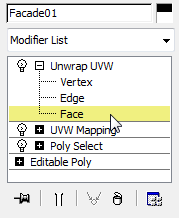
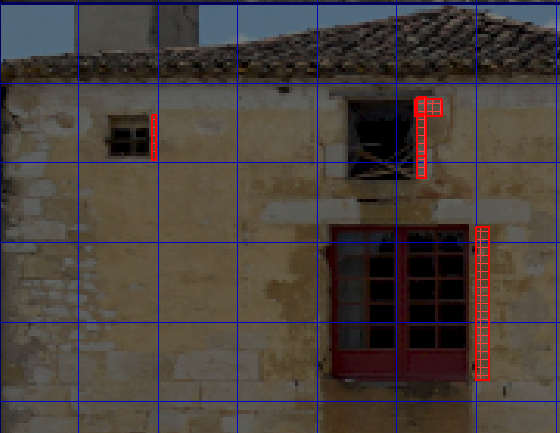
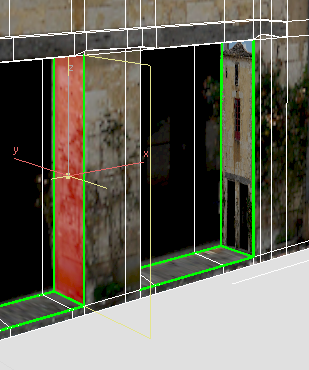
Correct the texture on the left-hand doorjamb:
 Orbit (or use the ViewCube),
  zoom, and
  pan the viewport so you
have a good view of the right side of the doorways.
pan the viewport so you
have a good view of the right side of the doorways.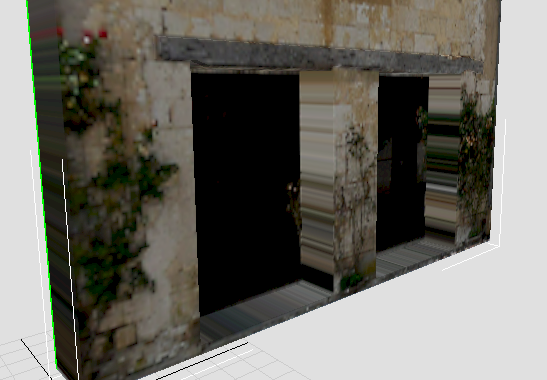
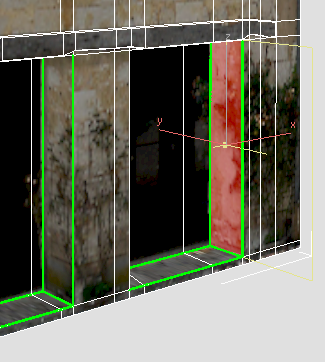
The sides appear streaked, because they are at right angles to the texture projection of the UVW Map modifier.
Click and Ctrl+click to select both doorjamb
faces.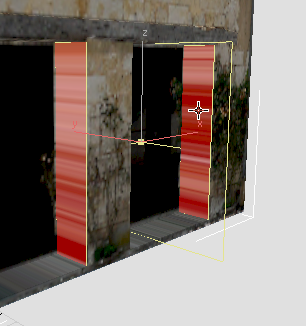
Modify panel  Map Parameters rollout,
click to turn on Planar, then click Align X.
Map Parameters rollout,
click to turn on Planar, then click Align X.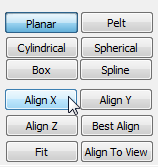
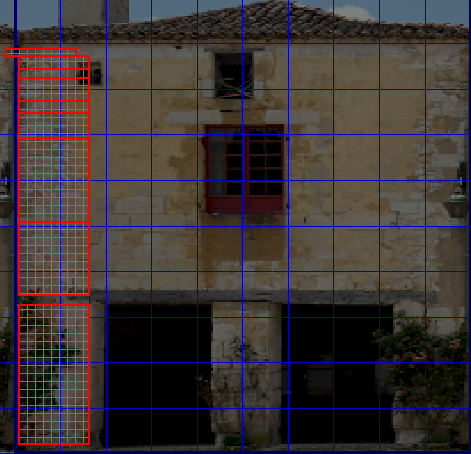
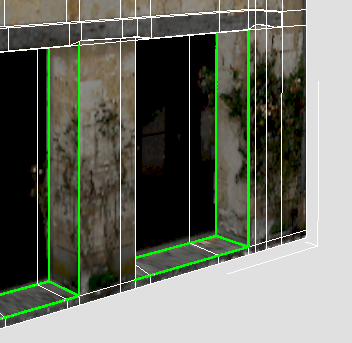
Now the doorjambs are correctly aligned with the fac1.jpg texture. However, they show the entire façade, which is not quite what we want.
Click to select only the
left-hand doorjamb.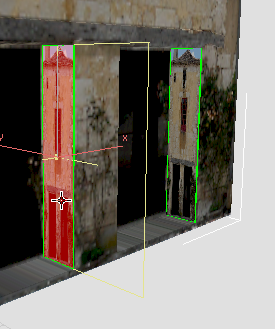
Modify panel Parameters rollout,
click Edit.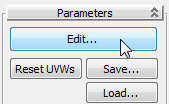
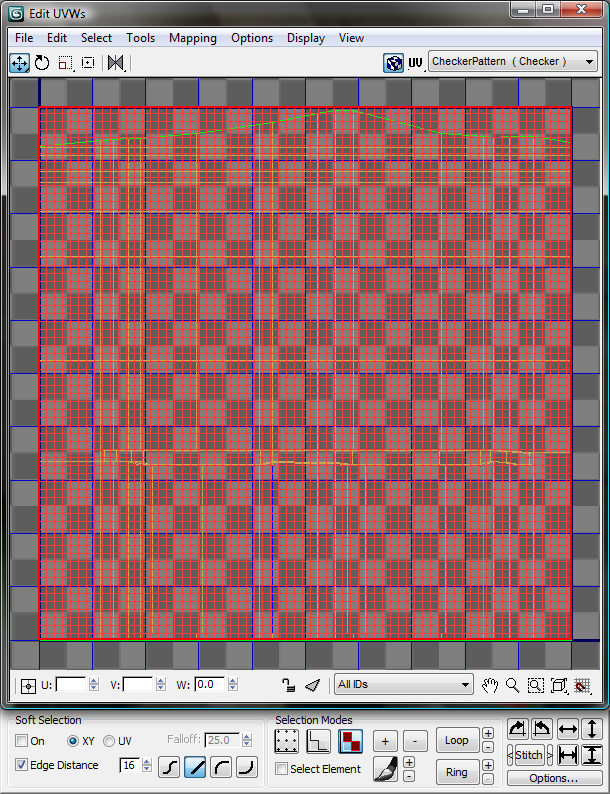
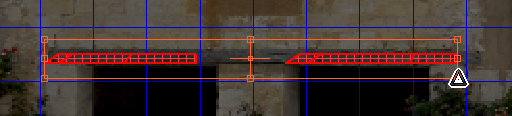
3ds Max Design opens the Edit UVWs dialog.
 (Filter Selected Faces).
Now the geometry shown in the Edit UVWs dialog (the red mesh) represents only the left-hand doorjamb face.
 (Freeform Mode).
The face mesh now shows handles at its edges and corners. With Freeform Mode, you can scale the face by dragging a corner handle, rotate the face by dragging a side handle, and move the face by dragging from the interior of the face.

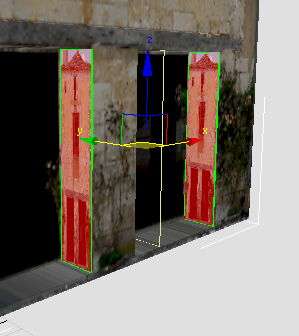
 (Mirror Horizontal).
In the viewport, you can see how the correction looks.
This is the pattern for using Unwrap UVW to correct textures on faces with poor texture projection: Essentially, you “fake” the texture by choosing some part of the original texture that looks well when applied to the surface that needs correcting.
Correct the texture for the right-hand doorjamb:
click to select the right-hand
doorjamb.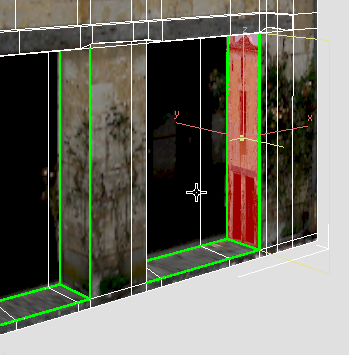
lower toolbar, click to turn Filter Selected
Faces  off and then on.
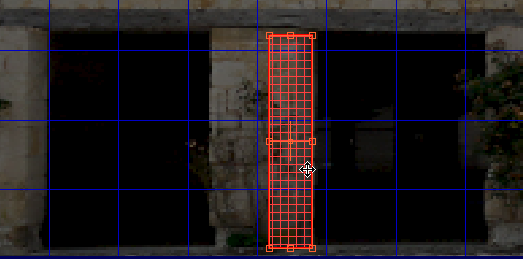
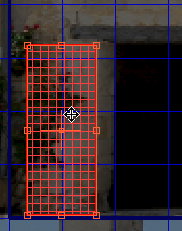
(Freeform Mode), then drag
the upper-right corner of the doorjamb face to scale it so it is
roughly the size of a doorjamb in the bitmap.
off and then on.
(Freeform Mode), then drag
the upper-right corner of the doorjamb face to scale it so it is
roughly the size of a doorjamb in the bitmap.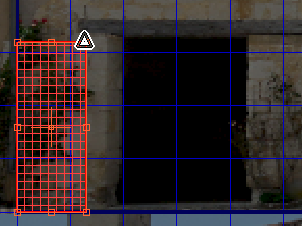
(Mirror Horizontal).
Once again, you can see the correction in the viewport.
 Close the Edit UVWs dialog.
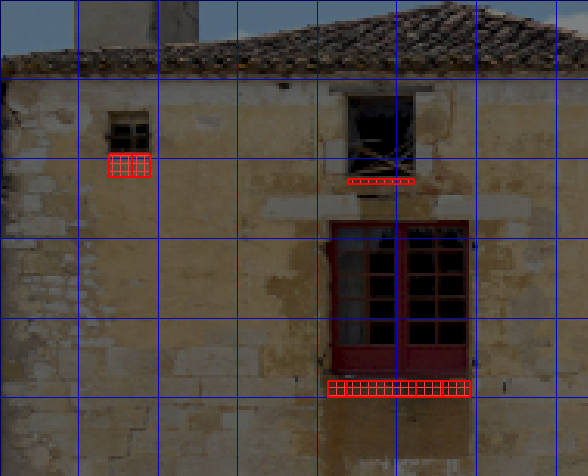
Correct the texture on the doorsteps:
The doorsteps are a little tricky, because the photo has no information about that portion of the building. To compensate, we use the lintel texture: Although the lintel is wood, when scaled up in size it can pass for stone.
Click and Ctrl+click to select the doorstep
faces (there are four faces on the left, and three on the right).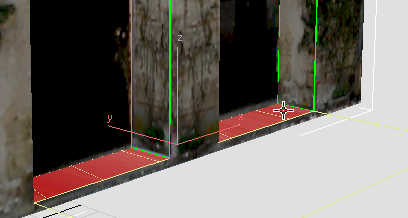
Modify panel Map Parameters rollout,
click to turn on Planar, then click Align Z.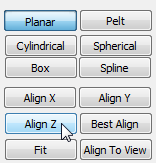
Now the doorsteps are correctly aligned with the fac1.jpg texture.
Modify panel Parameters rollout,
click Edit to open the Edit UVWs dialog.
 Close the Edit UVWs dialog.
A close-up rendering of the doorways shows your texture corrections better than the viewport can.
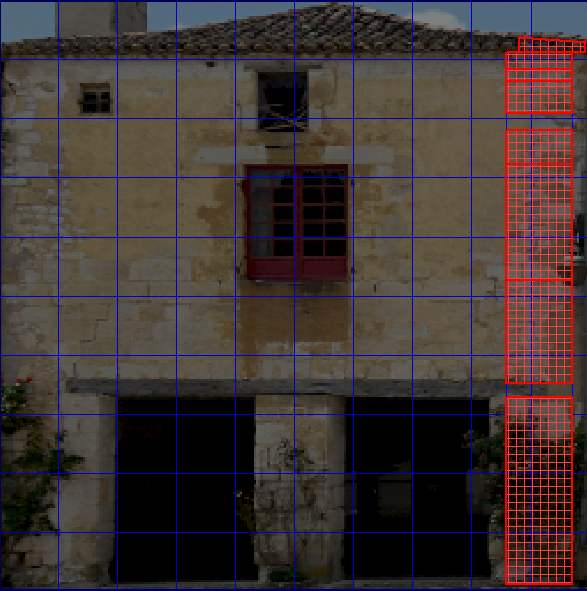
Extra Credit: Mapping the Windowsills, Window Jambs, and Sides of the House
As we mentioned at the beginning of this lesson, it isn’t necessary to correct the texture for the windows or the sides of the house. But if you want to try using Unwrap UVW to do so, or if you are simply curious how it was done for the completed model, here are the mappings used.