This tutorial shows how to use the mental ray Depth-of-Field render effect to increase the realism of your renderings.
Depth of field is a technique used to focus on a fixed point in a scene, called a focal plane. The area of the focal plane remains in focus, while objects closer than the focal plane, and farther from it, are blurred. This is how real-world cameras work, and using Depth of Field can make it appear as if the rendering were a photograph.
 (Project Folder) and set
your current project to Autodesk 3ds Max Design 2011 Tutorials.
(Project Folder) and set
your current project to Autodesk 3ds Max Design 2011 Tutorials.
 (Open File), navigate to
the \scenes\rendering\rendering_effects folder,
and open med_villa_rendering_dof.max.
(Open File), navigate to
the \scenes\rendering\rendering_effects folder,
and open med_villa_rendering_dof.max.
 Create panel, click
  (Helpers). On the Object
type rollout, click Tape.
(Helpers). On the Object
type rollout, click Tape.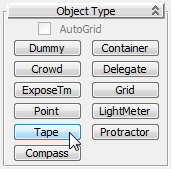
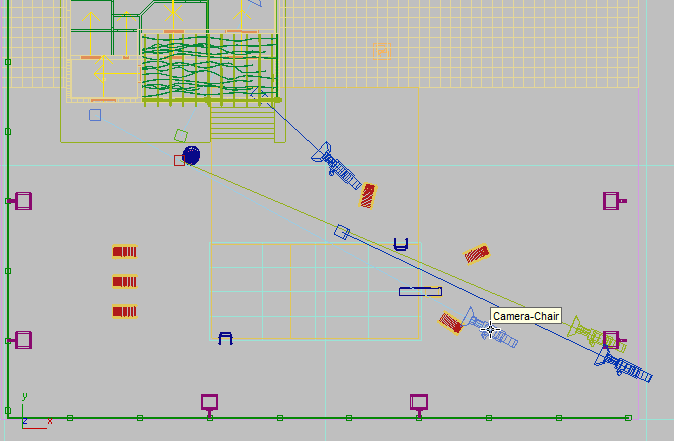
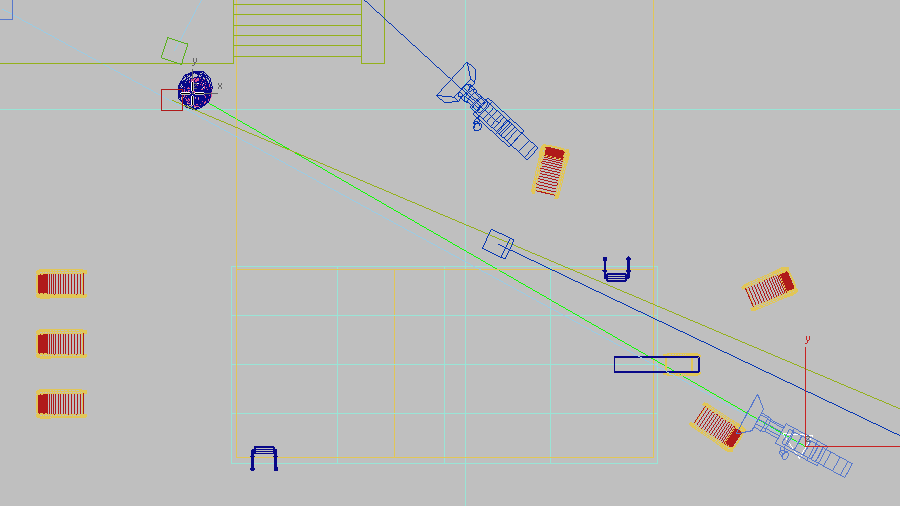
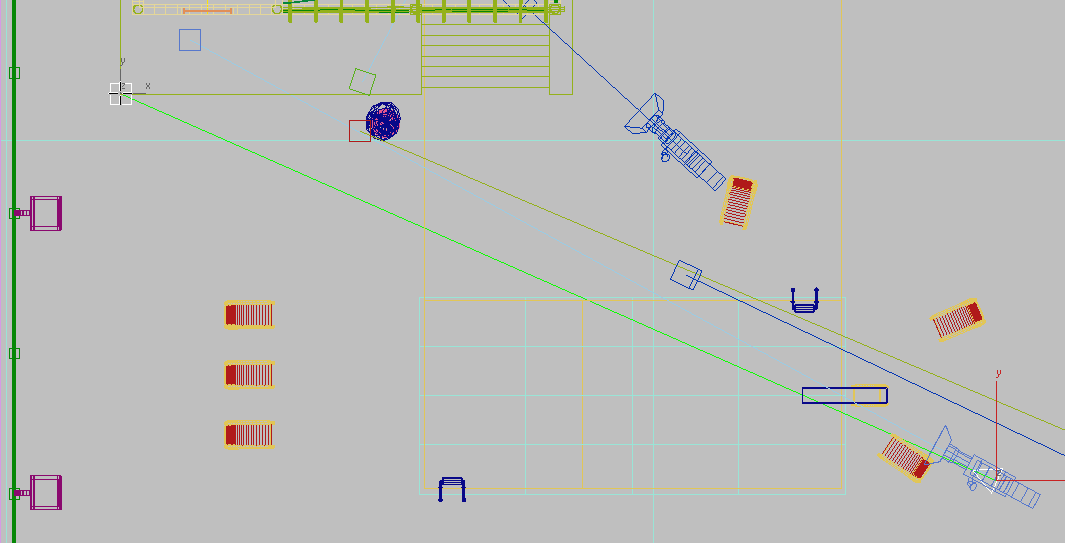
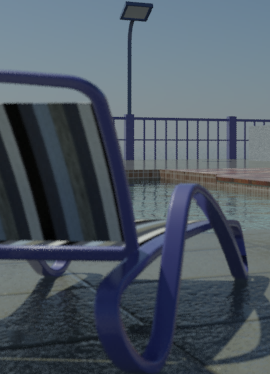
You will use the Tape helper to determine the distance between the camera and three objects in the scene: a chair, a flower pot, and a corner of the building. The location of each object will become a focal plane, or region where the scene is in the sharpest focus.
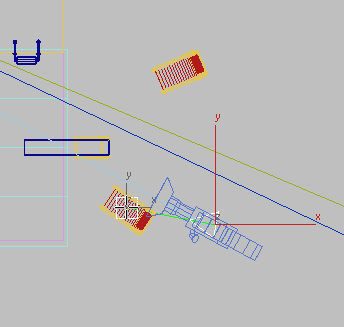
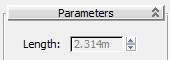
On the Parameters rollout, the Length field displays the distance between the two objects as roughly 2.3 meters.
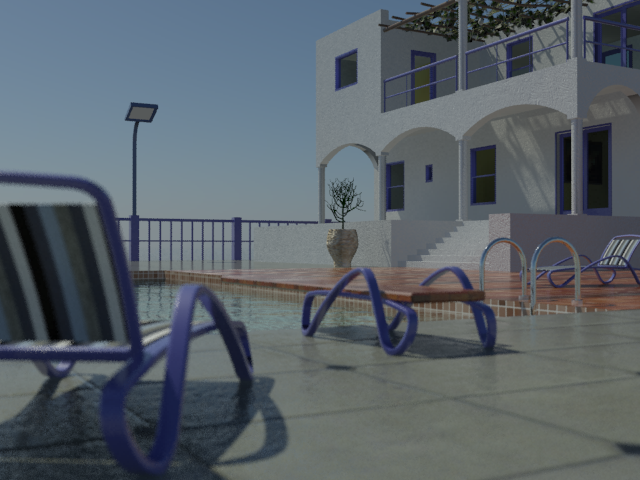
Now that you know the distances, you will use the chair in the foreground as the focal plane for the first rendering.
Adjust the f-stop and focus plane:
 (Rendered Frame Window) to
display the rendered frame window.
(Rendered Frame Window) to
display the rendered frame window.
 (Render Setup).
 Renderer tab Camera Effects rollout Depth of Field group,
turn on Enable.
Renderer tab Camera Effects rollout Depth of Field group,
turn on Enable.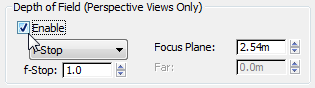
The depth-of-field render effect works only in Perspective viewports, so now you need to change the viewport view.
Camera Effects rollout Depth of Field group,
leave the drop-down list set to F-Stop (the aperture setting). This
lets you specify the degree of blurriness of objects that are not
in focus.
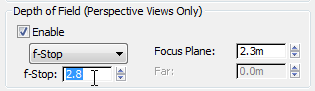
The lower the aperture, or f-stop setting, the larger the aperture and the more blurred the out-of-focus regions become.
Leave the Render Setup dialog open for now (move it if it obscures the Rendered Frame Window).

The focal plane, which is set to the chair in the foreground, is in the sharpest focus, while the background becomes progressively more blurred.
Use the other two focal planes to create renderings:

The area in sharpest focus is now the flower pot and the plant in it. All objects in the foreground and, to a lesser extent, the background are blurred.
All objects in the foreground are blurred, while the house is mainly in focus.
One last adjustment remains. You will now adjust the f-Stop to make the foreground less out of focus.
Use the f-stop setting to control the depth-of-field effect:
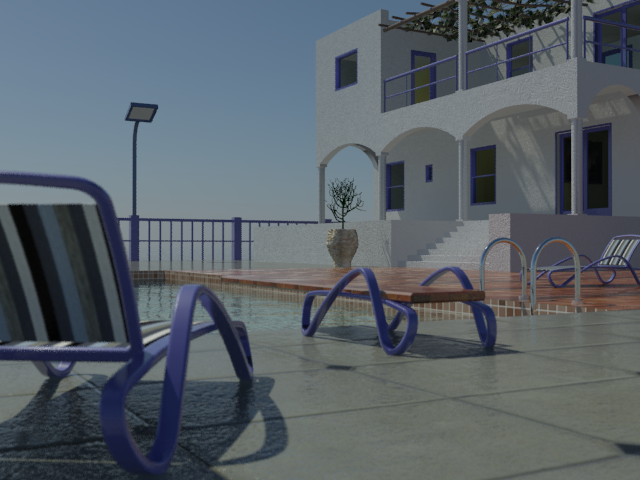
The foreground is much more defined than in the previous rendering.
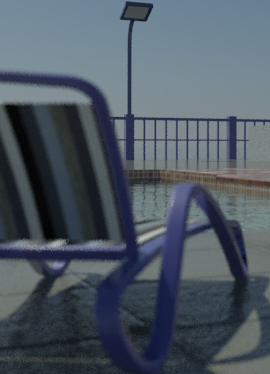
Above: f2.8 creates a narrow focal range
Below: f5.6 creates a deeper focal range
The Depth-of-Field camera effect is an easy way to make it appear as if your rendering was taken by a real-world camera.


