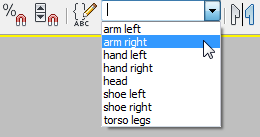
With the seams added to the model, you can use the named selection sets to break the model into clusters and lay the clusters out as evenly spaced peels.
 open cman_uv_clothing_seams.max.
 select the CMan model then go to the
  Modify panel.
Modify panel
Modify panel.
Modify panel  Selection rollout, click
  (Polygon) to go to the Polygon sub-object level.
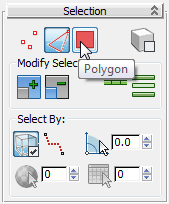

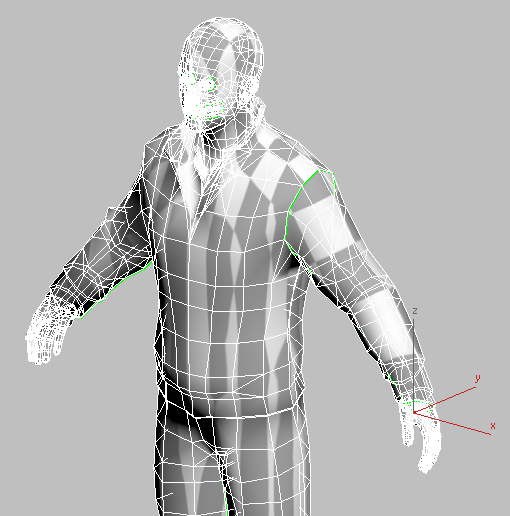
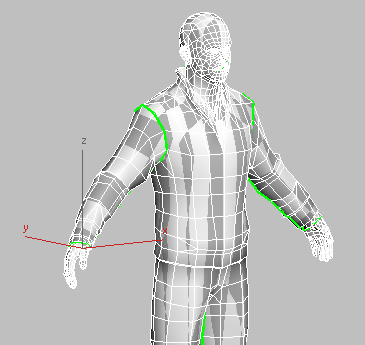
3ds Max highlights the polygons in the left arm.
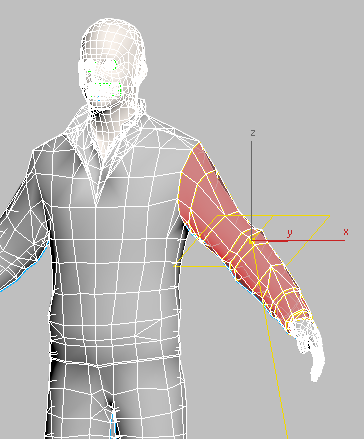
The Unwrap UVW modifier will create a cluster out of the selected polygons. When you peel the sleeve, which you will do in a moment, the Peel tool uses the seam you created at the bottom of the sleeve to flatten the way the cluster is mapped. Unwrap UVW also creates "map seams," which you don't have to specify explicitly, at the edges of the selection set.
Edit UVs rollout, click Open UV Editor. 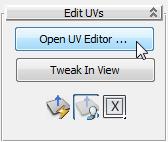
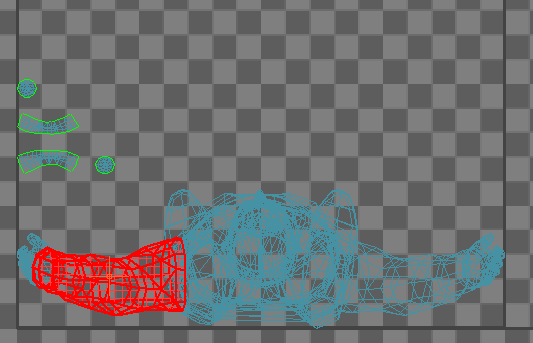
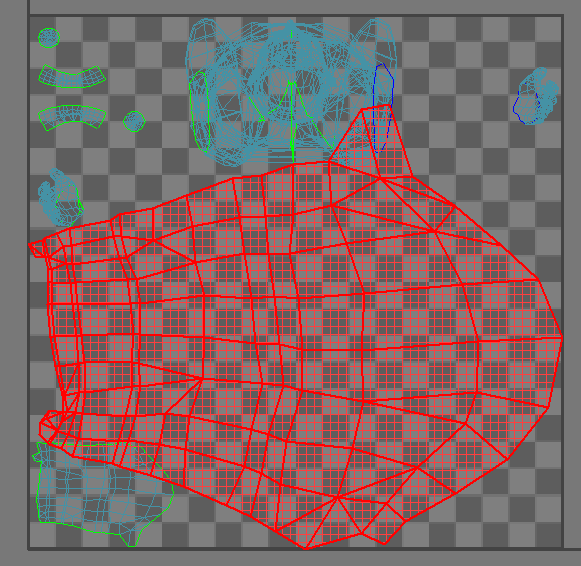
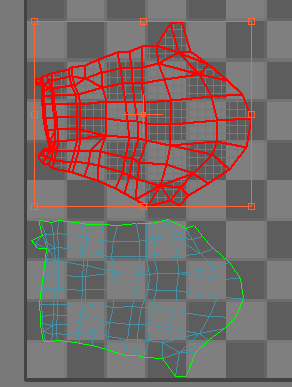
3ds Max opens the Edit UVWs dialog. The selected polygons appear in red.
 upper toolbar, click the
  options button.
  Display Preferences group, click to turn off Tile Bitmap, and then click OK.
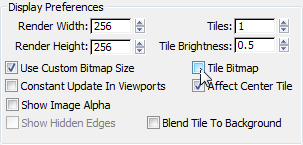
This makes it easier to see the unit square of the U and V coordinates.
Explode rollout, click  (Break).
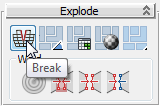
This breaks the cluster at the border of the Polygon selection.
Peel rollout, click  (Quick Peel).
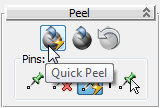
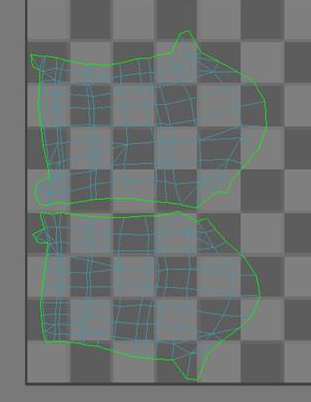
3ds Max peels the sleeve from the seam, creating a flattened cluster.
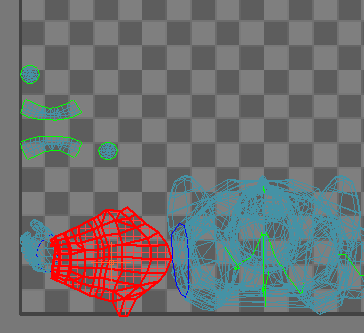
This is the kind of cluster shape to which you can easily apply a texture. After some more adjustments, you will improve its layout.
Before you adjust the peel of the left arm, rearrange the clusters in the Edit UVWs window.
upper toolbar, click  (Move Selected Subobject) to activate it.
 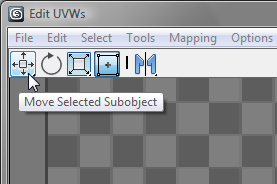 lower toolbars, the Sub-object Selection toolbar, click
  (Select by Element UV Toggle) to turn it on.
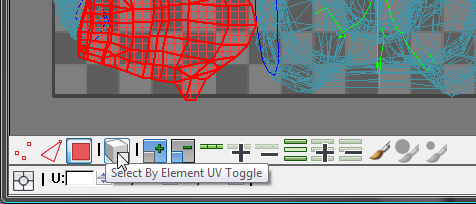
 move them away from the peeled sleeve. Leave the sleeve where it is.
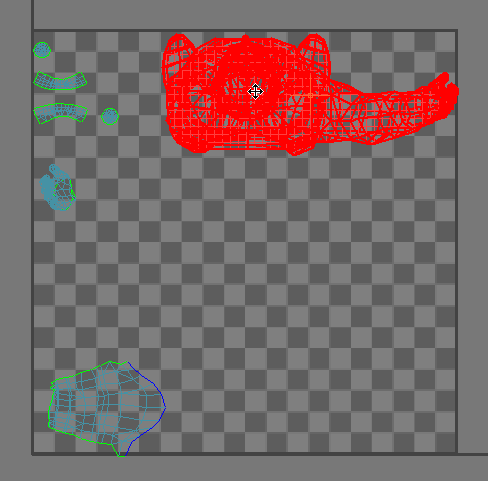
In general, you don't want the clusters of a peeled model to overlap.
Sub-object Selection toolbar, click  (Select by Element UV Toggle) once more to turn it off.
 (Zoom To Region) to zoom in on the peeled sleeve.
Navigation tools are on the Edit UVWs dialog second lower toolbar, the Transform/Display toolbar. They appear in the lower-right corner of the dialog.
Peel rollout, click  (Peel Mode) to turn it on. Peel Mode keeps peeling this cluster until you turn off Peel Mode, even if you select another
part of the polymesh.
(Peel Mode) to turn it on. Peel Mode keeps peeling this cluster until you turn off Peel Mode, even if you select another
part of the polymesh. 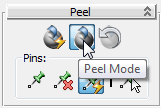 Sub-object Selection toolbar, click
  (Vertex) to go to the Vertex sub-object selection level.
 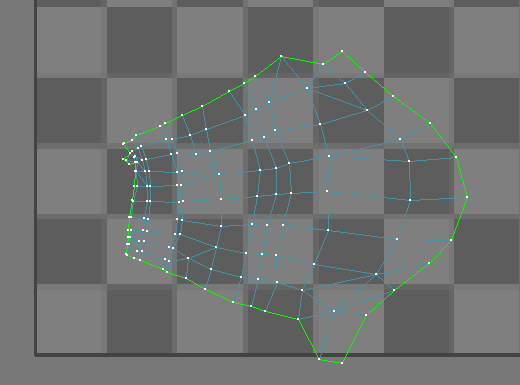 Peel rollout Pins group, click
  (Pin Selected).
3ds Max displays blue boxes around the pinned vertices.
 move it.
Notice that the other pinned vertex doesn't move, but the rest of the vertices move in relation to each other. This is because Peel Mode keeps peeling the cluster while you move the pins.
Peel Mode spreads the UVS among pinned vertices on the cluster. Because at least two pins are needed, the Unwrap UVW modifier chooses two invisible pins by default. If you move a vertex, Auto-Pin Moved Vertices automatically pins it. If there is only one pin, the other pin will still be invisible and chosen automatically. This can change the shape of the cluster in unexpected ways, so it's a good idea to pin two vertices yourself, at the perimeter of the cluster, before you begin to move other vertices.

View the mapping in the viewport:
It helps to compare the work you are doing in the Edit UVWs dialog with the mapping as it appears in the viewport.
Choosing this from the list causes the checker texture to display in the viewport.
As the viewport shows, the layout of the left sleeve already looks fairly good. The right arm and torso need more work. You will get to these later in this lesson.
Finish the layout of the left arm:
Move individual vertices so the layout of the sleeve is roughly rectangular, and better aligned with the checker grid.
 (Auto-Pin Moved Vertices) is turned on. When this option is off, you can move only vertices that are already pinned.

These adjustments don't have to be precise. Look at the model in the viewport to see that the peeled sleeve is mapped fairly evenly, with no obvious distortion.
 (Peel Mode) again to turn it off.
(Polygon) to go back to the Polygon sub-object selection level.
(Peel Mode) again to turn it off.
(Polygon) to go back to the Polygon sub-object selection level. 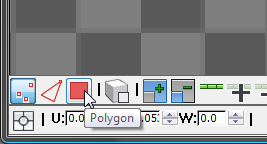
 Peel rollout, click
  (Reset Peel).
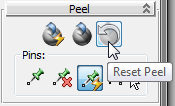
3ds Max peels the sleeve cluster, flattens it, and normalizes its scale as well.
The geometry of the right arm is different from that of the left arm, so the peeled cluster has a different shape.
Reset Peel is an alternate way to flatten a selected cluster, instead of clicking Break and then Quick Peel or Peel Mode.
upper toolbar, click  (Freeform Mode) to activate it, and move and scale the right sleeve cluster so it is above the left sleeve cluster, and is
roughly the same size.
(Freeform Mode) to activate it, and move and scale the right sleeve cluster so it is above the left sleeve cluster, and is
roughly the same size. 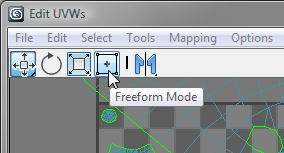
In Freeform Mode, the sub-object selection is surrounded by a box. Dragging the center of the box moves the selection; dragging a handle in the middle of a side rotates it; and dragging a handle at a corner scales the selection, relative to the texture you are mapping. Watch the cursor to see which transform is active.
 (Peel Mode), then click (Vertex) to go to the Vertex sub-object level.
Check the new layout in the viewport.
 (Peel Mode) again to turn it off.
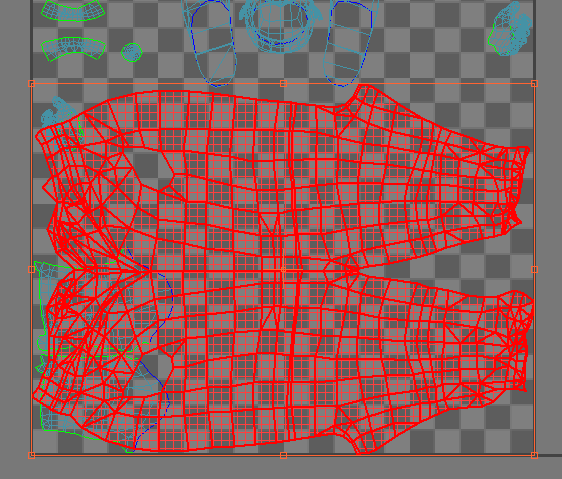
Peeling the legs and torso is almost the same operation. The main difference is that because the cluster is large, and because you rotate the selection, you use more initial pins.
(Polygon) to go back to the Polygon sub-object selection level. 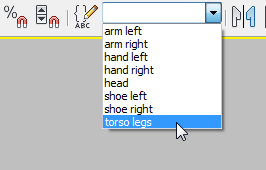 Peel rollout, click (Reset Peel).
 3ds Max peels the torso and legs cluster, flattens it, and normalizes its scale as well.
 (Freeform Mode) tool to rotate the cluster and place it in the empty area at the lower right of the Edit UVWs window.
 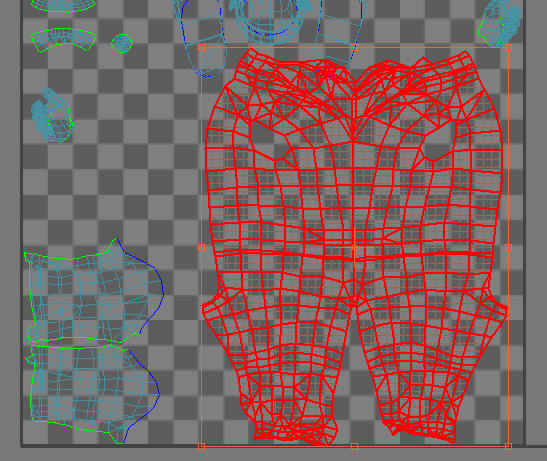 (Peel Mode), then click (Vertex) to go to the Vertex sub-object level.
(Pin Selected).
(Peel Mode), then click (Vertex) to go to the Vertex sub-object level.
(Pin Selected). 
Picking new pins will Peel again, changing the shape a little to spread UVs between the pins.
Move the two pinned points at the collar farther apart, to spread the cluster more evenly across the checker pattern. 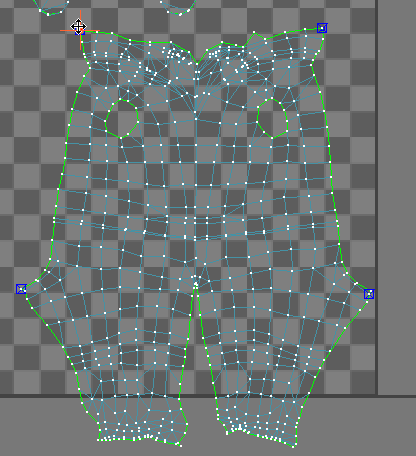 move the points at the corners of the cuffs of the pants, spreading them apart a bit and making the distribution more even.
Don't worry that the cluster extends beyond the unit square.
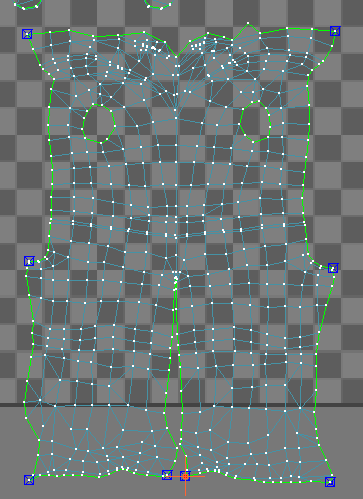
 (Peel Mode), activate (Freeform Mode), and click (Polygon) to return to the Polygon sub-object level. Select the torsolegs cluster once more, and scale it so it fits within the unit square.
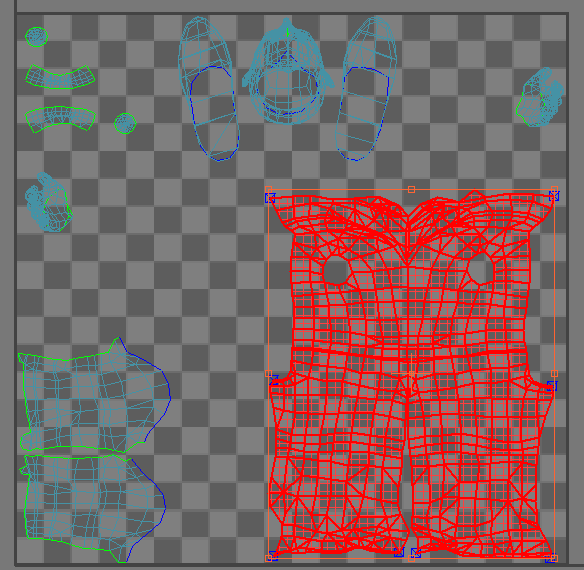
With clusters peeled and adjusted like this, you can create a texture to match the cluster layout, using either an image-processing application such as Photoshop, or the 3ds Max Viewport Canvas tool, which lets you interactively paint directly onto geometry.
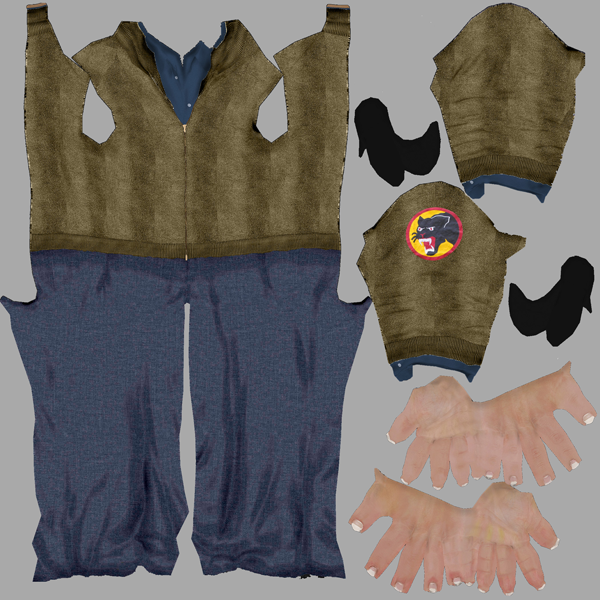
A texture for the CMan clothing and hands
This uses a somewhat different layout from the version you created in the lesson.

CMan with pants and jacket textured
The file cman_uv_clothing_peel_done.max contains a finished version of the peeled model.


 Peel the Geometry