The Group sub-object rollout is for selecting groups of vertices and constraining them to surfaces, collision objects, or other cloth objects.


Constraints that involve attaching the vertices to another object (Node, SimNode, Surface and Cloth constraints) contain information regarding the relative positions of the group vertices to the other object. This information is created upon the creation of the constraint. To regenerate this information, click this button.
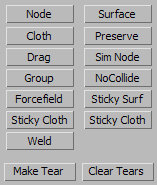
Constrains the highlighted group to the transforms of an object or node in the scene. To use, click Node, and then select the node for constraining. The node cannot be an object in the simulation; for that purpose, use the SimNode constraint.
This group type preserves the motion from below the Cloth modifier in the modifier stack. For example, you might have a dress that you've skinned to a skeleton. You want the upper portion of the dress to be unaffected by the Cloth simulation (that is, to retain its deformation defined by the skinning), and the lower part to be simulated. In this case, you'd make a Preserve constraint from the upper vertices.
This group type locks the vertices in place or adds a damping force to selected group. When Group Parameters rollout  Soft is off, you can use this constraint for nailing vertices in place so that they do not move at all. When Soft is on, the vertices
will have a drag force applied where the amount of drag is controlled by the Strength and Damping values, also on the Group
Properties rollout.
This option works the same as the Node option, except that the node must be part of the Cloth simulation.
Attaches one group to another. This is recommended only for single-vertex groups. (that is, groups that contain only one vertex). With this, you can make one cloth vertex stick to another cloth vertex. Select one group, click this button to open the Pick Group dialog , and then choose another group.
The group sticks to a surface only after it has collided with that surface. Solid Coll must be enabled for this constraint to work.
The group sticks to a surface only after it has collided with that surface. Self Coll must be enabled for this constraint to work.
Click to make an existing group into a Weld constraint. You must first highlight the name of the group in the Group list.
Weld does not create a tear; it only welds vertices that are in close proximity. Use Weld if you create a tear by modeling two elements with matching edges and then applying the Cloth modifier later.
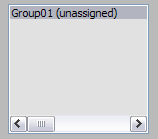
Shows all current groups. The number of vertices associated with the highlighted group is shown below the list. To assign, copy, paste, delete, or edit a created group, first highlight the group name in the list.
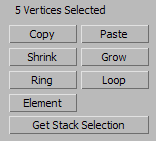
Select two vertices, and then click Ring to select the vertices that are perpendicular to these two.
Ring also works with selections of more than two vertices, but the results might not be what you expect. This is especially likely if Ignore Backfacing is turned off, as it is by default.
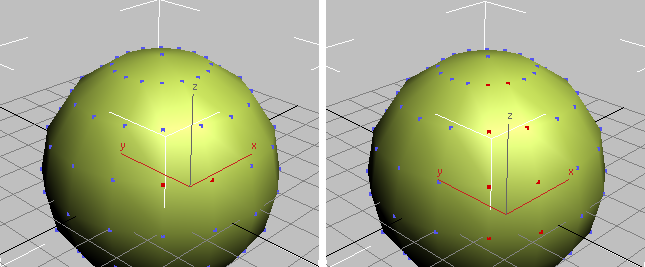
Ring selection based on two vertices
Select two vertices, and then click Loop to select the vertices that are parallel to these two.
Loop also works with selections of more than two vertices, but the results might not be what you expect. This is especially likely if Ignore Backfacing is turned off, as it is by default.
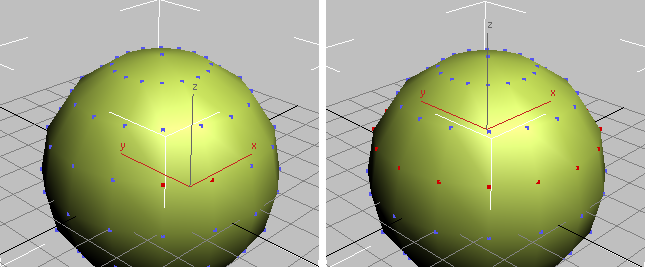
Loop selection based on two vertices
Gets a sub-object selection from below the Cloth modifier on the stack, and applies it to the Group vertex selection. For example, if you create an Editable Poly object, make a vertex sub-object selection for the Editable Poly object, apply the Cloth modifier, and then at the Group level click Get Stack Selection, the vertex selection is identical to the one you made for the Editable Poly object.
If the underlying selection is of a different sub-object type, such as Edge or Poly, clicking Get Stack Selection creates a selection whose vertices correspond to vertices in the underlying selection: for example, all vertices that belong to the Edges or the Polys selected below.