


So far, preview renderings of the scene have shown simple color tones. To give an object a more interesting and more realistic look, you need to apply a material to it. Material attributes give an object its color and describe what type of surface the object has. By adjusting material attributes, you can make a surface look hard and shiny like a billiard ball or soft and bumpy like a piece of cloth made of wool. To create materials, you use the Material Editor.
 open the file wt_floor.max.
Create a material for the walls and ceiling:
 (Material Editor) to open the Slate Material Editor.
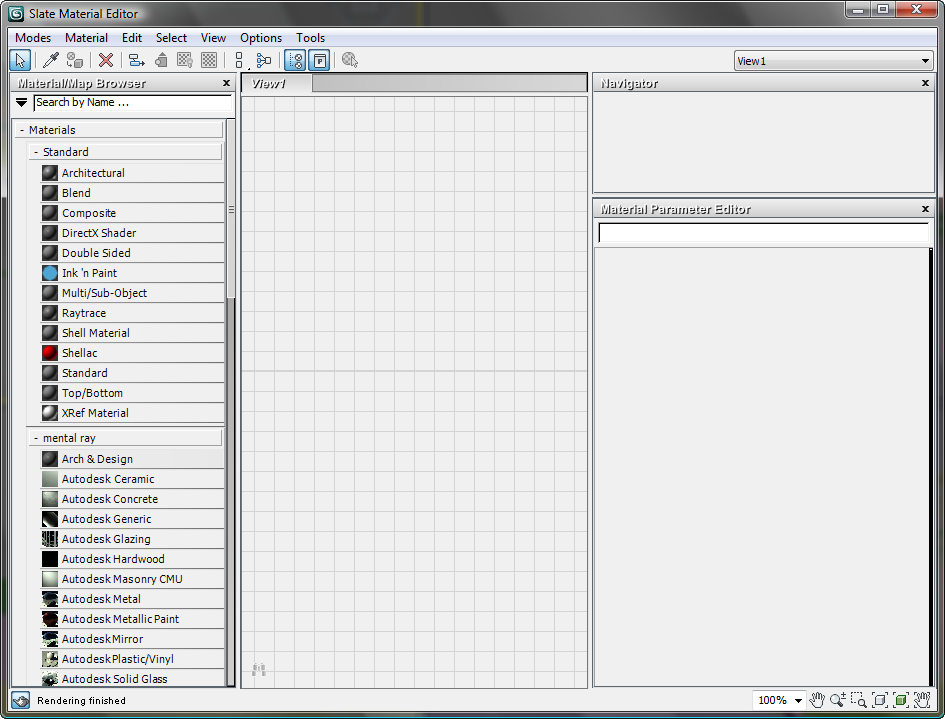
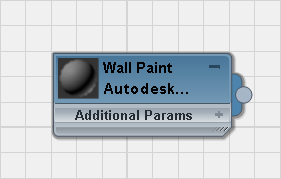
 mental ray group) into the active View at the center of the Slate Material Editor.
3ds Max Design displays a node for this material type in the active View.
3ds Max Design displays the Wall Paint material parameters in the Parameter Editor at the right side of the Slate Material Editor.
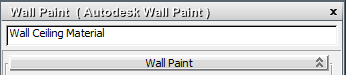
As you change the name in the Parameter editor, the name updates in the title bar of the node display, as well.
Wall Paint rollout, click the color swatch. 
Leave the paint Finish set to Flat/Matte and the Application set to Roller.
Apply the material to the walls and ceiling:
 (Select By Name) to display a Select From Scene dialog. In the list, click and Ctrl+click to select the wall and ceiling objects, and then click OK.
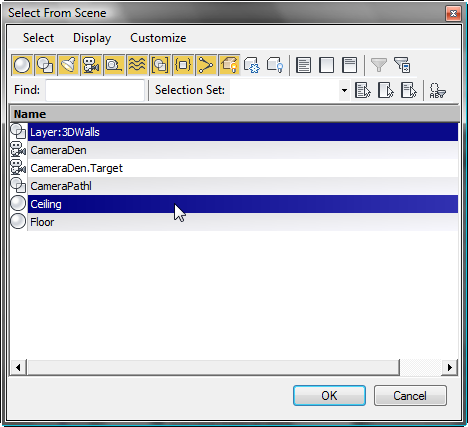
 (Assign Material To Selection).
3ds Max Design applies the material to the selected objects.
Create a material for the floor:
The floor material is slightly more complex: You will use a map to display a wooden floor effect.
mental ray group.)
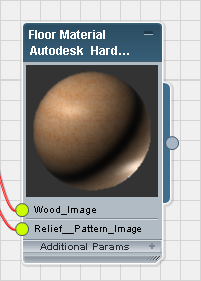
The Autodesk Hardwood material has two bitmaps built into it. In the Slate Material Editor, click (Zoom Extents) to see the main material node and the two bitmap nodes.

You will use the first bitmap, which contains the wood grain texture. You won’t use the second bitmap.
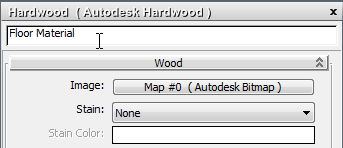
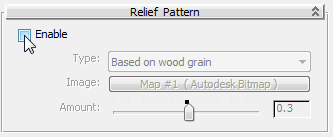
You could use the second bitmap as a bump map for the Hardwood material, but in this scene, the floor is smoothly polished, so this isn’t necessary.

 All Formats. Navigate to the folder \3ds max 2011 tutorials\sceneassets\images\. Choose cherry.jpg, and then click Open.
After you change the bitmap, the preview in the title bar of the Floor Material node shows the new wood grain.
 (Show Shaded Material In Viewport) so you can see the wood-grain map in shaded views. (If you use a legacy viewport driver,
this button's tooltip reads, "Show Standard Map In Viewport.")
(Show Shaded Material In Viewport) so you can see the wood-grain map in shaded views. (If you use a legacy viewport driver,
this button's tooltip reads, "Show Standard Map In Viewport.")
3ds Max Design displays the material with a red angle shape to show that Show Map In Viewport is active. This red flag appears in the heading
of the material node, in the Material/Map Browser Scene Materials group, and in the Navigator window at the upper right of the Slate Material Editor.
Apply the material to the floor:
(Select By Name) to display a Select From Scene dialog. In the list, click to highlight the floor object, and then click
OK. 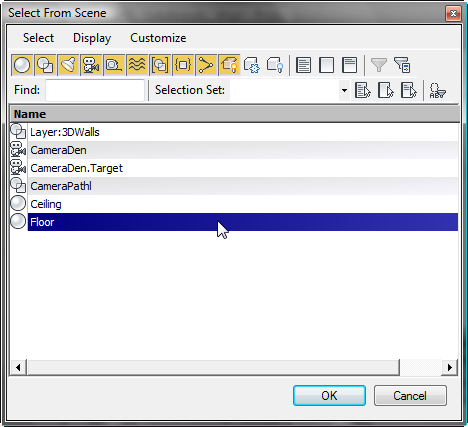 (Assign Material To Selection).
In shaded viewports, the floor turns brown, but it doesn’t show the wood grain. This is because the floor is an Editable Poly object. By default, object primitives have mapping coordinates assigned to them, but editable surfaces do not. You have to assign mapping coordinates explicitly.
 Modify panel. Choose UVW Map from the modifier list.
Mapping group, make sure that Planar is chosen, and that Real-World Map Size is turned on.
Preferences dialog General panel.
Modify panel. Choose UVW Map from the modifier list.
Mapping group, make sure that Planar is chosen, and that Real-World Map Size is turned on.
Preferences dialog General panel.
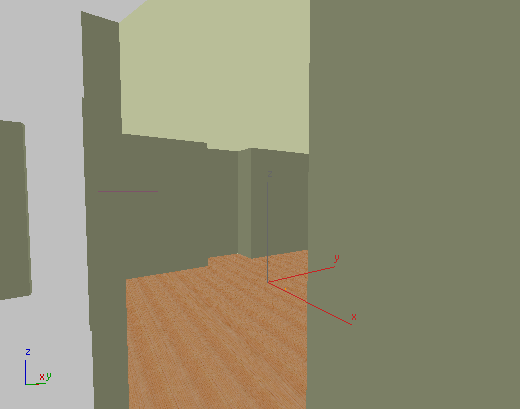
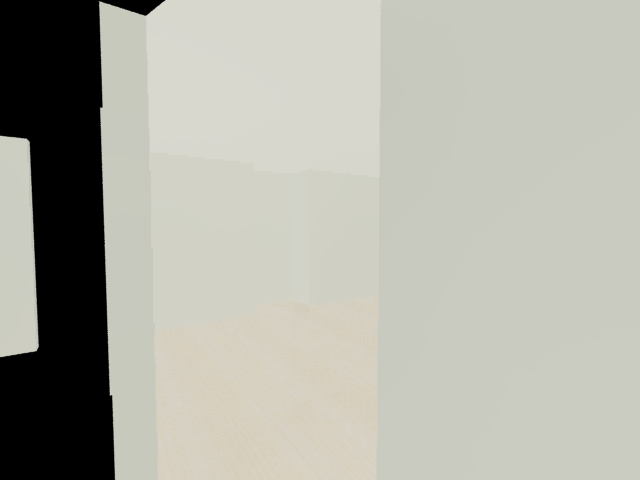
The floor grain appears in shaded viewports after you apply UVW Map.
 (Render Production).
3ds Max Design renders the scene with painted walls and a wood-grain floor. (The lighting is uninteresting, but you'll fix that in a later lesson.)
 Close the Slate Material Editor.
Save As, and save your scene as my_wt_material.max.
Close the Slate Material Editor.
Save As, and save your scene as my_wt_material.max.
 (Pick Material From Object) tool. You can also find the material in the Material/Map Browser