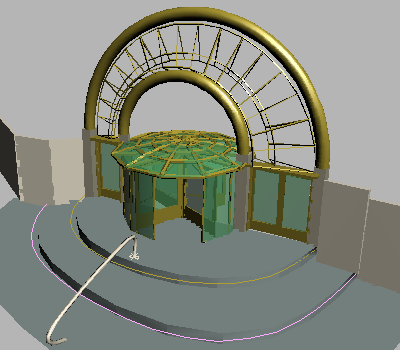
The revolving door seems lonely, spinning by itself in the viewport. You can use the Merge command to put this revolving door into context, by merging in a scene of an entranceway.
You'll also learn to animate the opening of parametric doors.
 open \startup\revolving_door.max.
 Application menu, choose Import
  Merge, browse to \startup\entranceway.max, and click Open.
After you click the file name, the Merge File dialog displays a thumbnail of the scene.


If the Duplicate Name dialog appears, click Skip for any duplicate objects.
 Click an empty area of the Perspective viewport to deselect all objects.
 (Zoom), and then zoom back so you can see the double doors. These are to the right of the revolving door, from your point
of view.
(Zoom), and then zoom back so you can see the double doors. These are to the right of the revolving door, from your point
of view. 
 (Auto Key).
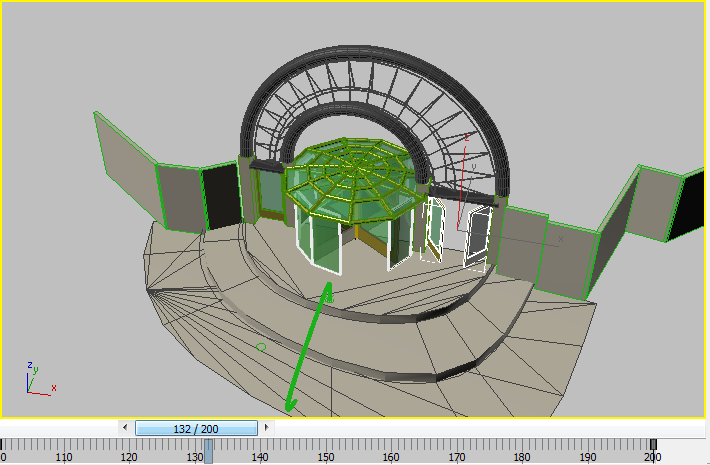
Select the Double doors object. In the Perspective viewport, these doors are to the right of the revolving door.
(Auto Key).
Select the Double doors object. In the Perspective viewport, these doors are to the right of the revolving door.
 Modify panel Parameters rollout, set Open to 70.0 degrees.
The spinner arrows are now outlined in red, indicating that Open is an animated parameter that has a key on the current frame.

 (Auto Key).
 first frame, then
  Play the animation.
The revolving doors go around and the double doors swing open.
You can use the track bar to make the double doors open and close faster.
play the animation.
The doors open and close more quickly.
You can make the doors open and close repeatedly throughout the animation by using Track View.
Modify panel, find the animated Open parameter, and right-click within the numeric field. From the menu that appears, choose
Show In Track View. 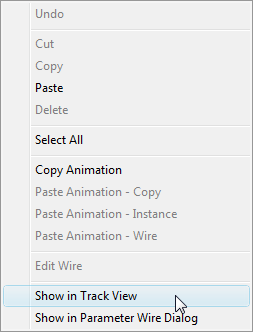
A Track View – Curve Editor window opens with the Double doors Open parameter highlighted.
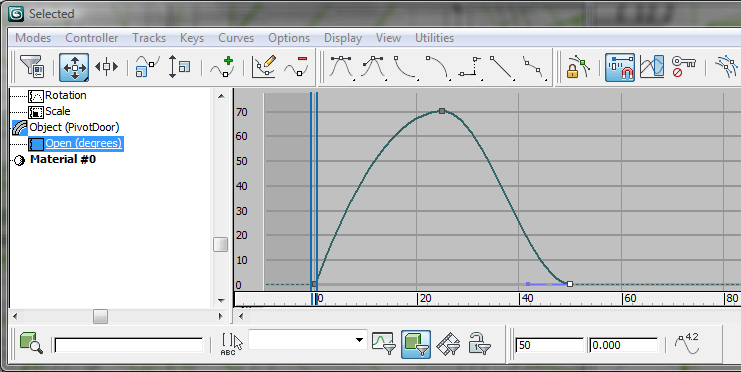
 (Parameter Curve Out-Of-Range Types).
If you don't see this button, then right-click a blank area of the Track View toolbar, and from the pop-up menu choose Show
Toolbars Curves: Track View.


Click OK to accept the change and close the dialog, and then  close the Selected track view dialog.
Play the animation again.
You can find a finished version of the scene in revolving_door_final.max.
In this tutorial you learned to get around the 3ds Max Design user interface, and to do some simple modeling and animation. You learned to work with primitive objects and apply and edit materials. You created a door object, made clones of it, and linked the doors to a parent object in order to make an animation. Lastly, you learned to merge files together to create a more complex scene.


