The cornice, with its peak, is slightly different from the roof for Facade1.
 Pan so you can see the roofline.
 (Edge) to turn on the Edge sub-object level.
 Select the edges along the top of the façade.
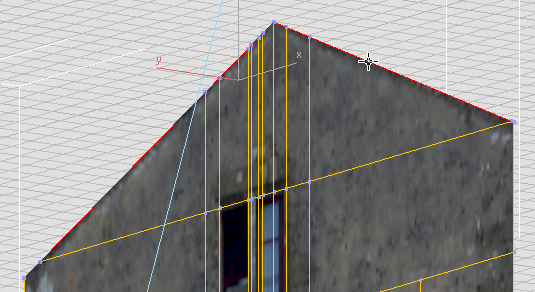
 Shift+move the edges forward a bit along the Y-axis.
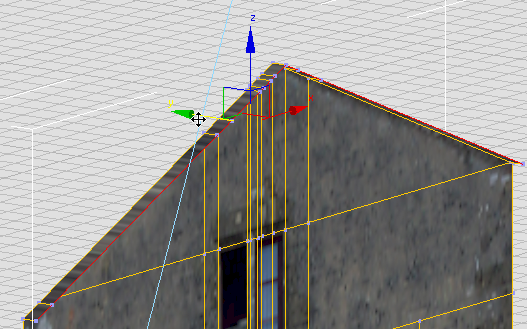 Shift+move the edges up a bit along the Z-axis.
 Shift+move the edges forward along the Y-axis, and then Shift+move them up along the Z-axis once again, to complete the cornice.
 (Edge) to exit the Edge sub-object level.
At this point, if you wish, you can add depth to the windows and to the façade as a whole, as we did for Facade1. But that work has been done for you in the sample file for the next lesson. This completes the modeling work on Facade4. What remains is to correct the texture mapping with Unwrap UVW. Because the arch is curved, you will use a new method to map its inner faces.


 (Window), and drag a box around them.