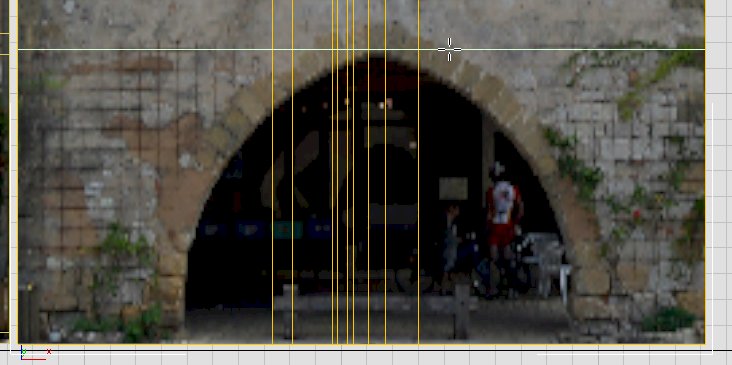
The arch is the distinctive feature of Facade4. It calls for more complex modeling than the doorways of the previous façade.
The window edges give you a starting point, but to model the arch well, you need to add some further edges for reference and for making cuts.
 Pan and
  zoom so you have a good view of the arch.
 Edit panel, turn on
  (SwiftLoop) again.
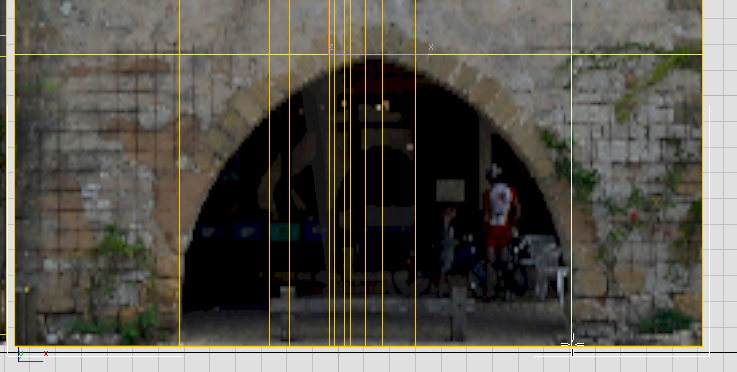

 Edit panel, turn on
  (Cut).

Reminder: Don’t click the mouse when the cursor shows it’s  on a face. The cuts should always join edges or vertices.
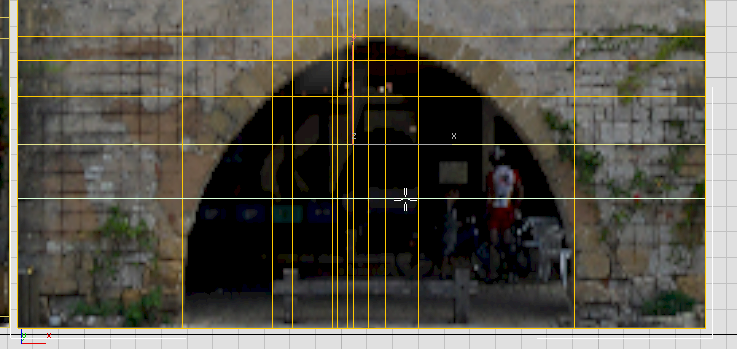
 (Vertex), then
  move the new vertices in X or Y (try not to deform the horizontal and vertical lines of the grid).
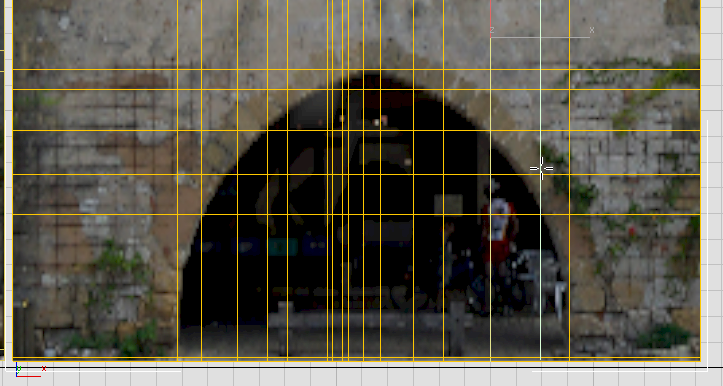
When the cuts for the archway are done, you’re ready to extrude the arch.
 (Polygon) to go to the Polygon sub-object level.
 Click and Ctrl+click to select the faces in the archway. Don’t neglect the small triangular faces that you might have created along the
upper edge of the arch.
Click and Ctrl+click to select the faces in the archway. Don’t neglect the small triangular faces that you might have created along the
upper edge of the arch.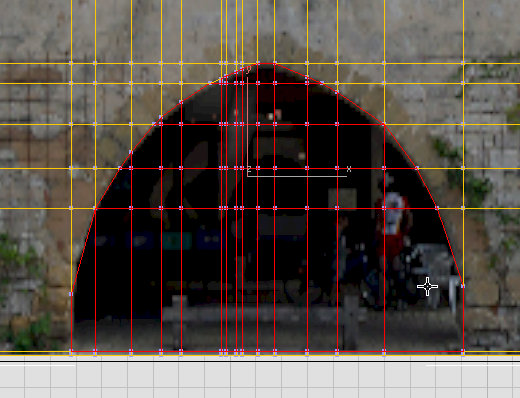
 Polygons panel, Shift+click
  (Extrude) to display the extrusion caddy.
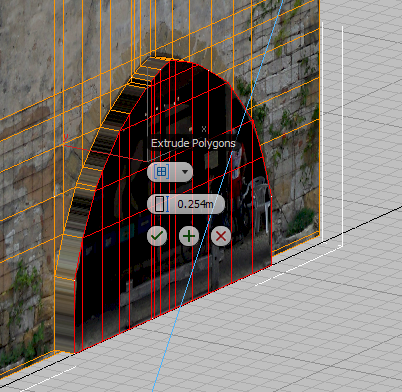
You will extrude the arch in two stages: The first stage gives depth to the wall, and the second represents part of the interior of the arcade behind the arch.

 (Apply And Continue).
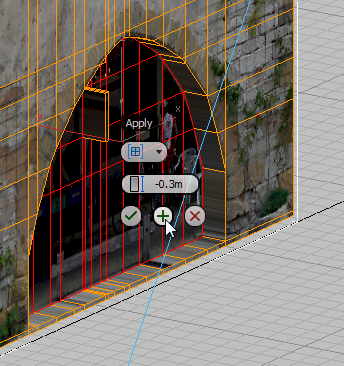
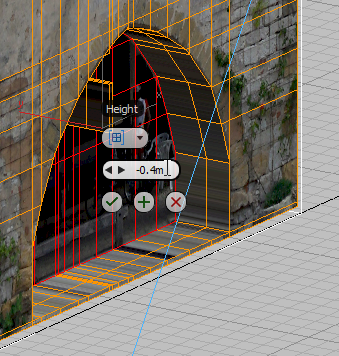
 (OK) to accept the value and close the caddy.


