Now that you have your tree proxies properly defined, you need a way to instance them multiple times and distribute them across your terrain. You can do this by using the Object Paint feature, which is new to Autodesk 3ds Max Design 2012. Object Paint lets you paint objects onto other objects: In this lesson, you will paint proxy trees onto the terrain object, Plane01.
 open 8_trees.max.
Choose the trees with which you will paint:
 (Graphite Modeling Tools). Click the
  expand/collapse icon until you can see the full height of the ribbon.

 (Edit Object List).
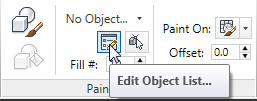
3ds Max Design opens a Paint Objects dialog.
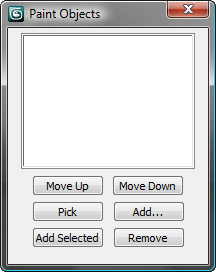

The grove you paint in this lesson will be an eclectic one. Another time, you might want to choose only spring trees, for example, or fall ones.
 Close the Paint Objects dialog.
Now you are able to paint the trees onto the terrain. By default, the Paint Objects tool uses the first object in the set you selected.


We want the trees to grow vertically, not to lean wherever the terrain is not flat.
In the Brush Settings panel  Rotate group, click the drop-down arrow next to the Z coordinate field, and in the drop-down list, turn on Random Z.

When you paint, the trees will have a random amount of rotation about their vertical (Z) axis.
 Scale group, make sure
  axis Lock (Uniform Scale)) is turned on, then open the
  Scale Type drop-down list, and choose Random.
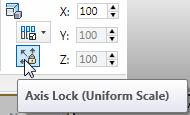
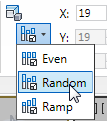
After you choose Random, the Scale group shows a range of values for the axes; because Axis Lock is on, you can change only the X axis values.

The trees will vary in height and girth from 60 units to 160.
 Select the terrain object, Plane01.
Remember that Object Paint is set to paint onto the currently selected object.
 Maximize the Top viewport, and click
  (Zoom Extents Selected).
 (Paint).
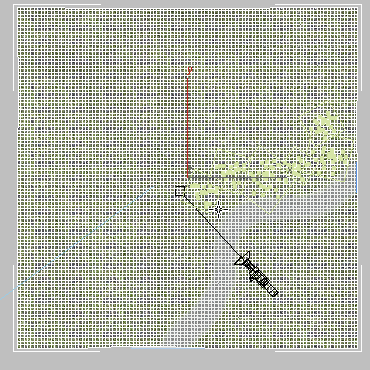
You can paint the trees densely together, but on the near bank of the stream, avoid painting directly in front of the camera’s line of sight.
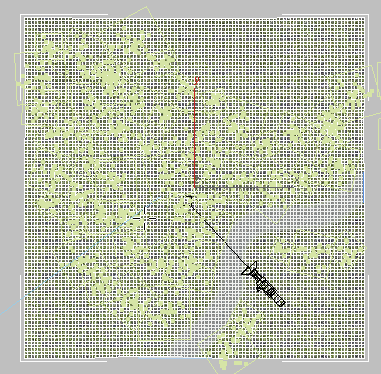
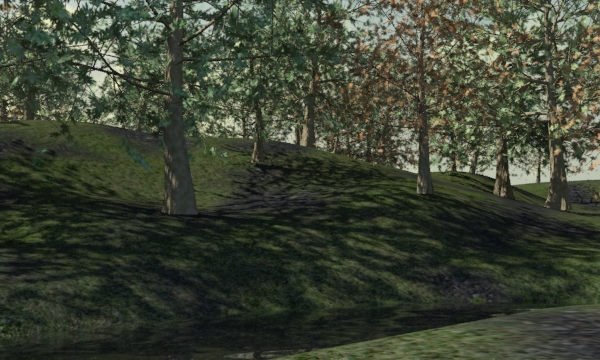
 Minimize the Top viewport, then activate the Camera01 viewport, and
  render the scene.
 (Cancel).
3ds Max Design removes the trees you painted, allowing you to start over.
 (Commit).
3ds Max Design adds the trees to the scene, as copies of the original tree proxy objects.
If you like, experiment with other options, such as painting with only trees from a certain season, as we suggested earlier, or changing the range of Scale X to paint a greater (or lesser) range of variation in size.
You can compare your work with a finished version of this scene, proxy_trees_final.max.
When you render with the mental ray renderer, mr Proxies are a useful way to create a large scene with many instances of a similar object. While mr Proxy objects cannot be edited directly, they offer the advantage of freeing up memory and speeding up render time.