


After you have imported the model back into Inventor, you have a solid model that you can edit further using Inventor tools.
Import the assembly into Inventor:
 Autodesk Inventor.
 Launch panel, click
  (Open). Browse to the \export\ folder in your 3ds Max Design tutorials project, change the file type to SAT, then open the file mymaxclamp.sat.
The modified blade clamp appears in Inventor, along with the new connecting parts you created.

Use Inventor to edit the new parts:
 Orbit the view so you can see the inside of the stirrup.
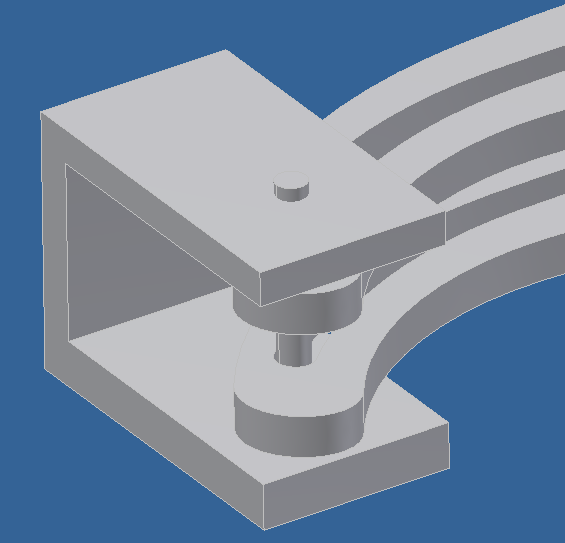
 (Fillet).
Inventor opens the Fillet dialog. Leave the settings unchanged to accept the defaults, but set up filleting by clicking the rear edges of the U, both inside and outside. Click the front corner edges of the U-clamp as well.

Inventor fillets the edges you clicked.

If you want to experiment, you can fillet edges, or make other edits, to the original blade clamp object as well.
 Application menu Save As, and save the assembly as mymaxclamp.iam. Click OK to save all components.
In this tutorial, you saw how you can use the SAT format to share objects between 3ds Max Design and Autodesk Inventor, and edit them in either application.