To simulate natural sunlight coming from the outside, you will use a Daylight system. A Daylight system uses lights in a setup
that follows the geographically correct angle and movement of the sun over the earth at a given location.
Set up the scene:
- Continue from your previous scene.
Add the daylight system:
- Right-click the Perspective viewport to make it active, and then click
 (Maximize Viewport Toggle), or press Alt+W.
TipIf a Perspective viewport is not visible, you can change one of the orthographic views to a Perspective view, but then you
will have to navigate in the viewport to get a good overhead view of the house, with some empty space around it.
- Press F3 to switch to wireframe display.
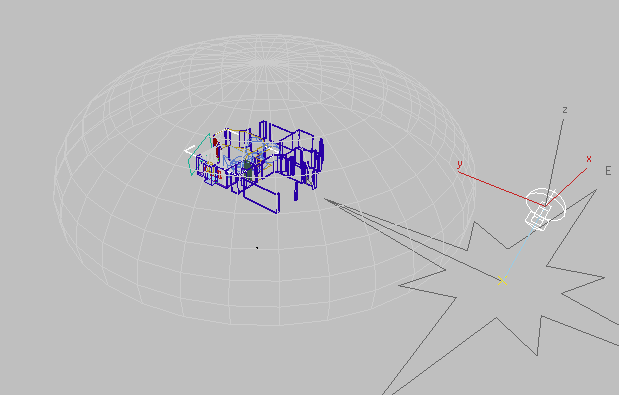
 Zoom out in the viewport so you can see a blank area outside the sky dome.
- Go to the
 Create panel, and click
  (Systems). On the Object Type rollout, click the Daylight button to turn it on.
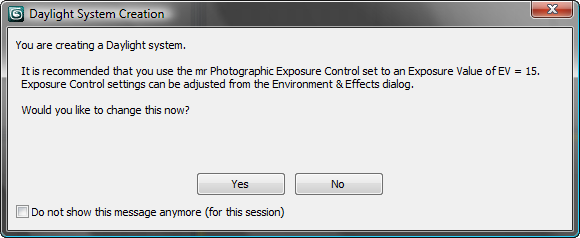
3ds Max Design displays a dialog that asks if you want to add a Logarithmic exposure control to the scene.
- Click Yes to add the exposure control.
- Drag in an empty area of the Perspective viewport. A compass rose appears. Release the mouse.
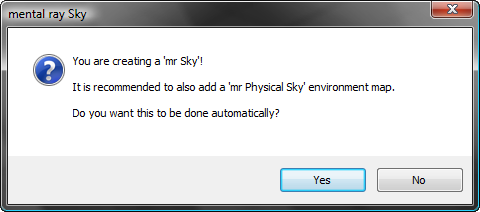
3ds Max Design displays a dialog that asks if you want to add an “mr Physical Sky” environment map.
- Click Yes to accept the environment map creation and dismiss the dialog.
- Back in the Perspective viewport, drag to set the height of the Daylight light. Click to complete creation of the Daylight
system.
NoteThe scene position of the compass and the height of the light don't really matter: 3ds Max Design will calculate correct values for daylight. Later, you will adjust the orientation of the compass to reflect the geographic
orientation of your model.
Adjust the daylight values:
- With Daylight still selected, go to the
 Modify panel.
- On the Daylight Parameters rollout, in the Position group, click Setup.
3ds Max Design goes to the  Motion panel and displays a Control Parameters rollout.
- On the Control Parameters rollout, in the Time group, change the Hours value to 16.
- In the Location group, click Get Location.
3ds Max Design opens a Geographic Location dialog.
- Use the City list or a map to choose your present location, and then click OK.
For example, Montreal QB Canada was used for the sample scenes.
- In the Location group, change the North Direction to 112.0.
This value corresponds to Montreal. It also ensures that the living room is oriented to the southwest, toward the setting
sun.
If you chose a different city, you might want to use its local value for north.
3ds Max Design changes the orientation of the compass to point to the north you entered.
Save the scene:
- Choose File
 Save As, and save your scene as my_wt_daylight.max.
 (Maximize Viewport Toggle), or press Alt+W.
 Zoom out in the viewport so you can see a blank area outside the sky dome.
 Create panel, and click
  (Systems). On the Object Type rollout, click the Daylight button to turn it on.


 Modify panel.
 Motion panel and displays a Control Parameters rollout.
 Save As, and save your scene as my_wt_daylight.max.