


Using Basic Polygon Editing
to Create a Helmet
When you model rounded objects, such as the helmet in this tutorial, we recommend that you avoid using a sphere as a starting point.
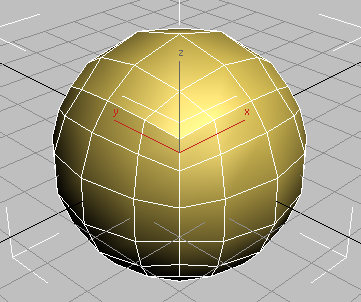
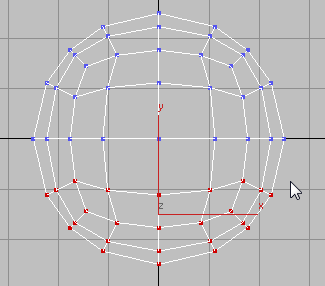
The next illustration shows the polygons that make up a sphere. The top of the sphere is composed of triangular polygons whose vertices tend to pinch together at the pole. This can lead to problems later on.
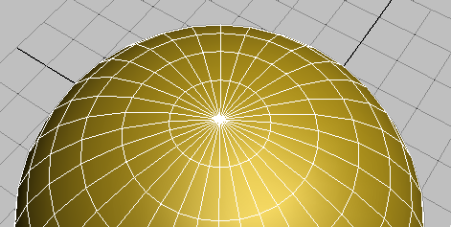
Top of sphere with vertices pinched together at its pole
It is therefore best to model a rounded object, other than an actual sphere, using rectangular polygons only. You will use this technique in this lesson.
Create the basic helmet shape:
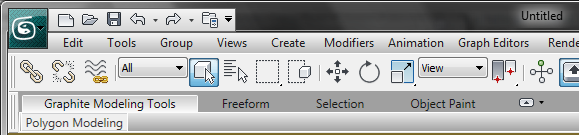
By default, a minimized version of the Graphite Modeling Tools ribbon displays directly below the main toolbar.
 expand/minimize icon a few
times until the full ribbon displays.
expand/minimize icon a few
times until the full ribbon displays.
The tools in the Polygon Modeling tab are inactive, since no polygon model exists in the scene.
 Display Unit Scale group, make sure Generic
Units is chosen.
Display Unit Scale group, make sure Generic
Units is chosen.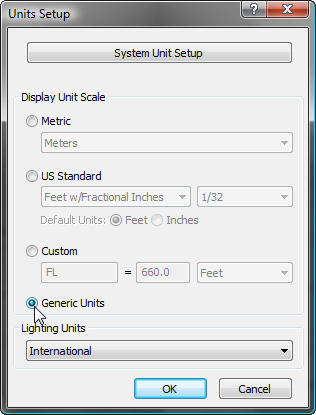
 Create panel, activate
  (Geometry), then on the
Object Type rollout, click Box.
(Geometry), then on the
Object Type rollout, click Box.
 Modify panel Parameters rollout,
set Length, Width, and Height to 50.0.
Modify panel Parameters rollout,
set Length, Width, and Height to 50.0.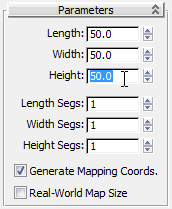
Currently, the pivot point is at the base of the object. You need to set this point to the center of the box so you can manipulate the object more easily.
 Hierarchy panel Adjust Pivot rollout Move/Rotate/Scale group,
click Affect Pivot Only to turn it on.
Hierarchy panel Adjust Pivot rollout Move/Rotate/Scale group,
click Affect Pivot Only to turn it on.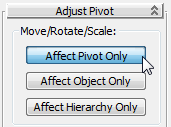
 (Select And Rotate) and rotate
the box.
(Select And Rotate) and rotate
the box.
 Undo the rotation.
 Transform Move.

The center of the box is now at the center of the world coordinates.
 (Select Object) to turn
off the Move tool.
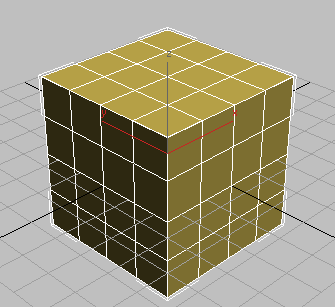
Modify panel Parameters rollout,
set Length Segs, Width Segs, and Height Segs to 4.
(Select Object) to turn
off the Move tool.
Modify panel Parameters rollout,
set Length Segs, Width Segs, and Height Segs to 4.
After you press F4, the Shading viewport label should show “Smooth+Highlights+Edged Faces.”
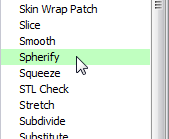
Box with Spherify modifier applied
The object is deformed into a spherical shape, but retains its geometric composition of easily editable quadrilateral polygons.
You only need a hemisphere to create the helmet, so next you will delete the lower half of the box and deform the remaining polygons into a conical shape.
Convert
To Editable Poly.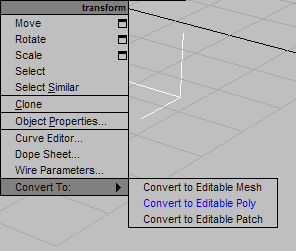
The ribbon updates to display a range of polygon-editing tools.
Polygon Modeling panel, click  (Vertex) to go to the Vertex
sub-object level.
(Vertex) to go to the Vertex
sub-object level.  Region-select all the vertices
in the lower half of the object (but not the equator), then press Delete.
Region-select all the vertices
in the lower half of the object (but not the equator), then press Delete.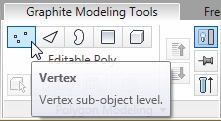
You now have a hemispherical dome for the helmet. Next, you will give the object a slightly conical shape.
 Select the vertex at the
top of the helmet and move it upward along the Z axis.
Select the vertex at the
top of the helmet and move it upward along the Z axis.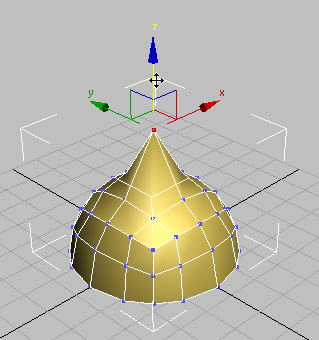
Top vertex after transformation in Z
Notice that only the polygons that share the vertex are deformed. You need to use Soft Selection to involve the adjacent vertices and polygons as well.
Undo the vertex move.
Use Soft Selection to shape the helmet:
Polygon Modeling panel, click  (Soft Selection) to turn
it on.
(Soft Selection) to turn
it on.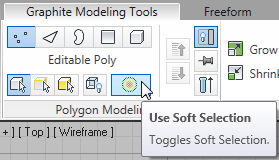
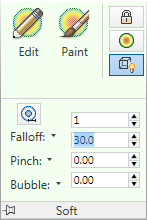
At the end of the ribbon, on the right, 3ds Max displays a Soft Selection panel, which provides options that control how the soft selection is carried out.
Move the top vertex of the
helmet upward along the Z axis again, until the object appears similar
to that in the next illustration.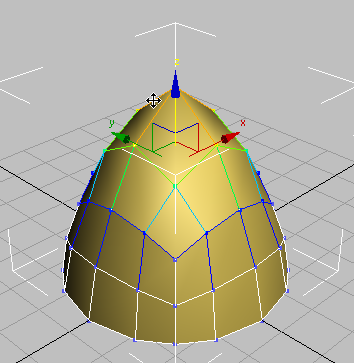
Polygon Modeling panel, click  (Soft Selection) again to
turn it off.
(Soft Selection) again to
turn it off.
Next, you will use the MeshSmooth tools to smooth out the helmet surface.
Subdivision
panel, click MSmooth.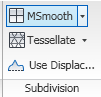
This option takes each polygon and divides it into four, making a smoother, more detailed geometry.

Polygon Modeling panel, click  (Vertex) to exit this sub-object
level.
(Vertex) to exit this sub-object
level.