In this lesson, you will work in symmetry mode on half the helmet. This way, any changes you make will be perfectly mirrored for the other half.
 open helmet_01.max. This scene is in
the folder \scenes\modeling\helmet\.
 select the helmet object,
and on the ribbon
  Polygon
Modeling panel, click Modify Mode.
When active, Modify Mode makes the entire array of Graphite Modeling Tools available.
 (Polygon) to go to the Polygon
sub-object level.

 (Y), then click
  (Select).
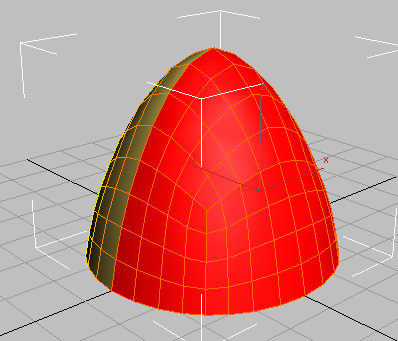
This selects half the object based on its Y axis orientation.

The polygon selection is inverted. The new selection contains the polygons we want to remove.
You will now add a Symmetry modifier to these polygons so that their geometry can be mirrored.
 Modify panel and from the
Modifier List choose Symmetry.
 Mirror Axis group, choose
the Y option and turn on Flip.
This properly orients the mirrored half of the helmet.
Notice how the ribbon displays a limited set of modeling tools. This is because the Symmetry modifier is active.
 Polygon Modeling panel, click
  (Previous Modifier).
Now the Editable Poly object is active again, and the ribbon displays an expanded set of tools for polygon editing.
The mirrored half of the helmet is hidden in the viewport because with the polygon editing controls displayed, you are editing the source polygons only.
 (Show End Result) to see
the mirrored side of the helmet controlled by the Symmetry modifier.
 (Show End Result) again
to turn it off.
 (Use NURMS).
The Use NURMS panel displays at the right of the ribbon. (NURMS is short for Non-Uniform Rational MeshSmooth.)
This smooths out the object by adding more polygons to the geometry. It is best to specify an Iterations value of no more than 3, because each time you increase iterations by one, the number of vertices and polygon faces can increase by a factor of four. This can result in a lengthy calculation time.

 Edit panel click
  (Use NURMS) to turn it off.
Next, you will add two extrusions that will form the rim of the helmet and its vertical ridge.
Select the seam and rim faces to extrude:
 (Edge) to go to the Edge
sub-object level.
 select a polygon edge as
shown in the next illustration, then on the Modify Selection panel,
click
  (Ring).
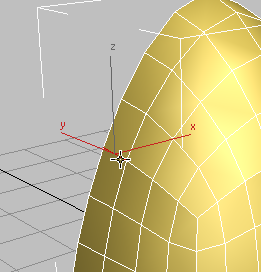

3ds Max selects all edges parallel to the first one, in a ring around the object.
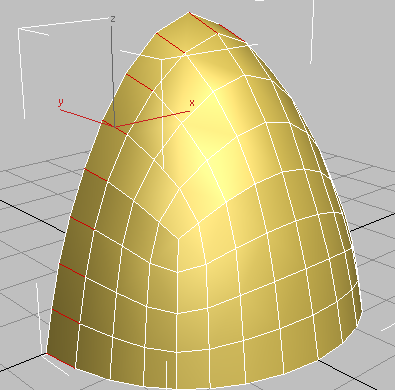
 (Connect).
3ds Max draws a single loop of edges around the selected edges. It also displays the “caddy” controls for the Connect tool.
(When you Shift+click a tool on the ribbon, 3ds Max displays the caddy controls for that tool.)
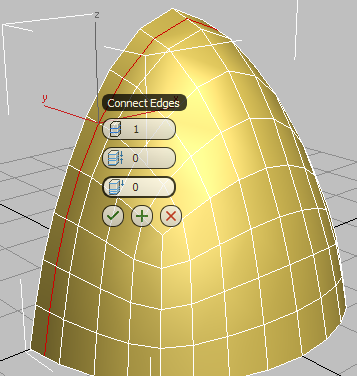
By default, the loop is placed in the center of the selected edges, but the negative Slide value you will specify in the next step will position it to the left of center.
 (OK).
(OK).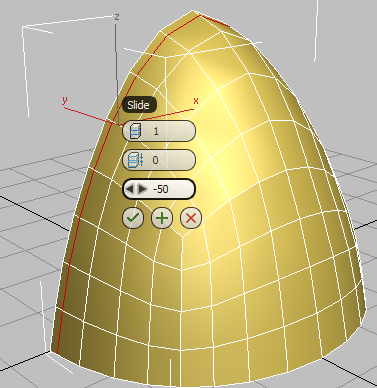
Edge slides to the left
 click to select a vertical
edge on any polygon at the bottom row of the helmet, then on the
ribbon
  Modify
Selection panel, click
  (Ring).
The Ring tool automatically selects all the vertical edges.
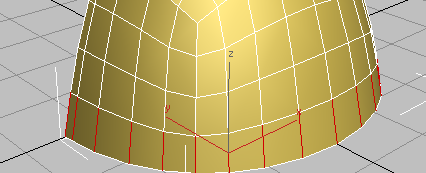
 (Connect).
Once again, 3ds Max displays the caddy controls for the Connect tool.
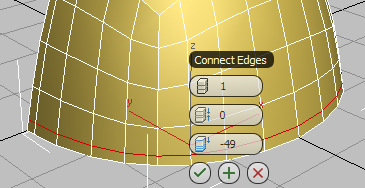
 (OK).
(OK).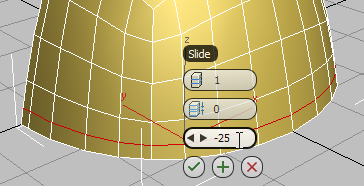
 (Show End Result) to see
how the Symmetry modifier has added a mirrored portion to the helmet.
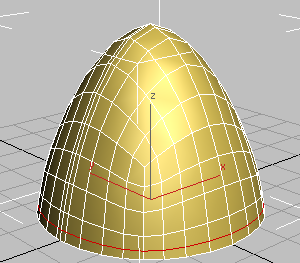
 Convert To Editable Poly.
The Symmetry modifier is removed and all the mirrored polygons are integrated into the model.
Select the helmet seam and rim:
 Polygon Modeling panel, activate
  (Edge).

 Click to select one of the
edges along the center edge of the helmet.
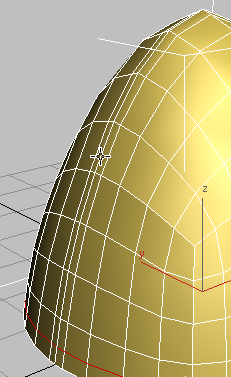
Because Loop Mode is on, 3ds Max selects the entire loop of edges along the helmet ridge.
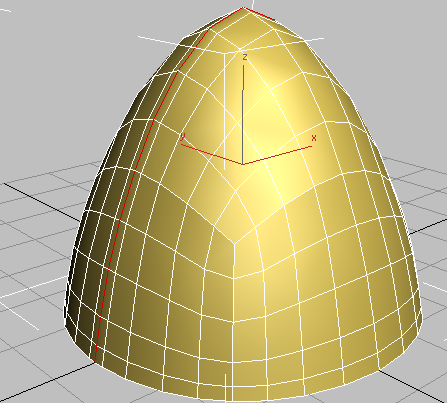
3ds Max selects the rim edges as well as the ridgeline.
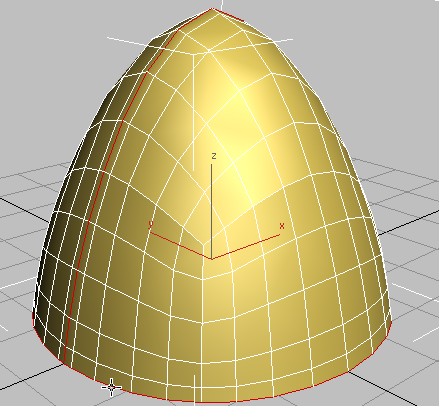
 Polygon
Modeling panel, activate
  Polygon.
3ds Max selects all the polygons adjacent to the edge selection.
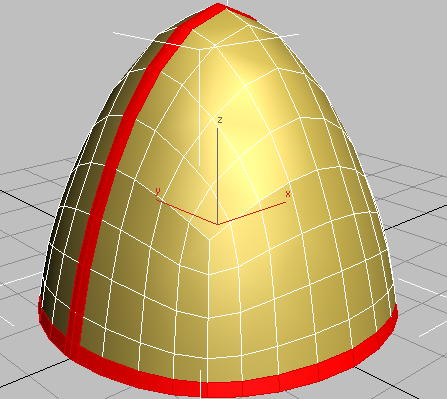
Extrude the helmet seam and rim:
 (Extrude).
3ds Max displays the caddy controls for the Extrude tool.
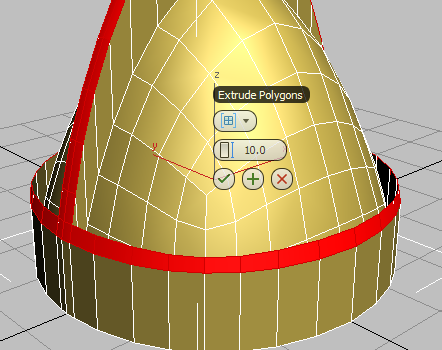
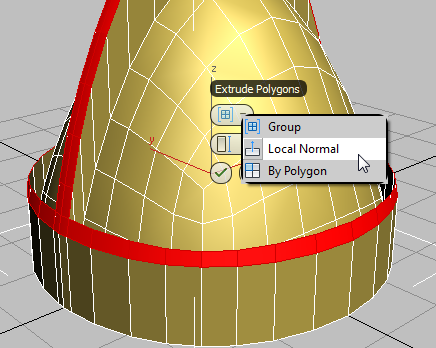
 (OK).
(OK).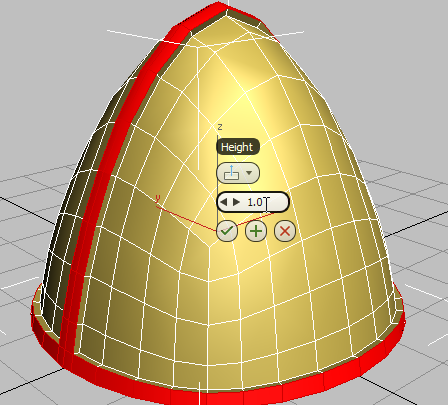
 Polygon Modeling panel, click
  (Polygon) selection to exit
the sub-object level.
 (Use NURMS) and on the Use
NURMS panel, click
  (Show Cage) to hide the
cage, then press F4 so you can
see the end result without edged faces.
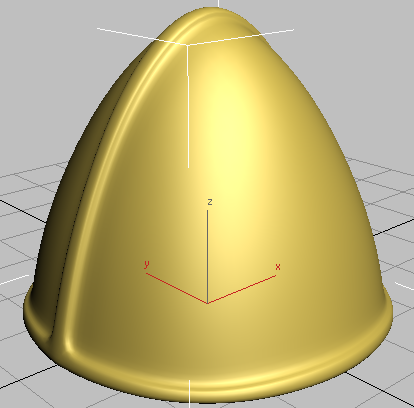
Helmet with middle seam and rim extrusions
In the next procedure, you will add more edges to create a less rounded extrusion to the rim and ridge.
 Edit panel, click
  (Use NURMS) to turn off
NURMS mode.
 open the scene helmet_02.max
 select the helmet, and make
sure the
  Modify panel is active.
Notice the slight wave to the extruded rim of the helmet.

 Polygon Modeling panel, activate
  (Vertex), then
  region-select the row of
vertices that is second from the bottom.
 Align panel, click
  (Align Z) to align all the
vertices along their average orientation on the Z axis.

 region-select the vertices on
one side of the ridge extrusion.
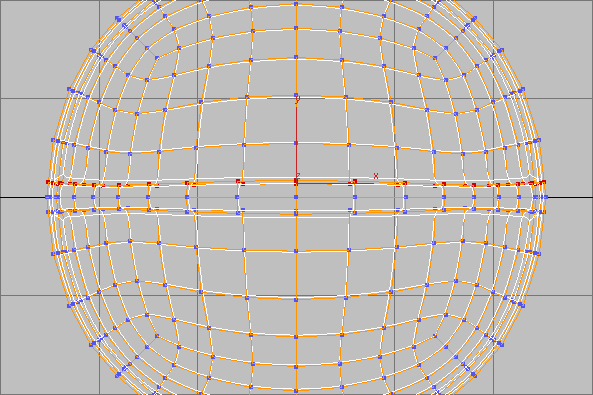
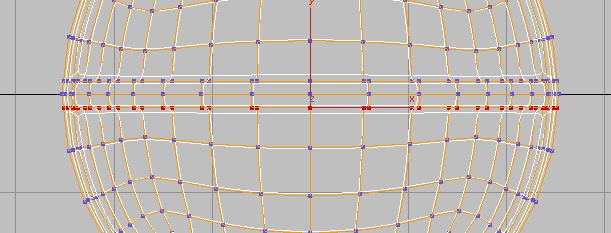
 Align panel, click
  (Align Y) to align all the
vertices along their average orientation on the Y axis.
 (Align Y) again.
Now the edges of the extruded ridge are also straight.
 Polygon Modeling panel, activate
  (Edge).
 (Ring Mode).
 Click to select one of the
horizontal edges just on the near side of the ridge of the helmet.
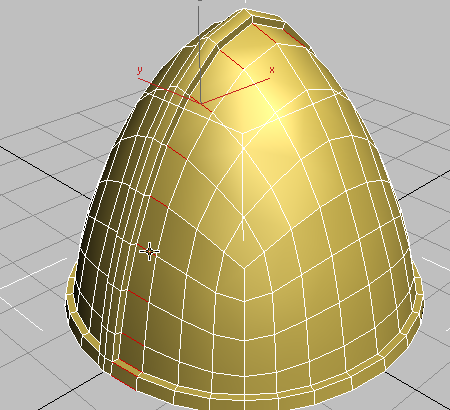
Ring Mode selects all edges parallel to the one you clicked.
 (Connect).
3ds Max displays the caddy controls for the Connect tool.
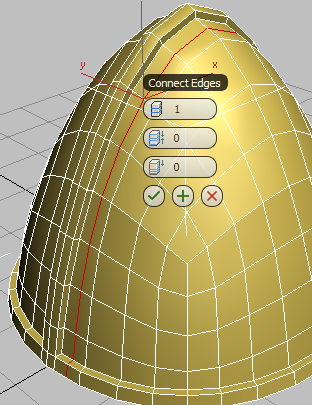
 (OK).
(OK).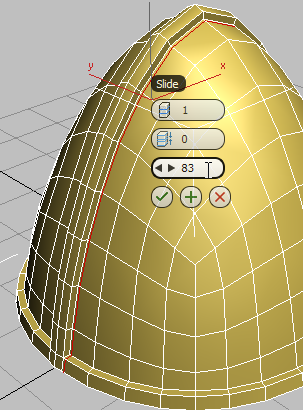
Loop slides to the left
 Orbit the viewport so you
can see the other side of the ridge of the helmet.
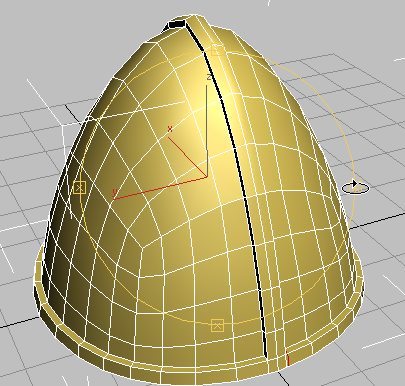
 (Swift Loop).
Click to place a new, vertical edge loop on the near side of the helmet. Like the loop you placed on the opposite side, it should be close to the base of the extruded ridge.
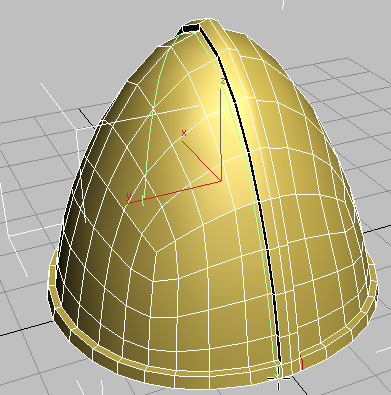
SwiftLoop provides a fast way to create and position a loop on a model.
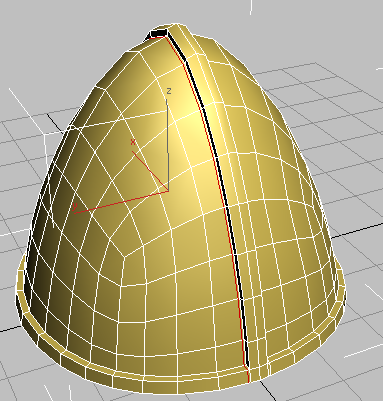
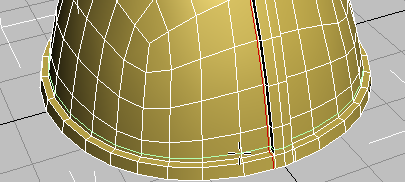
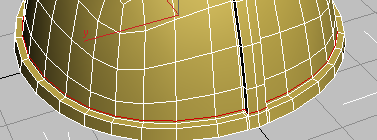
Adding these parallel edge loops reinforces the existing edges, so they won’t be smoothed as much as you saw in the previous lesson.
 (Swift Loop) to turn it
off.
 (Edge) to exit the Edge
sub-object level.
View the helmet with smoothing:
 Edit panel, click
  (Use NURMS) to turn it on,
then press F4 to turn off
edged faces and see how the added edge loops give the base of the
extrusions a sharper angle.
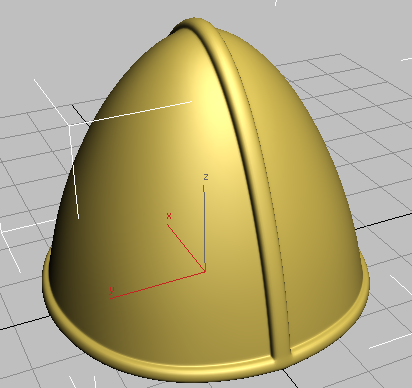
Helmet showing sharper extrusions
 (Use NURMS) to turn it off
and redisplay the underlying model.