


Loading Proxy Files Into
a Scene
In this lesson, you create a group of mr Proxy objects, and associate each proxy with an .mib file such as the ones you saved in the previous lesson. Then you assign each proxy a material from your mytrees material library.
 Open proxy_trees_start.max.
The new scene features a rolling terrain intersected by a riverbed.
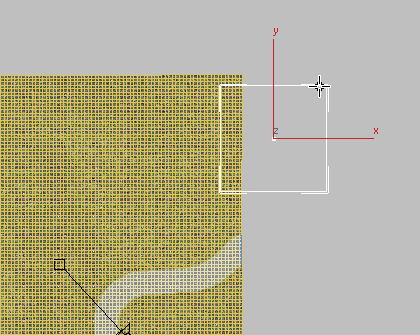
Create an mr Proxy object and associate it with an .mib file:
 Create panel and click
  (Geometry). Open the Objects
drop-down list, and choose “mental ray.” On the Object Type rollout,
click “mr Proxy.”
(Geometry). Open the Objects
drop-down list, and choose “mental ray.” On the Object Type rollout,
click “mr Proxy.”
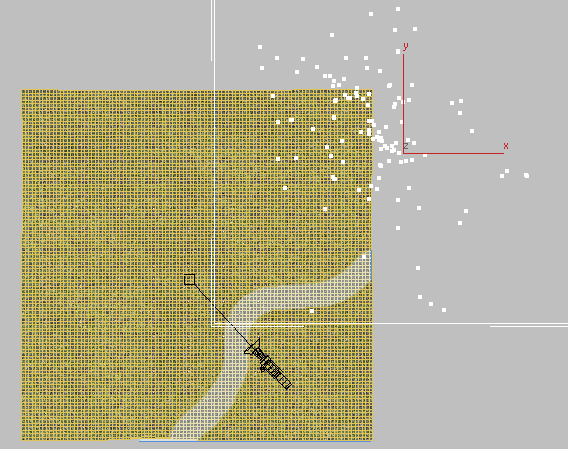
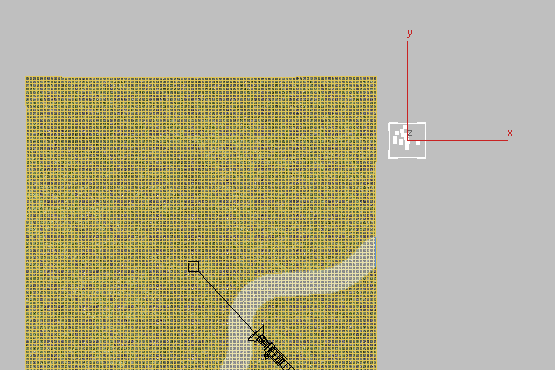
The proxy object you create can be of any size.
 Modify panel and rename
the object Elm-Winter.
Modify panel and rename
the object Elm-Winter.
 Proxy File group, click
the
Proxy File group, click
the  browse button.
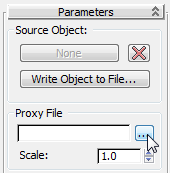
3ds Max opens a file dialog. Go to the \sceneassets\renderassets folder, choose elm1_winter.mib, then click Open.
Proxy File group, set
the Scale spinner to 0.1 to reduce the proxy to one-tenth
its default size.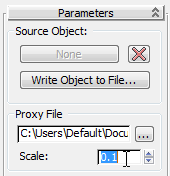
Copy the original proxy and change the tree types:
 Shift +move
the proxy to the right.
Shift +move
the proxy to the right.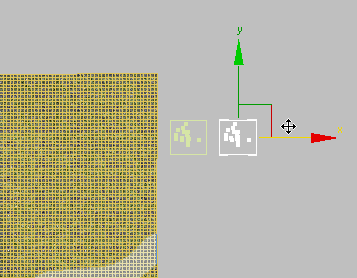
Object group, make sure
Copy is chosen, then set Number of Copies to 3. Click OK.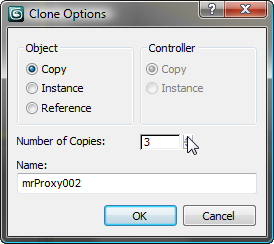
 Select a copied proxy and
on the Modify panel, name it Elm-Spring.
Proxy File group, click
the browse button and use the
file dialog to choose elm2_spring.mib.
Select all four proxy objects
and Shift+move them
once, downward. In the Clone Options dialog, make sure Copy is chosen,
then click OK.
Select a copied proxy and
on the Modify panel, name it Elm-Spring.
Proxy File group, click
the browse button and use the
file dialog to choose elm2_spring.mib.
Select all four proxy objects
and Shift+move them
once, downward. In the Clone Options dialog, make sure Copy is chosen,
then click OK.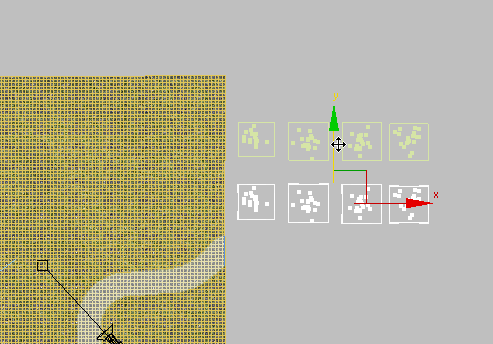
 Zoom,
Zoom,  pan, and
  orbit so you have a good
view of all eight tree proxies, then
orbit so you have a good
view of all eight tree proxies, then  render the Perspective viewport.
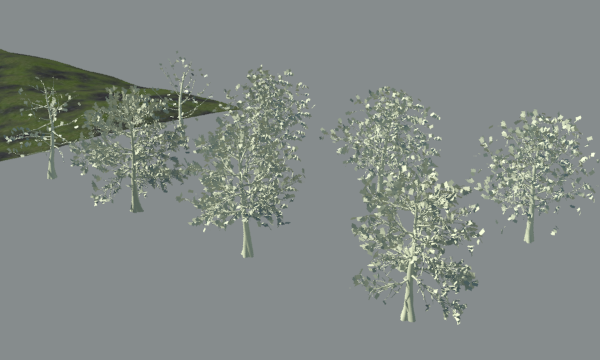
Tree proxies with the same material
The tree proxies have different shapes and leaf densities, but their leaves and trunks are all the same color. In the next procedure, you will associate each proxy with a material you saved earlier in the material library.
Assign materials to the tree proxies:
Material/Map Browser.
mytrees.mat
group, and drop this material on your selection.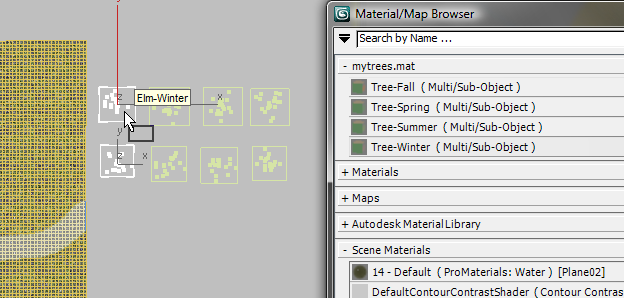
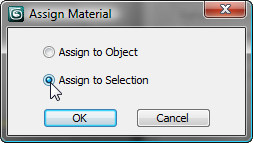
3ds Max opens an Assign material dialog. On the dialog, make sure Assign To Selection is chosen, then click OK.
 Close the Material/Map Browser.
Render the Perspective viewport
once again.
Close the Material/Map Browser.
Render the Perspective viewport
once again.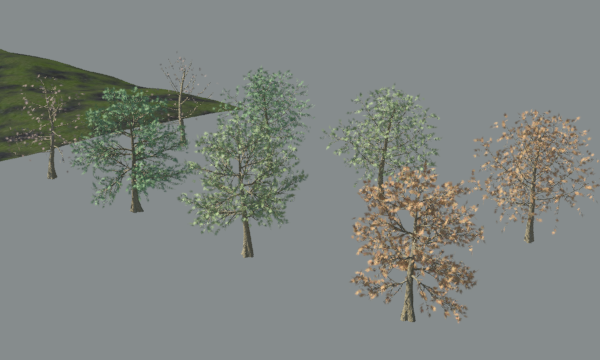
Tree proxies after receiving materials from the material library
Now you have eight different types of trees that are ready to be multiplied and distributed across your scene.
Close the Rendered Frame
Window.