


Use Auto Key to Block Out
the Bounce
Auto Key provides an easy way to block initial animation.
A simple diagram illustrates the path of a bouncing ball.

The shape of the curve that the ball follows, its trajectory, affects the realism of the animation. So does the shape of the ball itself, which we’ll get to later in this lesson.
The default frame rate for 3ds Max is the NTSC (National Television System Committee) standard of 30 frames per second. If we want a single bounce of the ball to last one second, then it will fall for the first 15 frames, and rebound for the next 15 frames.
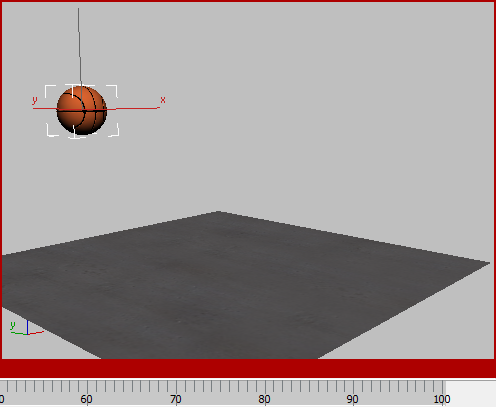
Use Auto Key to animate the ball falling:
 (Auto Key) to turn it on.
The Auto Key button turns red to show that you are now animating.

The time slider background and the border of the active viewport also turn red. Now when you move, rotate, or scale an object, 3ds Max creates keyframes that control the object’s motion.
The time slider background and active viewport border turn red while you are animating.
 (Select Object) is turned
on, then click the basketball to select it.
(Select Object) is turned
on, then click the basketball to select it.
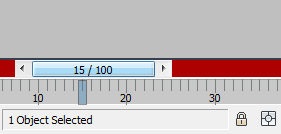
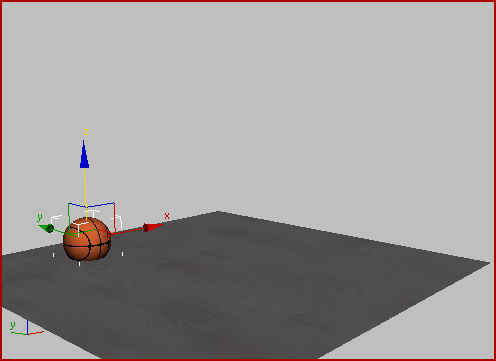
The ball touches the floor at frame 15.
(You will correct the intesection with the floor in a later procedure.)
If you drag the time slider between frame 0 and frame 15, you will see that 3ds Max has animated the fall of the basketball. Red boxes appear on the timeline at both frame 0 and frame 15: these represent keys that 3ds Max created when you moved the ball.

Keys appear on the timeline at frame 0 and frame 15.
Clone a key to complete the bounce:
You could drag the time slider to frame 30, and then move the ball upward so it approximately returns to its original position, but 3ds Max lets you position the ball more accurately than that.


Shift+drag is a general method for cloning keys on the timeline. (Dragging a key without holding down Shift simply moves the key.) Now at frame 30, the ball is in precisely the position it was in at frame 0.
(Auto Key) to turn it off.
In the animation you’ve just created, the ball moves down and then up, but the motion isn’t very bouncy: It looks stiff and computer generated. In the next section, you adjust key timing to make the bounce more realistic.