


Add Squash and Stretch
Squash and Stretch enhances the effect of animation.
Objects deform as they move or collide. In the real world, this effect is sometimes obvious (think of a soap bubble), and sometimes subtle. In animation, it pays to exaggerate this effect: Although the exaggeration might go beyond realism, it reinforces the illusion of realism when we watch the animation. This effect is known as “squash and stretch.”
It is worth looking again at the diagram of a bouncing ball:

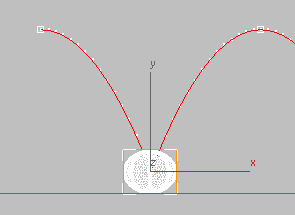
The ball should stretch as it falls, squash when it collides with the floor, and then stretch again as it rebounds.
The Stretch modifier in 3ds Max provides a convenient way to animate squash and stretch.
Apply a Stretch modifier to the basketball:
 Select the basketball, if
it is not already selected.
Select the basketball, if
it is not already selected.
 Modify panel. From the Modifier
List, choose Stretch.
Modify panel. From the Modifier
List, choose Stretch.
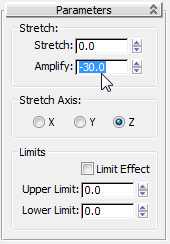
Positive amplification tends to squeeze an object in the middle as it stretches, while negative amplification makes the middle of the object fatter, which is the effect we’re looking for.
We also want the basketball to stretch along the Z-axis: As it happens, that is already the default.
Animate stretching and squashing:
 (Auto Key).
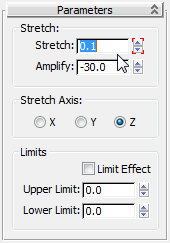
The Stretch field’s spinner arrows now show red brackets, indicating that 3ds Max has created an animation key for this parameter. In the viewports, you can see that the basketball is elongated along its direction of travel.
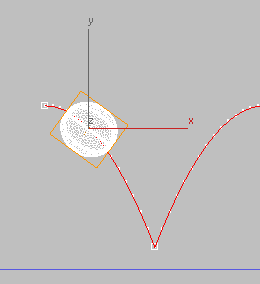
This squashes the basketball at the point of impact. Incidentally, it also corrects the way the basketball used to sink into the floor!
 (Auto Key).
Shift+copy the key at frame 6 key to the following frames:
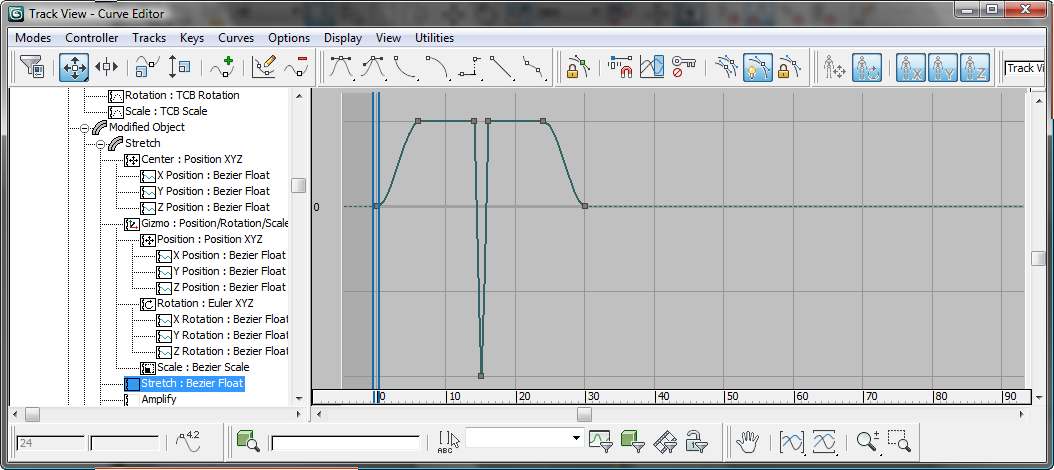
Repeat the stretch and squash:
 controller window, locate the track for
the Stretch parameter.
controller window, locate the track for
the Stretch parameter.
The hierarchy looks like
Basketball Modified
Object Stretch Stretch : Bezier Float.
You have to scroll down to get past several position, rotation, and
scale tracks that you arent using in this exercise.
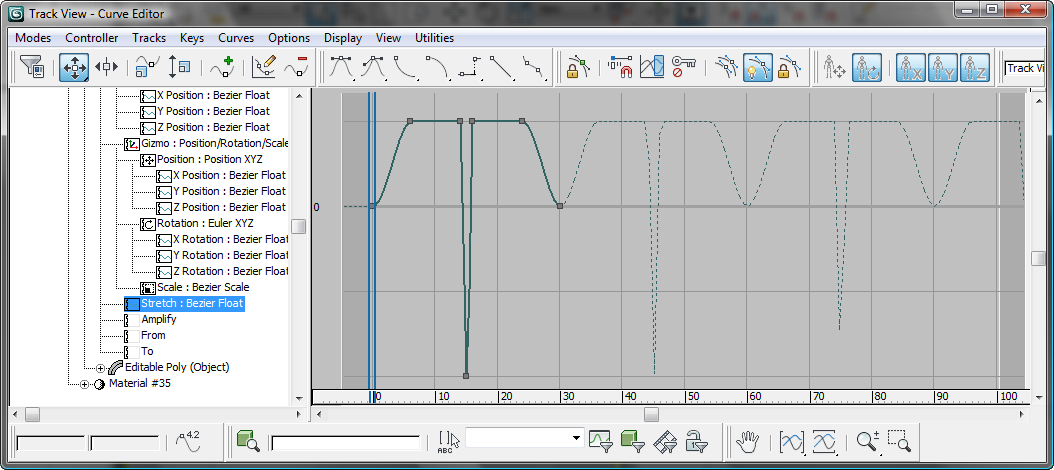
 (Parameter Curve Out-Of-Range
Types).
(Parameter Curve Out-Of-Range
Types).
Now the squash and stretch pattern repeats indefinitely.
 (Play) to play the animation.
Animation controls, including playback controls, are in the lower-right corner of the 3ds Max window, just to the left of the viewport navigation controls.
Click  (Stop) when you are done.
(This is the same button as the Play button, while playback is active.)
(Stop) when you are done.
(This is the same button as the Play button, while playback is active.)
This completes the animation of bouncing a basketball.
To see a completed version
of the basketball animation, you can  open bouncing_ball_completed.max.