


Use the Garment Maker and
Cloth Modifiers to Prepare the Skirt
Turning the skirt pattern into a skirt is even simpler than doing so for the pullover, except for the additional steps to prepare the pleats.
Isolate the pleat lines from the main outline of the pattern:
At this point, if you were to apply the Garment Maker modifier to the skirt pattern, 3ds Max would display the following warning:

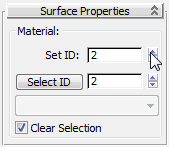
The reason is the segments for the pleats, which Garment Maker does not know how to handle. The workaround is to assign a different Material ID to the pleat lines.
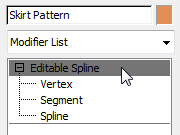
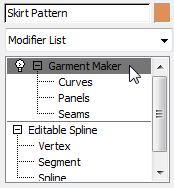
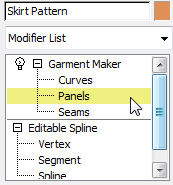
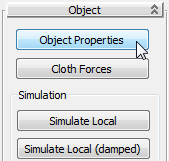
 Select the skirt and on
the
Select the skirt and on
the  Modify panel, turn on
  (Segment).
select all the pleat segments,
but none of the segments in the skirt outline.
(Segment).
select all the pleat segments,
but none of the segments in the skirt outline.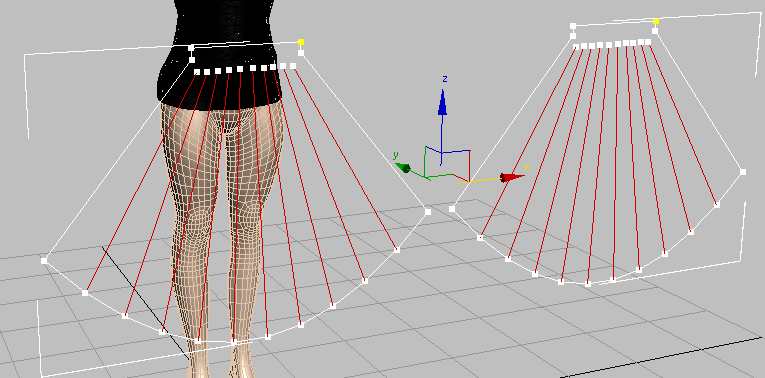
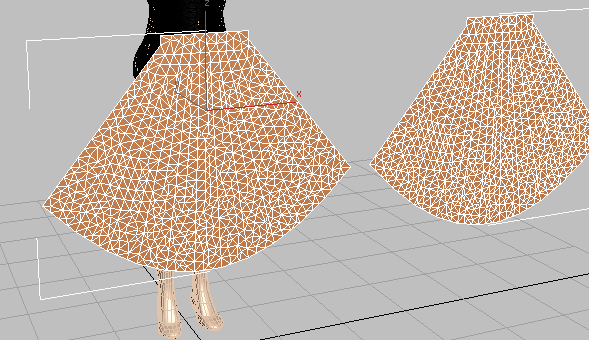
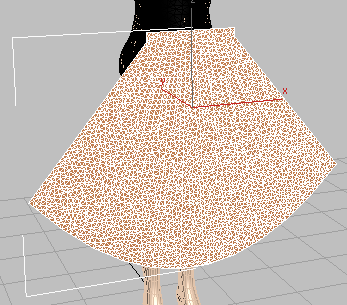
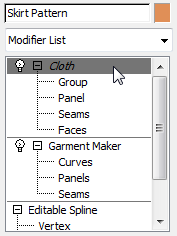
Apply Garment Maker to the skirt pattern:
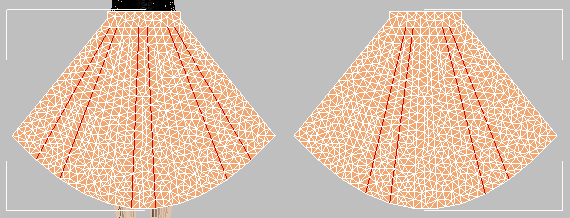
Garment Maker turns the skirt panels into subdivided surfaces. (If the viewport is not displaying Edged Faces, press F4.)
The pleats of the skirt should have an alternating pattern, like that in the following illustration.
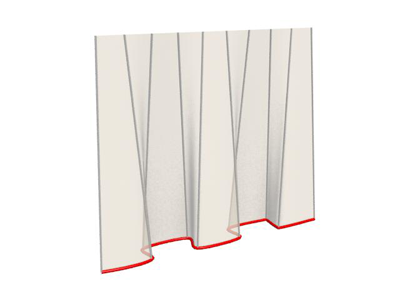
To accomplish this, you’ll set the values for alternating pairs of pleats.
 (the plus-sign (+) icon)
to open the Garment Maker hierarchy, if it isn’t visible already.
Then click the Seams sub-object level to make it active.
(the plus-sign (+) icon)
to open the Garment Maker hierarchy, if it isn’t visible already.
Then click the Seams sub-object level to make it active.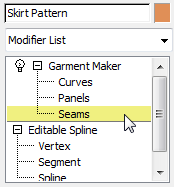
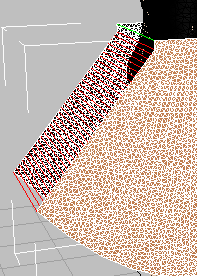
select the first pair of
seam segments, at the left side of the viewport.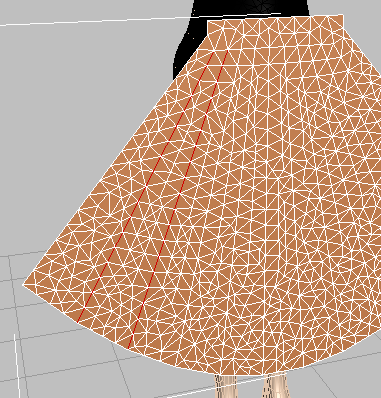
Select the next pair of
seams, moving to the right.

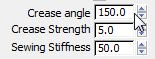
These pleats have a positive crease angle.
These pleats have a negative crease angle.
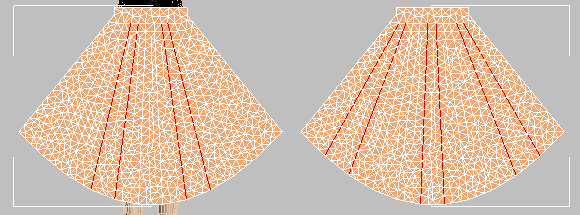
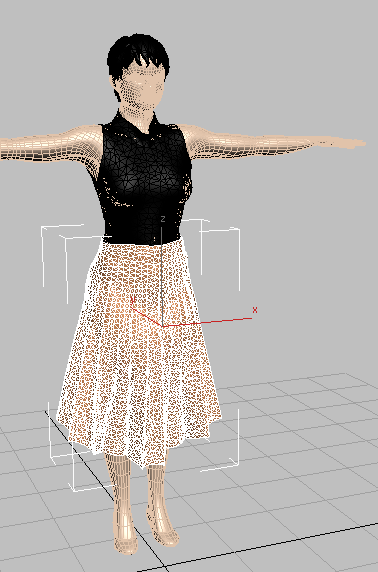
Increase the density of the skirt mesh:
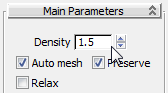
The result is a much denser mesh. This will help give the skirt its flowing quality.
(You can see why we chose to set up the pleats before increasing the Density.)
Move the skirt panels into position, and create the seams:
 (Select And Rotate). Make
sure
(Select And Rotate). Make
sure  (Angle Snap Toggle) is turned
on, then as you did for the back of the pullover, rotate the back
panel of the skirt 180 degrees about its Y axis (using Local coordinates).
(Angle Snap Toggle) is turned
on, then as you did for the back of the pullover, rotate the back
panel of the skirt 180 degrees about its Y axis (using Local coordinates).
 Move the back panel along
the X axis so it has the same X position as the front panel, and
then move it back along the Y axis so it is behind the body of the
model.
Move the back panel along
the X axis so it has the same X position as the front panel, and
then move it back along the Y axis so it is behind the body of the
model.
Click and Ctrl+click to select each pair, and then on the Seams panel, click Create Seam.
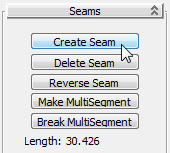

Waistband seam created
Side seam created
 Orbit the view, and repeat
the previous step to create the two seams on the opposite side of
the skirt.
Orbit the view, and repeat
the previous step to create the two seams on the opposite side of
the skirt.
You use cloth for the skirt essentially in the same way you did for the pullover. The difference is that you also need to attach the waistband to the torso of the model. Because of this, local simulation proceeds in two steps.
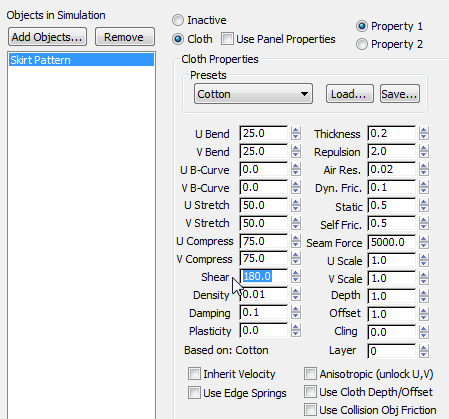
Apply the Cloth modifier to the skirt:
modifier stack, click the
Garment Maker entry to exit the Seams sub-object level.
 Objects In Simulation
list, click Skirt Pattern to highlight it,
and then choose Cloth.
Objects In Simulation
list, click Skirt Pattern to highlight it,
and then choose Cloth.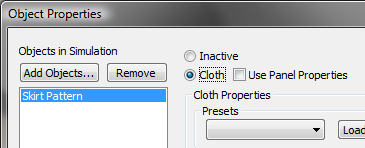
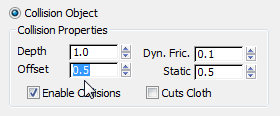
The Offset value is a bit larger than the Offset used for the pullover (0.15), because the skirt does not need to be form fitting, and because the waist of the skirt should be outside the pullover.
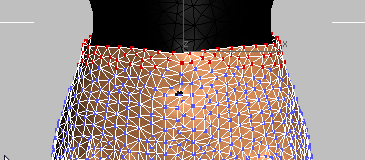
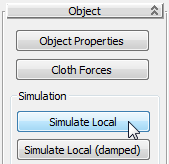
Fit the skirt to the model’s waist:
Eventually, we do want gravity to affect the skirt, but at this point, the skirt would simply slide right off the model!

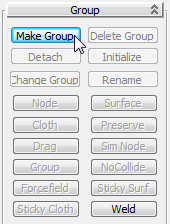
Attach the waistband to the body:
(the plus-sign (+) icon)
to expand the Cloth hierarchy, then click the Group sub-object level
to make it active.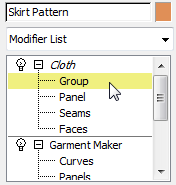
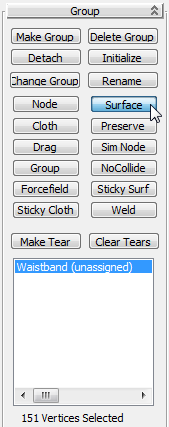
3ds Max opens a Make Group dialog. Name the vertex selection Waistband, and then click OK.
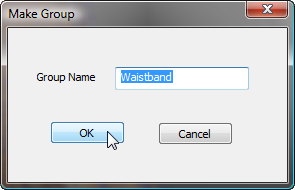
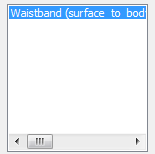
The waistband is now attached to the body.
Now you are ready to use gravity.
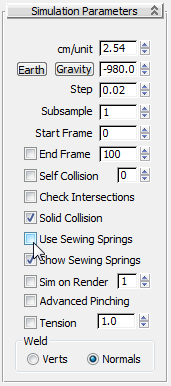
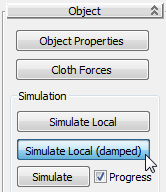
Use gravity to finish shaping the skirt:
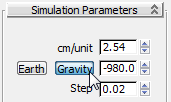
Because you have already joined the seams of the skirt, you can afford to run the simulation a bit faster, this time.
 open the file
  zoom in a little. It can
also help to do this work in the Front viewport.
zoom in a little. It can
also help to do this work in the Front viewport.