You use a similar method to create the mustache, and the mustache has similar settings, but it requires a bit more styling than the beard does.
Create the faces for the mustache:
 Select the Beard object. Right-click,
and from the Display (upper right) quadrant of the quad menu, choose
Hide Selection.
Select the Beard object. Right-click,
and from the Display (upper right) quadrant of the quad menu, choose
Hide Selection.
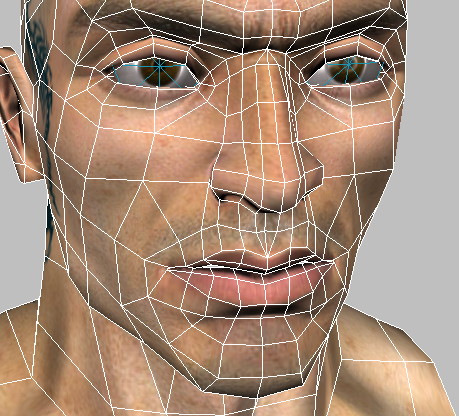
 Orbit the view so you can
see the front of the Viking’s face.
Orbit the view so you can
see the front of the Viking’s face.
If Edged Faces aren’t visible, press F4.
 Polygon Modeling group, click to turn on
Modify Mode.
Polygon Modeling group, click to turn on
Modify Mode.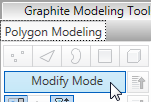
 (Polygon).
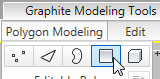
select the faces where the
mustache will grow.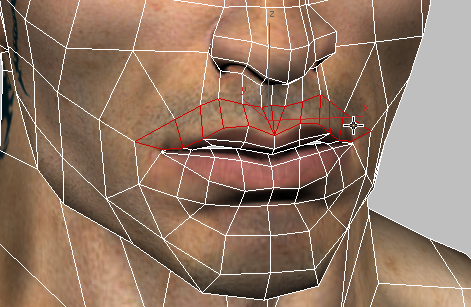
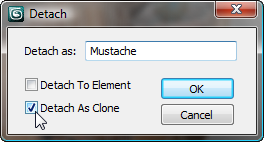
Geometry (All) group, click  (Detach).
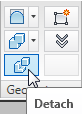
 (Polygon) again to exit
the Polygon sub-object level.
Select the Mustache object.
Right-click, and from the Tools (lower right) quadrant of the quad menu,
choose Object Properties.
(Polygon) again to exit
the Polygon sub-object level.
Select the Mustache object.
Right-click, and from the Tools (lower right) quadrant of the quad menu,
choose Object Properties.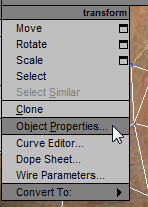
Rendering Properties
group, click to turn off Visible To Camera, and then click OK.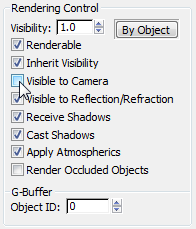
Like the Beard faces, the Mustache faces are for growing hair, but don’t need to appear in renderings.
Adjust the size of the mustache faces:
Polygon Modeling drop-down menu, and turn
on  ( Vertex).
 Move vertices along the
upper edge of the Mustache object to give the mustache
a larger area.
Move vertices along the
upper edge of the Mustache object to give the mustache
a larger area.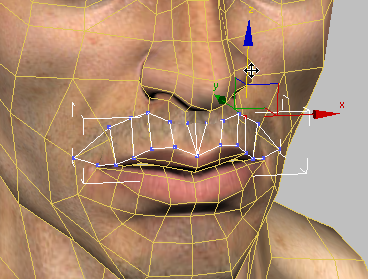
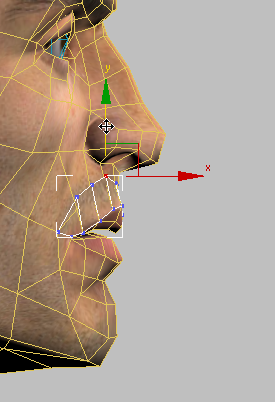
Check your work in side views to make sure the mustache polygons don’t stray far from the original face of the model.
 (Vertex) again to exit the
Vertex sub-object level.
(Vertex) again to exit the
Vertex sub-object level.
 Modifier List, choose WORLD-SPACE MODIFIERS Hair And Fur (WSM).
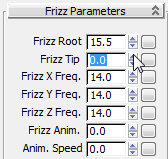

Setting Frizz Root and Kink Root to zero is a temporary measure that makes it easier for you to see the effect of styling the mustache.
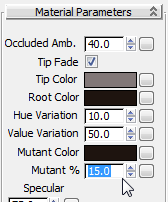
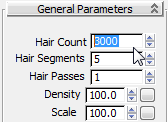
Percentage
to 15.0.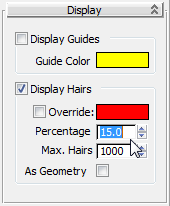
Now the mustache is ready to style.
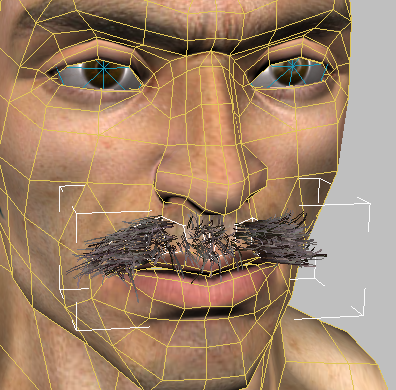
Styling group, click  Select to turn it on.
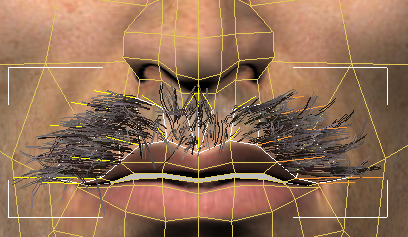
While you are styling hair, active guides appear orange, while inactive guides are yellow.
Styling group, click  (Hair Brush) to turn it
on.
(Hair Brush) to turn it
on.
The Hair Brush cursor is like the Hair Cut cursor: It appears circular in the active viewport, cylindrical in others, and it has a falloff such that its action is strongest at the center axis of the cylinder.
 brush the mustache downward
to make it droop.
brush the mustache downward
to make it droop.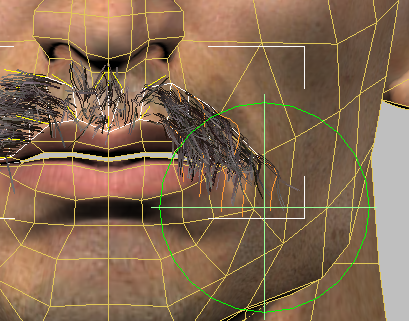
Notice that while you use the Hair Brush, only the guides are affected: After you release the mouse, other hairs deform to follow the guides.
Brush the left side of the
mustache (right side of the viewport) so it stands away from the
skull.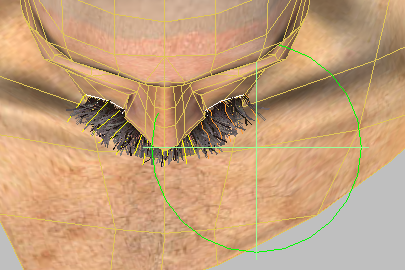
 (Scale) to make it active,
then brush the mustache outward
to make it longer.
(Scale) to make it active,
then brush the mustache outward
to make it longer.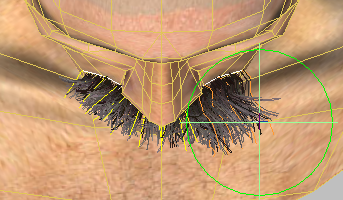
brush the mustach to make
it less chaotic.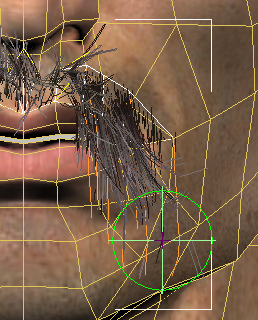
As when you trimmed the beard, don’t worry too much about making the mustache symmetrical: Faces and facial hair rarely are.
Select all the brush the hairs below the
nose so they also hang downward.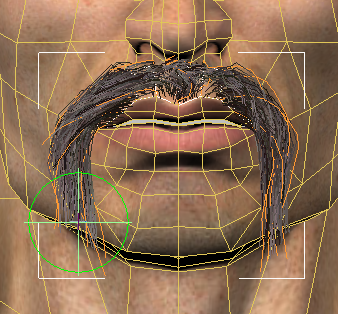

Adjust some more Hair And Fur settings:
 (Render Production).
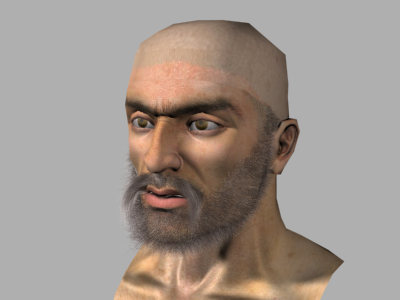
Once you create the hair for the Viking, the model will be complete.


 open
open