Start by switching from the default 3ds Max renderer to the mental ray renderer.
 (Open File) and from the \lighting_and_rendering\army
compound folder, open army_compound_lighting_start.max.
(Open File) and from the \lighting_and_rendering\army
compound folder, open army_compound_lighting_start.max.
Make the mental ray renderer active:
 (Render Setup) to open the
Render Setup dialog.
(Render Setup) to open the
Render Setup dialog.
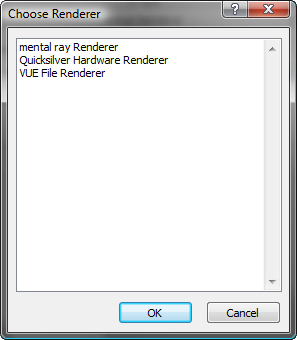
 Assign Renderer rollout, click
  (Choose Renderer) for the
Production renderer (at present the label says Default Scanline
Renderer).
(Choose Renderer) for the
Production renderer (at present the label says Default Scanline
Renderer).
3ds Max opens a Choose Renderer dialog.
 Close the Render Setup dialog.
 (Render Production).
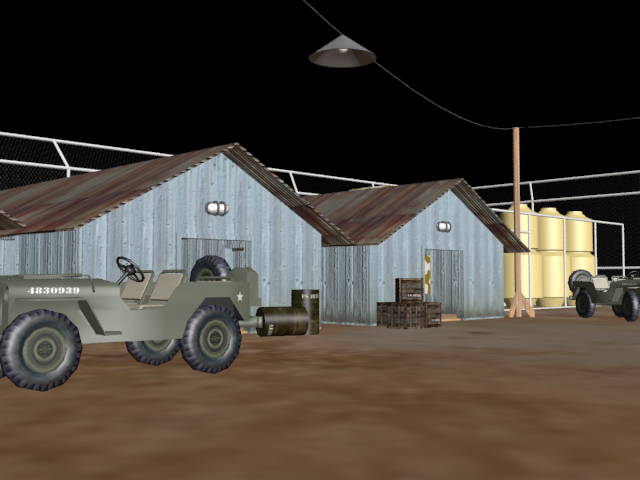
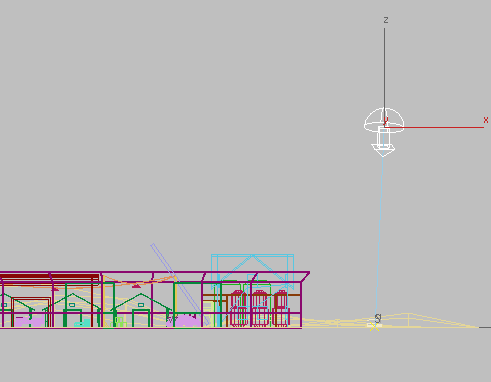
Rendered scene with no daylight system present
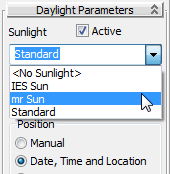
Default lights provide basic illumination in the scene, with textures and materials applied, but the rendered image appears flat and not very realistic. You need to add daylight to the scene. This will be generated by a Daylight system comprising two mental ray photometric light sources:
These two light sources will be accompanied by the “mr Physical Sky” environment shader, which generates the physical appearance of the sun and sky.
Close the Rendered Frame
Window.
 Create panel, click
  (Systems). On the Object
Type rollout, click Daylight to turn it on.
(Systems). On the Object
Type rollout, click Daylight to turn it on.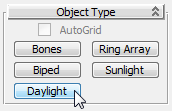
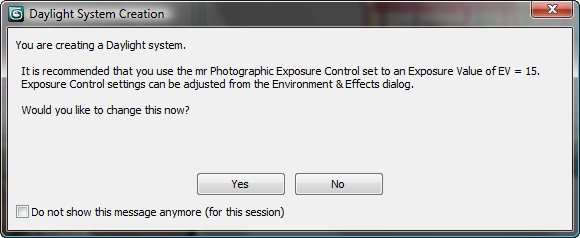
Click Yes to add the mental ray Photographic Exposure Control with the recommended Exposure value of 15.
As soon as the mouse button is released, a Daylight object, or “sun,” is created.
Set the time and location of the light source:
Now you will reposition the Daylight object, or “sun,” so its position in the sky corresponds to the geographic location of the scene.
 Modify panel, and on the
Daylight Parameters rollout, click Setup.
Modify panel, and on the
Daylight Parameters rollout, click Setup.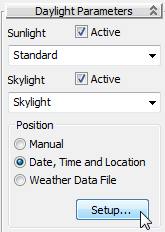
Control Parameters rollout Location group, click Get Location.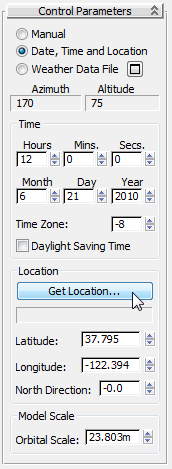
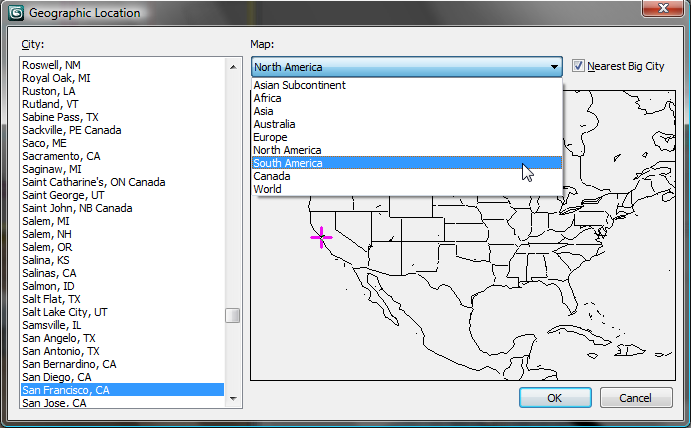

After you click OK, 3ds Max positions the Daylight sun object to simulate the real-world latitude and longitude of Managua.
The Control Parameters Time group displays
controls that let you modify the date and time of day, which also affects
the position of the sun. The first scene you will illuminate and
render is morning at 9 AM.
Hours spinner box, set the time to 9.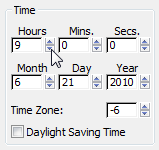
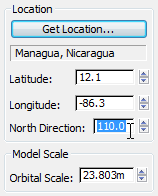
This adjustment reorients the north-south position of the scene so when you render the late-day version of the scene, the sun disc will appear over the barracks as it prepares to set in the west.
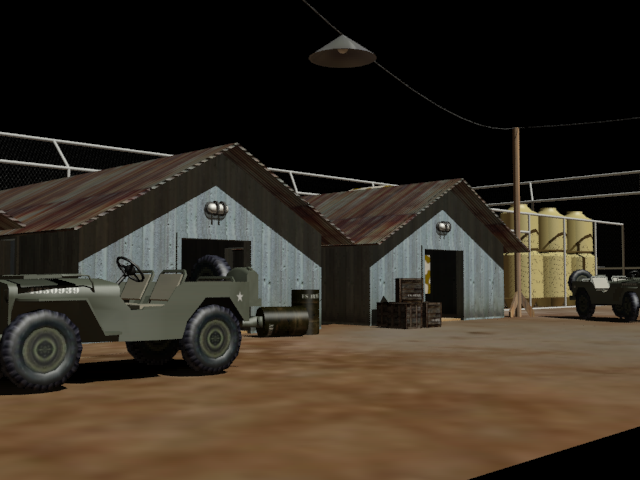
Rendered scene with Daylight object positioned at 9am
Now objects are lit well, and they cast shadows, but the sky is still a blank.
Modify panel.
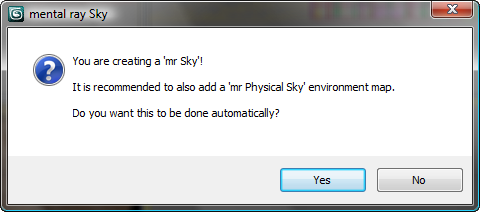
3ds Max opens a dialog that asks if you want to add the “mr Physical Sky” environment map to the scene.
Render the Camera01 viewport
again.
Rendered scene with mr Physical Sky shader added
Now the scene looks like a sunny morning. Notice, however, that the regions behind the barracks doorways remain unnaturally dark. One way to solve this would be to increase the number of ray bounces used for Indirect Lighting. An alternate way is to add Sky Portal objects to the scene. The next section describes this method.


 Motion panel.