Set Key mode is an animation mode in 3ds Max that allows you to try out different poses on a character or hierarchy, and then use those poses to create keys on selected tracks.
It differs from Auto Key mode, where every transform and each change to an object’s animatable parameters will result in animation. In Set Key mode, you have to take an action (clicking the Set Keys button) in order to set a key. Nothing happens automatically.
Mechanical, forensic, and industrial animators might find that Set Key animation provides a precise and deliberate workflow to use instead of Auto Key mode.
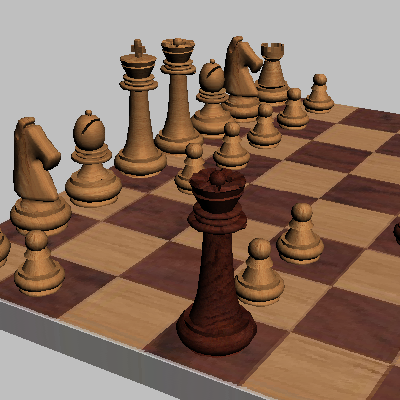
This example uses a simple chess set and the quickest possible checkmate, a four-move game, to illustrate a typical Set Key workflow.
The moves you will animate are:
In this tutorial you will learn how to:
 (Project Folder) and set
your current project to Autodesk 3ds Max 2011 Tutorials.
(Project Folder) and set
your current project to Autodesk 3ds Max 2011 Tutorials.
 (Open File), navigate to
the \scenes\animation\set_key folder, and
open wood_chess_set.max.
(Open File), navigate to
the \scenes\animation\set_key folder, and
open wood_chess_set.max.
Use Set Key mode to move your pawns:
 (Toggle Set Key Mode).
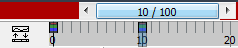
The Set Key Mode toggle turns red, as does the time slider background and the active viewport outline.
 select the pawn in front of
the white knight at the lower-right corner. If the transform gizmo
isn't already displayed, right-click and choose
select the pawn in front of
the white knight at the lower-right corner. If the transform gizmo
isn't already displayed, right-click and choose  Move from the quad menu.
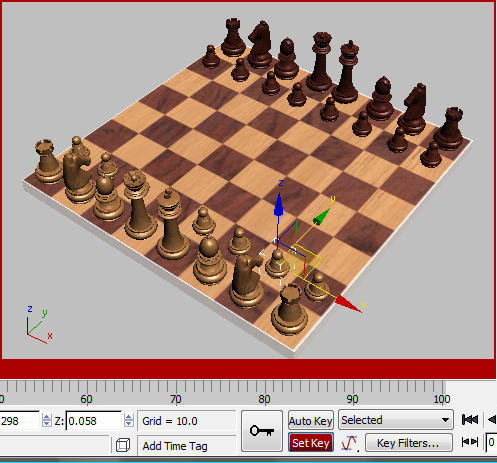
Pawn selected and Set Key mode turned on
First, you will set a key to keep the pawn in place at frame 0.
 (Set Keys).
The button turns red for a moment. A key appears at frame 0 on the track bar.
 move the pawn ahead two
squares.
move the pawn ahead two
squares.
Pawn position at frame 10
(Set Keys) to set a key
at frame 10.
A key appears in the track bar at frame 10.
Animate the Black king's pawn:
Select the Black king's
pawn.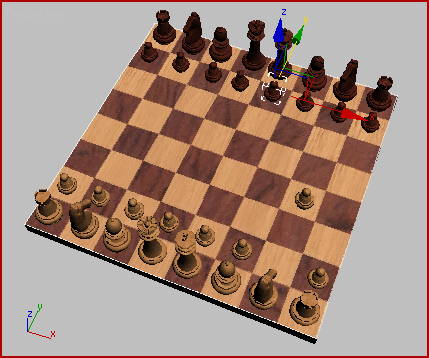
Move the pawn ahead two
squares.
The reason the pose was discarded is because you didn't set a key at frame 30. This is an important difference between Set Key and Auto Key. By doing this lesson, you just learned that if you don't set keys while using Set Key, you cannot retrieve your work.
move the pawn into place
again.
Animation at frame 30
 Play the animation.
Select the White king-side
bishop’s pawn and go to frame 40.
Play the animation.
Select the White king-side
bishop’s pawn and go to frame 40.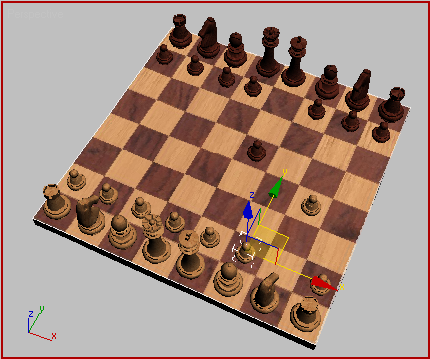
Select this pawn at frame 40.
move the pawn two squares ahead
and press K again.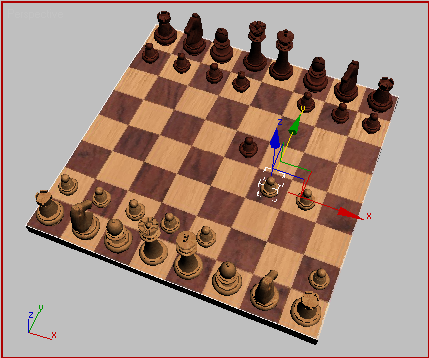
Animation at frame 50
You might get a pose completely set up, only to discover that you are on the wrong frame. There’s a simple trick that lets you move the pose to another frame in time.
select the Black queen,
and press K to set a key.
Move the queen diagonally
four squares. Use the corners of the transform gizmo to move in
both X and Y at the same time. 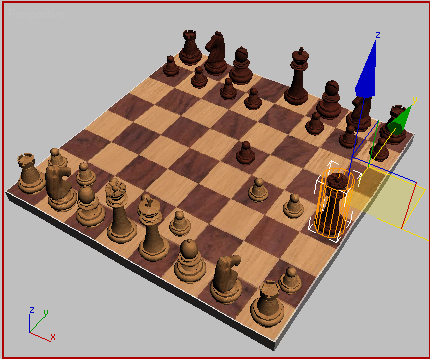
Move the queen using the corners of the XY transform gizmo.
Let’s say you realize you need this pose to happen at frame 60, not frame 55. Here’s what you do.
Now you are at frame 60, and the queen hasn’t jumped back to the previous position.
(Set Keys) or press K to set a key.
Set keyable tracks and key filters:
You’ve seen how to use Set Key in its simplest form. Now you’ll add a level of complexity by selectively determining which tracks will be keyed.
The Black queen has the White king in checkmate. Traditionally the king is knocked over to end the game.
You’ll set the Keyable tracks so that you can animate the rotation of the king, along with its X and Y positions, but not its Z position. You don't want the king dropping through the board.
Select the White king, then
right-click and choose Curve Editor from the quad menu.
The Curve Editor dialog is displayed, with the King’s tracks displayed at the top of the controller window at the left of the dialog.
The tracks for the White king show red “keyable” icons in the controller window.
The icons turn black to show they are inactive.
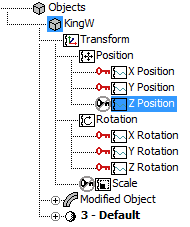
Keyable tracks turned off for Z position and scale
Now you will not be able to key the Z position or the scale of the king. You can still key the rotation and the XY position tracks for the king.
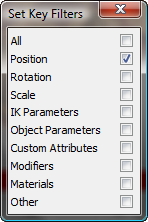
If you want to key the rotation and the position tracks individually, you can use the Key Filters.
 (Key Filters). This button is
to the right of the Set Key button.
(Key Filters). This button is
to the right of the Set Key button.
 Close the Set Key Filters
dialog.
Close the Set Key Filters
dialog.
 Rotate the king so it is
on its side, then click (Set Keys) to create a key.
Play the animation. The
White king moves off the board, but doesn’t rotate, since Key Filters
did not allow the rotation track to be keyed.
(Key Filters) and turn Rotation
back on, then close the dialog again.
rotate the White king, and
then set a key.
Play the animation. Now
the rotation has been keyframed.
Rotate the king so it is
on its side, then click (Set Keys) to create a key.
Play the animation. The
White king moves off the board, but doesn’t rotate, since Key Filters
did not allow the rotation track to be keyed.
(Key Filters) and turn Rotation
back on, then close the dialog again.
rotate the White king, and
then set a key.
Play the animation. Now
the rotation has been keyframed.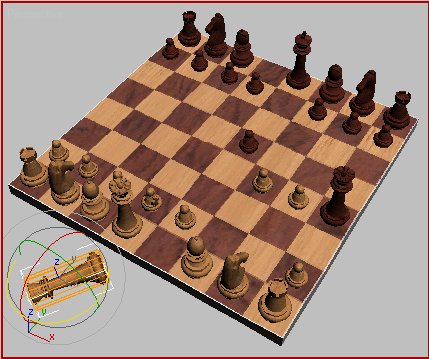
Checkmate!
You can open quickest_checkmate.max to compare
with your file.
In this tutorial, you have learned to use Set Key animation. You've learned how to create keyframes with the Set Keys button, set Key Filters, and make tracks keyable in Track View. You will find it useful to apply these lessons to animating complex structures.


 zoom in more closely on
the chessboard in the Perspective viewport, and
zoom in more closely on
the chessboard in the Perspective viewport, and  pan a bit, to see it better.
It is shown this way in the illustrations that follow.
pan a bit, to see it better.
It is shown this way in the illustrations that follow.