


Use Smoothing Groups to
Distinguish the Glass and Metal Canopy Parts
Just as you used smoothing groups to distinguish different parts of the fuselage, you can use smoothing groups to distinguish the different materials in the canopy.
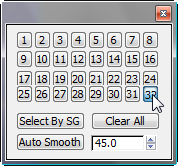
Use smoothing groups to distinguish the metal parts from the glass parts:
 Properties panel drop-down portion, click
  (SmGroups).
 Close the Smoothing Groups
dialog.
Close the Smoothing Groups
dialog.
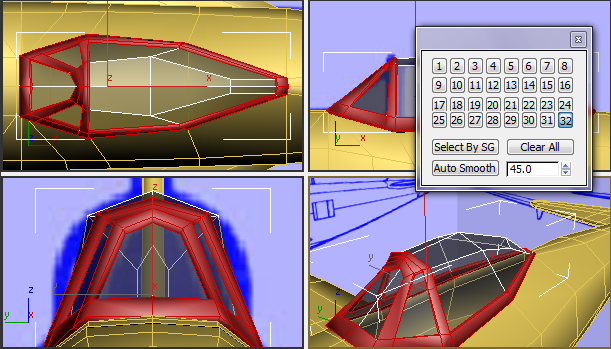
Use NURMS smoothing to preview the canopy:
 (Polygon) sub-object level.
Edit panel, turn on  (NURMS). On the ribbon Use NURMS panel, increase
the value of Iterations to 2.
(NURMS). On the ribbon Use NURMS panel, increase
the value of Iterations to 2.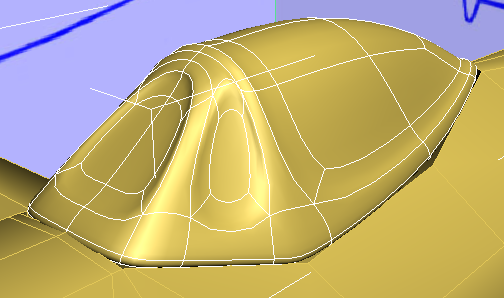
This is far too much smoothing. As with the fuselage, you now need to take smoothing groups into account.
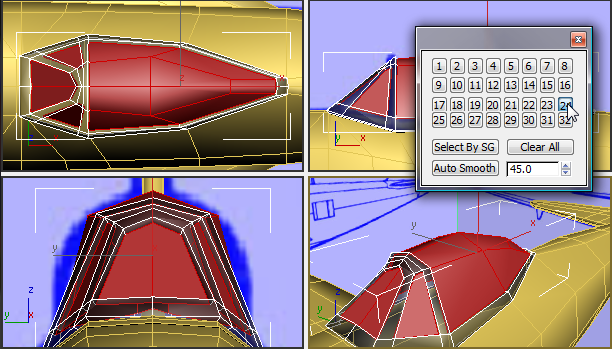
Use NURMS panel drop-down portion Separate By drop-down list, turn on Smoothing
Groups.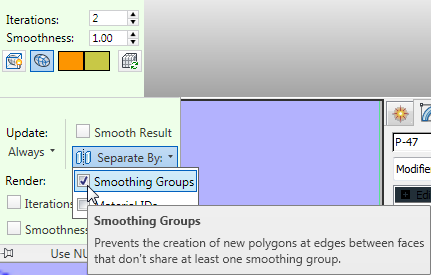
Now the metal and glass portions of the canopy appear more distinct.
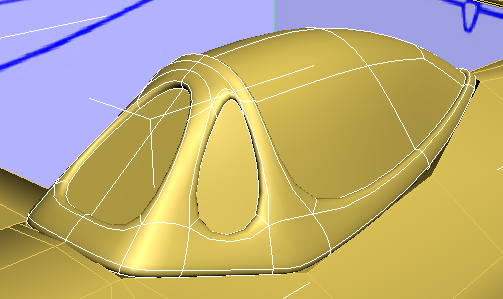
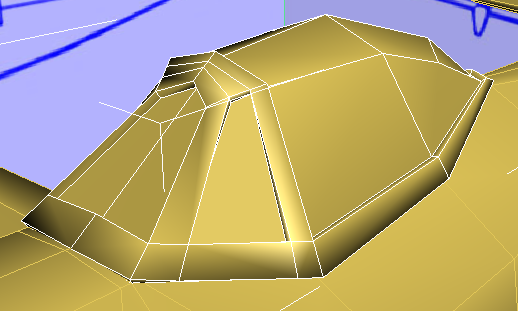
With smoothing groups taken into account, there are well-defined edges between the glass and the metal parts of the canopy. On the other hand, the shape of the windshields is far too rounded. You will fix that in the next procedure.
 (NURMS).