Each light in a scene contributes to the scene's illumination and affects the way all objects' surfaces appear in the rendered image. You can dramatically change the nature and mood of your images by modifying lights and their properties.
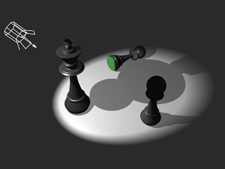
There's a light for every occasion. You can work with several different types of lights in your scene. All the available light presets are based on three distinct light types: infinite, spot, and point lights.
|
|
Infinite Infinite lights simulate light sources that are infinitely far from objects in the scene. Infinite lights are also called distant or directional lights. There is no position associated with an infinite light, only a direction. All objects are lit by parallel light rays. The scene's default light is infinite (see The Default Light for more information). |
|
|
Light Box Light box lights simulate a light diffused with a white fabric, like a studio's light box. The light and shadows created by this light are very soft. Speculars are still visible, but noticeably weaker. The box can be manipulated to shape the projected light. |
|

|
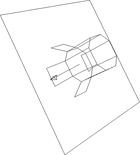
Neon Neon lights simulate real-world neon lights. They are essentially point lights with their settings and shapes altered to resemble neon or fluorescent tubes. The manipulators can be used to change the tube into any rectangular or square shape. |
|
|
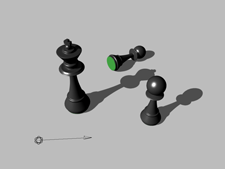
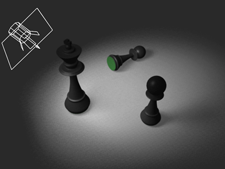
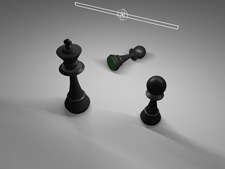
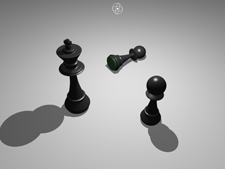
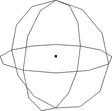
Point Point lights casts rays in all directions from the position of the light. They are similar to light bulbs, whose light rays emanate from the bulb in all directions. |
|
|
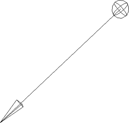
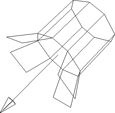
Spot Spotlights cast rays in a cone-shape, simulating real spotlights. This is useful for lighting a specific object or area. The manipulators can be used to edit the light cone's length, width, and falloff points. |
There is a single light created in every new Softimage scene. It is an infinite light set to white with an intensity of 0.75. By default, the light object is hidden. When you create a new light, the default light remains in the scene until deleted. A new light does not replace the scene's default light.
Every light posesses a basic set of properties which can be defined in their Light Property Editor. You can choose the type of light you want it to be and define attributes such as its ambient, diffuse, and specular contributions, shadow map usage, whether or not the light is selective, and if it emits photons, etc. However, it is the job of the light shader to implement the characteristics of the light source. For example, a light shader uses the light's illumination direction to attenuate the amount of light emitted. If shadows are used, light shaders normally cast shadow rays to detect obscuring objects between the light source and the illuminated point.
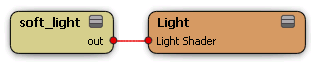
The light shader also provides a set of important properties. The properties you can define depend on the particular shader: they include the light color, light intensity, photon energy, and even volumic properties just to name a few. By default, all new light sources added to your scene are connected to the Soft Light shader which implements a number of important light features such as raytraced soft shadows, flat light mode, and shape attenuation. At any point, you can disconnect the soft light shader and plug in another light shader to achieve different effects. You can experiment with the light shaders available in the Light and mental ray > Light categories of the preset manager.
You can animate the light object as you would any other object in your scene. You can also animate a light's properties so that the values change over time. For example, you can make a light gradually change color or grow dim. For more information on how to do this, see Animating with Keys.
You can autokey while navigating (zooming, panning, etc.) when looking through a spotlight in a 3D view. For a complete description, see Autokeying Camera Navigation.
 Except where otherwise noted, this work is licensed under a Creative Commons Attribution-NonCommercial-ShareAlike 3.0 Unported License


 Lights