You can modify curves in a variety of ways using commands in the Modify  Curve menu of the Model toolbar. Each of these commands modifies the topology of a curve.
Inverting a curve reverses its parameterization so that U increases in the opposite direction. The result is as if you had drawn the curve clockwise instead of counterclockwise or vice versa.
For example, if an object uses the curve as a path, it moves in the opposite direction once you invert the curve. Similarly, if a surface has been built from the curve and its operator stack was not frozen, its normals become reversed.
Choose Modify Curve Inverse from the Model toolbar.
If you didn't select a curve in step 1, you can pick one now.
The curves are inverted and the Inverse Curve property editor opens.
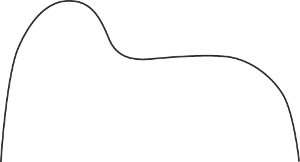
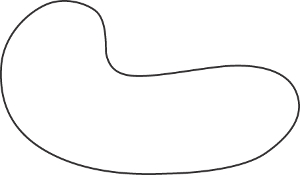
You can open a closed curve and close an open curve. Curves are always opened at the U = 0) position.
Choose Modify Curve Open/Close.
If you didn't select a curve in step 1, you can pick one now.
The curve is opened if it was closed, and closed if it was open.
On closed curves, you can shift the start point (U = 0 position) along the length of the curve.
Cleaning a curve reduces the number of control points while keeping the same general shape.
You can raise the degree of curves. For example, you can convert a linear curve to a cubic in order to add a curved segment to it. The existing trace is preserved when you raise the degree.
Parameterization refers to the way that any point along the length of a curve is described in terms of the parameter U. Any given point along the curve can have different U values under different parameterizations.
When you reparameterize a curve, the new parameterization is in effect at the position of the Reparameterize operator in the operator stack. If you move points or perform other operations on the curve after reparameterizing, the result may have a different parameterization.
For a description of the available parameterization methods, see Parameterization.
Stitching two curves glues their ends together. Unlike blending (see Blending Curves), it does not create a new curve; instead, it deforms the originals.
Choose Modify Curve Stitch from the Model toolbar.
If you didn't select both curve boundaries in step 1, you can pick them now.
Adjust the parameters to obtain the desired shape. For more information, see Stitch Curves Property Editor.
 Except where otherwise noted, this work is licensed under a Creative Commons Attribution-NonCommercial-ShareAlike 3.0 Unported License