As you create effects in the FxTree, you can preview them at any step in the process using the Fx viewer. The Fx viewer allows you to see an image's component channels individually and get color information about the image.
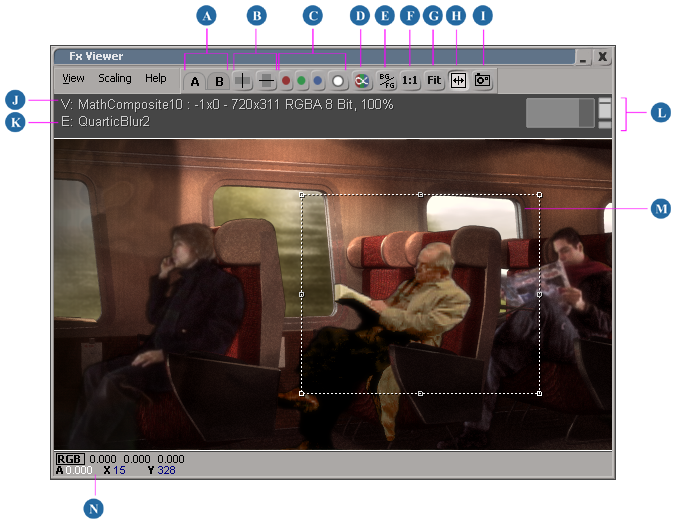
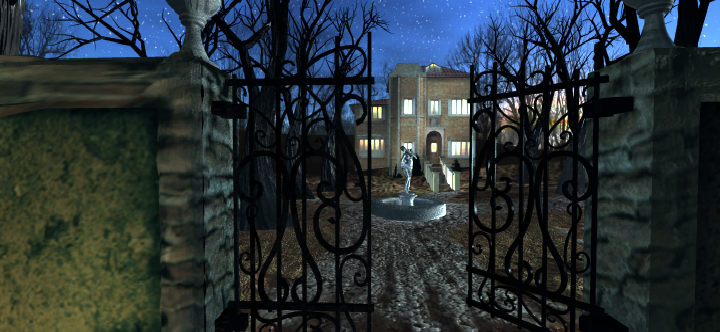
Image courtesy of Ouch! Animation
Double-click the operator in the FxTree. This displays the operator in the Fx Viewer and opens the operator's property editor.
Alternatively, you can right-click the operator and choose View & Edit from the menu.
Move the mouse pointer over the operator to display the View and Edit hotspots. Click the View (blue) hotspot to preview the operator in the Fx Viewer. This allows you to view one node while editing another.
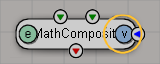
Once clicked, the View hotspot remains visible (although slightly smaller) on the operator as long as the operator is displayed in the Fx Viewer. This lets you keep track of which operator is currently displayed in the viewer.
Alternatively, you can right-click the operator and choose View from the menu.
You can clear the Fx Viewer at any time by choosing View  Clear Viewer from the Fx viewer menu (or pressing Backspace).
To speed up the process of building effects, you can scale your images down to lower resolution proxy versions. Because Softimage Illusion is resolution independent, effects are scaled to match the current scale of your images. This speeds up the rendering process considerably when you play back an effects sequence. Each open Fx viewer can have its own image scale setting.
You can use the Fx Viewer as a kind of flipbook for your effects sequences. Use the playback controls in the playback panel to control how the sequence is played.
The first time that you play back a sequence, it will probably be slow and choppy. This is normal because Softimage has to process and cache the effects in each frame. Subsequent playbacks should play normally, though it depends on the complexity of the effects and the amount of available memory. The sequence remains cached until you close the Fx viewer.
You can display an image's red, green, blue, or alpha channels individually in the Fx Viewer.
If you want to see which parts of the image are covered by its alpha channel, you can display the alpha channel as an overlay on top of the image. By default the overlay is red, but you can change the color from the Fx viewer properties dialog box.
You can change the alpha overlay's color and blend weight from the Fx Viewer Preferences dialog box.
From the Viewer Preferences dialog box, choose Alpha Overlay from the Viewer Colors list. The color box changes to the alpha overlay's color.
Click the color box to open a color picker. Choose a color using the color picker and the click Close to close the picker.
To adjust the overlay's blend weight, set the Alpha Overlay Blend value. The higher the value, the more strongly the alpha overlay is blended in with the image in the viewer.
You can use the Paint Merrge Source Display Mix button to display the current image in the Fx viewer mixed with another image at a specified blend weight. Although this tool is intended for merge painting (see Merging and Cloning), it can be equally useful when previewing other effects.
The image that gets mixed with the current image is the output of whichever operator is identified as the merge source.
Preview the operator that you want to see mixed with the merge source by clicking its View (blue) hotspot.
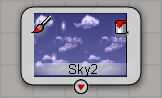
In the FxTree, right click the operator whose image you wish to mix with the current image and choose Use as Paint Merge Source from the menu.
Once you do this, the operator selected as a merge source is displayed with a special icon.
From the Fx viewer menu, choose View Paint Merge Source Display Mix.
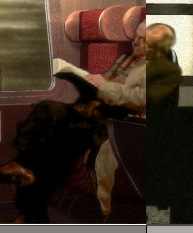
The image compare area is a resizeable rectangular region that displays the corresponding portion of one image while you're editing another image. This is useful for seeing one operator's effect on another. For example, if you color correct an image, you can store the original in the image compare area while previewing the color correction operator.
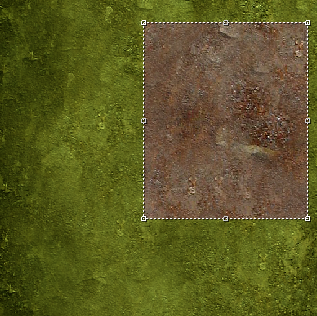
It's important to note that the image compare area isn't a moveable snapshot of a part of its source image. It's more like a moveable window that you can use to look through the current image and see the same region of the compare area's source image.
Preview the operator whose image you want to compare with another image.
The current image is set as the source for the image compare area. It remains the source until you update the compare area again.
Preview the operator whose image you wish to compare to the compare area source.
The pixel probe is a useful tool that lets you display information about images that you preview the Fx Viewer. When you move the mouse pointer over any pixel in the image, the pixel's color and component values are displayed in the viewer toolbar, while its position along the X and Y axes is displayed below the operator name.
You can also get color information about a selected region of the image. Colors are displayed in swatches in the Fx Viewer toolbar. The color component values of the selected swatch's color are displayed as well.
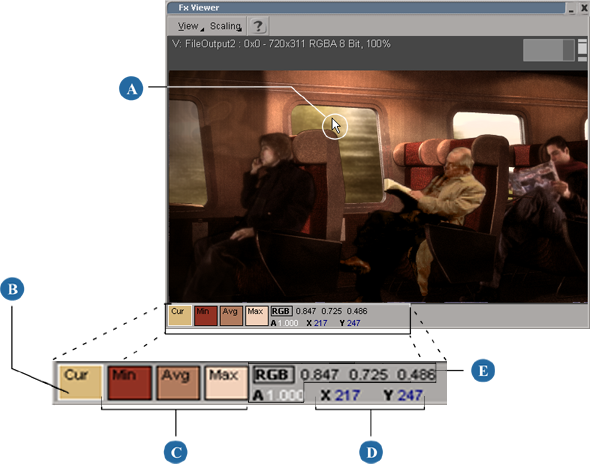
Click the Min, Avg, or Max color swatch in the Fx Viewer toolbar.
Drag the mouse pointer over a region of the image.
The Min, Avg, and Max swatches take on the Min, Avg, and Max colors in the region, while the color component values of the selected swatch's color are displayed to the right of the color swatches.
 Except where otherwise noted, this work is licensed under a Creative Commons Attribution-NonCommercial-ShareAlike 3.0 Unported License


 .
.


 .
.
 or
or