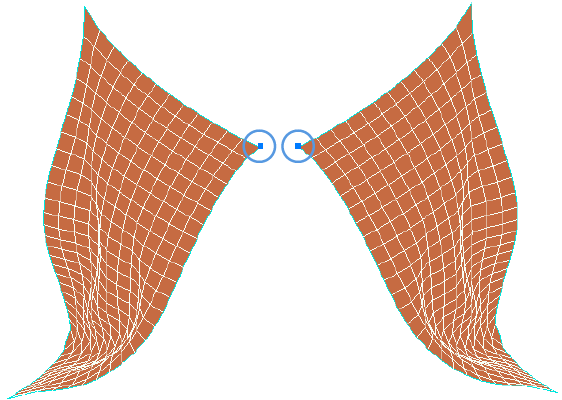
The Spring 2-point force connects two vertices of a simulated cloth or curve with a spring. In the image below, the two points displayed in blue on a split cloth mesh are held together by a 2-point spring force.
Create a Syflex ICE cloth or curve simulation — see Creating Syflex ICE Simulations.
Select the simulated cloth or curve object and open the ICE Tree view.
In the ICE Tree view, drag the Forces  Syflex Spring 2Pt compound from the Task > Syflex tab in the preset manager in the ICE Tree view and plug it into a Force port on the Syflex
Cloth or Syflex Curve node.
Syflex Spring 2Pt compound from the Task > Syflex tab in the preset manager in the ICE Tree view and plug it into a Force port on the Syflex
Cloth or Syflex Curve node.

In the Syflex Spring 2Pt compound's property editor, specify which point on the object to use as Point 1 and which to use as Point 2. The spring will be created between these points.
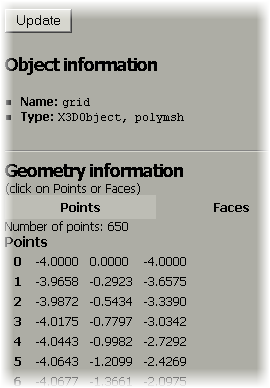
To figure out what each point's number is, select the cloth or curve object and choose Edit Info Geometry from the main menu bar.
In the property editor that appears, click the Points "button", then click each point number in the list: that point on the object is highlighted in red.
Select the Show Points option in the Syflex Spring 2Pt property editor to display Point 1 and Point 2 in blue.
Set the other parameters in the Syflex Spring 2Pt property editor as you like.
 Except where otherwise noted, this work is licensed under a Creative Commons Attribution-NonCommercial-ShareAlike 3.0 Unported License