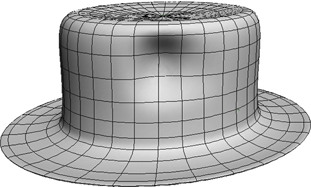
You can push points out or in along their normals using the Paint Push tool. This lets you sculpt an object by painting.
What the Paint Push tool actually does under the hood is:
See Deformations for more information about Push and other deformations in general, and see Weight Maps [Scene Elements] for more information about weight maps and painting weights.
As an alternative to using Paint Push, you can use the ICE-based Sculpt deformation. See Sculpt [ICE Deformations].
Select the element that you wish to sculpt:
If you select a cluster, the weight map will be applied to it.
If you select an object, a cluster will be created for all the points on the object and the weight map will be applied to the cluster.
If you tag (select) points, a cluster will be created and the weight map will be applied to the cluster.
Choose Get  Property Map Paint Tools Paint Push Tool.
A weight map is created and its property editor is displayed. A Push deformation is applied and the Paint tool is automatically activated.
In a 3D view, click and drag to push points. In normal (additive) paint mode:
To push points in, either use the right mouse button or press Shift while using the left mouse button.
To change the brush radius, press R while dragging with the left mouse button.
To change the opacity, press E while dragging with the left mouse button. The opacity controls the amount of weight added or removed with each brush stamp.
To change other brush properties, display the Brush Properties Property Editor [Properties Reference] by choosing Get Property Map Paint Tools Brush Properties or pressing Ctrl+W.
For more information about painting, see Using Brush-based Tools [Commands and Tools].
After you have used Paint Push, you can modify the effect by painting more strokes at a later time or by changing the default parameters of the underlying Push operator.
If you want to resculpt the object at a later time, you can select the original weight map and reactivate the Paint tool.
On the Select Panel, choose Selection and then click the Push Op icon. The Push Op property editor opens.
Modify the parameters as desired. See Push Op Property Editor [Properties Reference] for specific information about each parameter.
 Except where otherwise noted, this work is licensed under a Creative Commons Attribution-NonCommercial-ShareAlike 3.0 Unported License


