The Display Options property controls the method used to display objects in a 3D view, in addition to other options like XRay mode, headlights, and depth cue.
There is one Display Options property for each scene camera and object view. In addition, there is one for each viewpoint and spotlight per viewport.
In addition to what's described here, you can also control how specific objects are displayed — see Choosing How to Display Specific Objects.
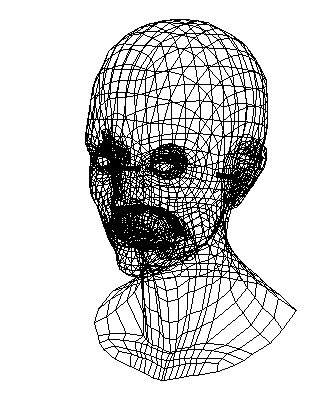
The display mode controls the basic appearance of objects in a geometry view. Some display modes provide less detail but are less computationally intensive than others — and this speeds up your screen refresh. In a new scene, all views are set to Wireframe mode.

| Shows the geometric object made up of its edges, drawn as lines resembling a model made of wire. This image displays all edges without removing hidden parts or filling surfaces. You can change the wireframe color of individual objects as described in Choosing How to Display Specific Objects. |

|
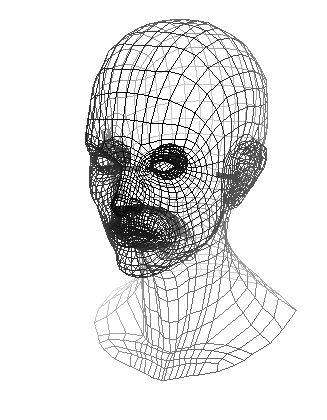
| Applies a fade to visible objects, based on their distance from the camera, in order to convey depth. You can set the depth cue range to the scene, selection, or a custom start and end point. Objects within the range fade as they near the edge of the range, while objects completely outside the range are made invisible. You can also display depth cue fog to give a stronger indication of fading. For more information about the depth cue options, see Camera Display Property Editor [Properties Reference]. |

|
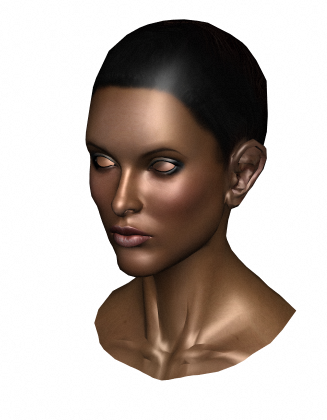
| Tries to approximate the rendered output as closely as possible. This is actually an OpenGL realtime mode that uses MetaSL blocks embedded in shader definitions to emulate the renderer's shaders in realtime. You can control various options on the High Quality tab of viewports' Camera Display properties, and set defaults in your Display Preferences. For more information, see Configuring the High Quality View. |

|
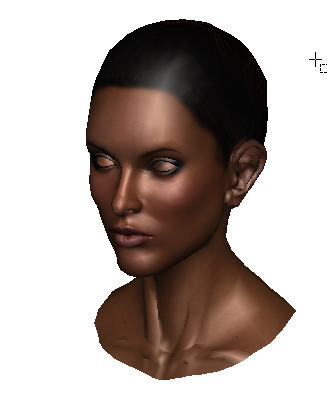
| Evaluates the real-time shaders that have been applied to objects. In the example shown here, the same textures have been used as for the non-realtime shaders, so the result is similar to the textured mode. Several realtime display modes are available, depending on your graphics card:
For more information, see Realtime Shader Basics [Realtime Shaders]. |

|
In general, you can set various display options for a specific 3D view, or for all open 3D views. For a description of all available options, see Camera Display Property Editor [Properties Reference].
Setting Display Options per View
Click the Display Mode menu, and choose Display Options.

Some options are also available directly on the Display Mode menu, for example, Override Object Properties.
Different colors are used to indicate the status of displayed scene elements. For instance, by default a selected object has a white wireframe and an unselected object has a black wireframe. Points are blue, edges are orange, and so on. You can modify these colors to suit your taste. Scene colors are stored in your preferences and used for every scene you create or open.
Display the Scene Colors property editor by doing one of the following:
Alt+right-click on the background of a viewport (Ctrl+Alt+right-click on Linux) and choose Scene Colors.
In the explorer, choose Application in the scope menu (or press A). Open the Scene Colors node, located directly beneath the Preferences node.
To change a color, click on a color swatch (or for the Geometry Views tab, use the sliders).
To change the wireframe color of a specific object, see Choosing How to Display Specific Objects.