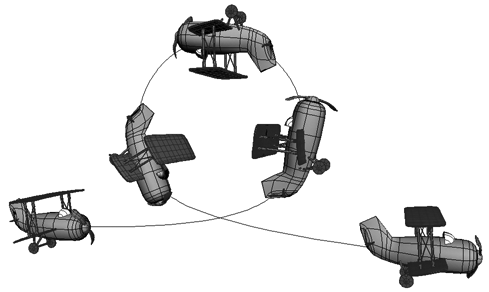
You can constrain an object to a curve and animate its position on that curve. This constraint is particularly useful for having an object follow a path's direction, such as a roller coaster car following the tracks.
The Constrain  Curve (Path) command applies the same PathCns constraint as the Set Path command described in Setting Objects on Paths, but you must manually keyframe the percentage of the path traveled — it's not calculated automatically for you.

You can also use this constraint in conjunction with the Up Vector controls in the Path constraint's property page to constrain the up vector of the object on the path. For more information on the up-vector constraint, see Up-vector Constraints.
The Curve (Path) constraint described in this section is not the same as the Curve (Param) constraint, which is used to define a constrained object in terms of the U length of a NURBS curve. For information on constraining an object to a curve in this way, see Surface and Curve Constraints
To constrain an object to a curve as a path
Create a curve using any of the available tools in the Curve menu on the Model or Animate toolbars.
Pick the curve to be the path. By default, the constrained object's X axis is repositioned in the direction of the slope of the curve. As the object moves along the path, its X axis follows the curve's slope.
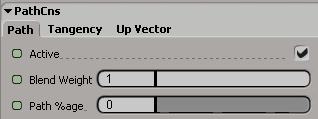
In the PathCns property editor that opens, use the Path Percentage slider to animate the object along the path.

Move the playback cursor to the appropriate frame on the timeline, set a percentage value on the Path Percentage slider, and click the animation icon (green box) beside the slider.
Continue like this to add as many keyframes as you wish.
For information on the other options in this property editor, see Setting Objects on Paths.
To modify the path timing, see Modifying the Path Timing; to modify the path curve itself, see Modifying the Path Curve or Trajectory.
To remove the animation, see Removing Path or Trajectory Animation.