Softimage has many tools to help you create and animate your characters. Some of them are tools designed for character animation, such as inverse kinematics and skeletons, while others are part of the standard Softimage tool set, such as modeling and animation editing tools. The following outline gives you an idea of which steps to take and which tools to use for developing and animating characters in Softimage.
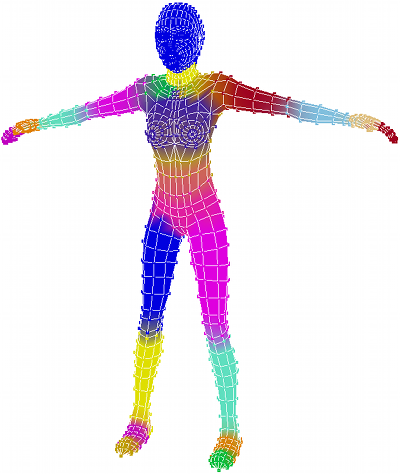
Skeletons are usually covered with skin. In Softimage, the skin object is generically referred to as an envelope. This envelope is deformed (stretched, twisted, or compressed), depending on how the skeleton components are moved, rotated, or scaled.
The first step in creating a character is to model the body geometry that is to be used as the envelope. You can use either a low or high-resolution version of the envelope. A low-res envelope lets you work out the animation with it as a reference, but doesn't hinder the refresh speed. You can later switch to the high-res version for the final animation and rendering.
See Modeling and Deformation Basics for general information about modeling.
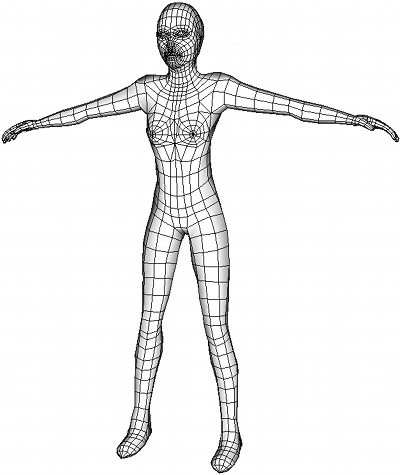
It's best to start out by putting all character elements into the same model. You can start with the character's geometry, then add the skeleton and rig controls as you create them.
See Setting Up Characters within a Structure for information.
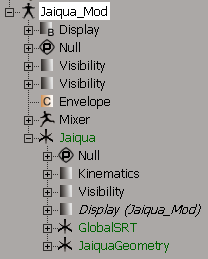
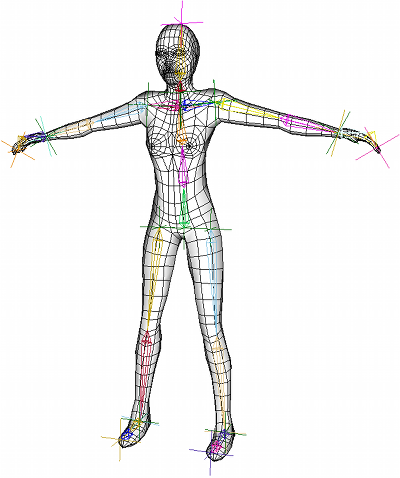
A skeleton provides a framework for a character and can be used to pose or deform it intuitively, just as the human skeleton provides a framework for the body.
The structure of your character's skeleton determines every aspect of its movements, from picking up a pencil to running. How you build the skeleton will determine how your model will move when animated.
With the envelope as a guide, you can create the bones for the skeleton and assemble them into a hierarchy.
For more information about skeletons, see Building Skeletons.
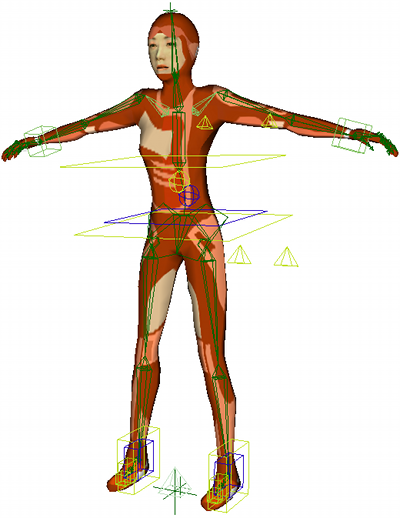
Part of the typical process of setting up a character is to create a control rig that is constrained to the skeleton in different ways. Rigs help you to pose and animate a character quickly and accurately. While simple characters may not require a rig, a character that is fairly complex will need one.
Luckily, Softimage has a number of tools to help you create rigs for biped, biped dog leg, and quadruped characters. You can load rig guides that you adjust to match the proportion of your character, then create a rig (and even a matching shadow rig) based on those proportions.
You can also create your own rig from scratch and use constraints and other standard animation tools to help you animate them.
For more information about creating control rigs, see Character Rigging.
Applying the Envelope to the Skeleton
After you've created the skeleton to fit inside the body, and the rig to control it, you can apply the envelope to that skeleton. Applying the envelope also involves setting how the different parts of the body are weighted to the different bones in the skeleton.
Once you've applied the envelope and set some basic weighting, you should save a reference pose in an action source before you start animating. This gives you for a "home base" state for the character to which you can return at any time.
As you animate the character later, you will need to adjust the envelope's weighting as needed. Any area where limbs join the body always require additional amounts of tweaking, especially with extreme poses.
For more information about envelopes, see Envelopes.
Skeleton chains are animated using inverse kinematics (IK) and forward kinematics (FK). You can use either method on a chain at any time, and easily switch between the two or even blend them on the same chain.
IK is a goal-oriented way of animating: you move the effector (end) of a skeleton chain in place and Softimage calculates how the chain reaches that goal.
FK allows for complete control of the chain's behavior because you rotate each bone's position.
You can also apply mocap data to your character to animate it, including retargeting the data onto different characters with the MOTOR tools. Mocap data usually lives in an action source that you can use in the animation mixer.
For more information about animating the skeleton, see Animating Characters and Motion Capture for Characters.

Once you have animated your character, you can adjust the animation. For example, you may want to fix foot sliding, add some variation to a regular cycle, add a progressive offset to a walk cycle, or add a few keyframes on top of some mocap data.
To edit and add to your character's animation, you can using any or all of the animation tools in Softimage. This includes editing keys in the timeline, editing animation in the dopesheet, editing fcurves in the fcurve (animation) editor, adding animation layers on top of the animation, using action clips in the mixer, and more.
See Animation and Nonlinear Animation in the Animation Mixer for information about the animation tools in Softimage.