You can load as many image files into Softimage as you wish. For example, before beginning a scene you could load all of your images into the Sources folder so they are readily available to you in clip form.
Note that Softimage converts all image clips into linear floating point data. To accurately convert and render out each image clip, you can select the color space in which your original image was created. This indicates to mental ray how to convert (if necessary) the image clip from its current color space to the linear floating point color space, including whether or not any gamma correction data is stored. For more information, see the Color Profile options on the Adjust tab of the Image Clip Property Editor [Properties Reference].
As a convenience, you can also set a color profile preference that declares to mental ray the color space that you typically use to create your input images, so that by default, all newly created image clips will be converted accordingly. See the Color Profile options in the Rendering Preferences [Preference Reference].
The easiest way to create sources and clips is to drag and drop selected image files from a Softimage browser into the background of a viewport. This is particularly useful for importing a large number of images. On Windows, you can drag and drop from the Windows Explorer or a folder window.
If you want to create sources but not clips, open an explorer, set its scope to Sources/Clips, and drag the images directly onto the Sources node.
To create sources and clips from the Render toolbar
Once a scene has been created or opened, choose Get  Clip from the Render toolbar. The menu offers you three choices for creating clips:
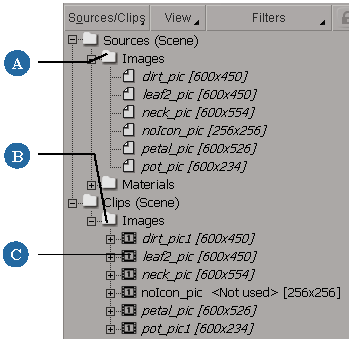
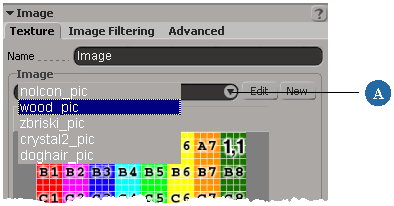
When you create a clip of a source, it becomes available from any list of image clips in your scene. For example you can choose image clips from the Image menu in an Image shader's property editor.
Some menus in Softimage give you access to both clips and sources. If you apply a source as a texture, for example, a clip is created from the source and that clip is applied, not the source itself.
Creating an Image Clip from a Separate Images
If images have the same base file name with a sequential number, Softimage treats them as a single sequence. You can also create sequences from a list of image files manually as described here.


