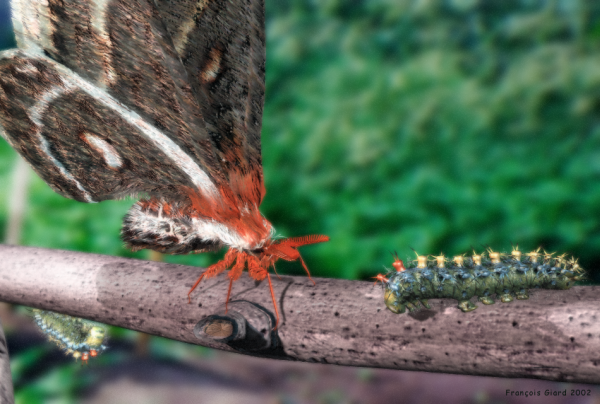
This is an example of how to change the hair colors on a moth using the colors from a texture-mapped image.
A texture map is the combination of a texture projection plus an image. Instead of one value being applied over the surface as with a weight map, a texture map applies a color. You create a texture map in which you select the texture projection method, then link up an image file whose pattern of colors you want to map.
Unlike other geometry in Softimage, hair is not a typical surface so you can't apply projections directly to it. Instead, you need to create a texture map property for the hair emitter object first, and then transfer it to the hair itself.
Apply a texture map to the hair object by doing either of the following:
Select the hair emitter object and choose Get  Property Texture Map Texture Map.
This creates a texture map property for the hair emitter and opens the blank texture map property editor in which you need to set the texture projection and select an image to be used as the map (see next step).
Select the hair emitter object and choose Get Property Texture Map projection type (such as Cylindrical, Spherical, UV, XY for a plane, etc.) that is appropriate for the shape of the object.
This creates a texture map property and a texture projection but doesn't open the Texture Map property editor in which you can select an image.
Now you must associate the image to this projection to use as the map, as described in the next step.
In the Texture Map property editor, select an image file for the map.
In the UV Property area beneath the image, create a New texture projection (if there isn't already one) that is appropriate to the shape of the hair emitter object or how you want to project the mapped image.
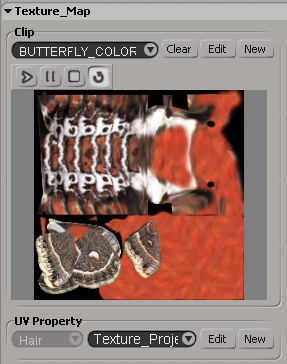
Give the texture map a descriptive name by clicking the Rename button at the top of the property editor.
This opens a property editor in which you can enter a New Name for the texture map (projection). The other options in this property editor control how references to the projection are updated. For more information, see Renaming Texture Projections [Texturing].
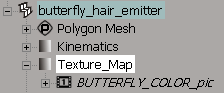
Open an explorer and expand the hair emitter object's tree so that you see the Texture Map icon.
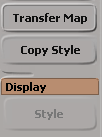
Select both the hair emitter object and the hair and click the Transfer Map button on the Hair toolbar. This transfers the texture projection coordinates from the emitter to the hair and prompts you to pick the texture map.
In the explorer, pick the emitter object's texture map that you created, as shown here.
In the Hair Shading or Hair Gradient Material shader's property editor, right-click the connection icon for one of the mappable parameters (such as the Tip Color A/B or Root Color) and choose Image. Pick the texture map you transferred, or any other image.

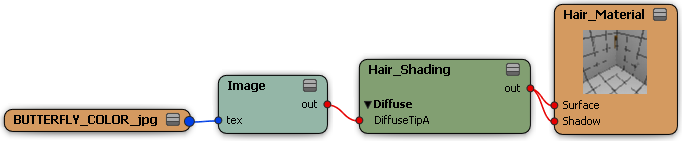
In the render tree, choose Nodes Texture Image to create an image node and attach it to the parameters you want in the Hair Shading shader (such as the Tip A color, as
shown below).
Make sure to select the correct projection type in the Image node's property editor.
You will now see the fuzz on the moth rendered using the colors from the image you mapped.
Mapping Only the Tip or Root Color
The following shows the results when you map an image to only the root color parameter, but not the tip color. Mapping selectively to different parameters allows you a lot of flexibility in the effects you can achieve.
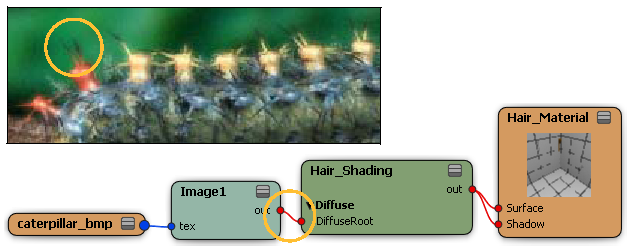
On top, a close-up of spiky hairs shows texture mapped only to root. Tips remain black.
On the bottom, the render tree shows the connection to the Diffuse Root parameter of the shader.


