Virtual cameras in Softimage are similar to physical cameras in the real world. They define the views that you can render. You can create and render as many cameras as you want in a scene.
In many ways, cameras and viewpoints are similar, except that viewpoints are not actual objects: they are only tools for viewing your scene. A viewpoint allows you to see a scene in a 3D view in a specific way. You can choose from four default viewpoints in the 3D view: User, Front, Top, and Right. You can also choose a spotlight viewpoint to see what the light "sees". For more information, see Cameras and Viewpoints.
You cannot animate a viewpoint, nor can you render from a viewpoint as you can from a camera. However, you can synchronize a camera to that of a particular viewpoint and then animate the camera instead (see Synchronizing Cameras). Also, you can set up cameras and spotlights so that their parameters get keyed automatically during navigation, as described in Autokeying Camera Navigation.
The active camera is the camera that is associated with the current render pass. The final render uses the camera or group of cameras associated with the pass being rendered. For more information, see Rendering with Multiple Cameras and Setting and Showing the Render Pass Camera.
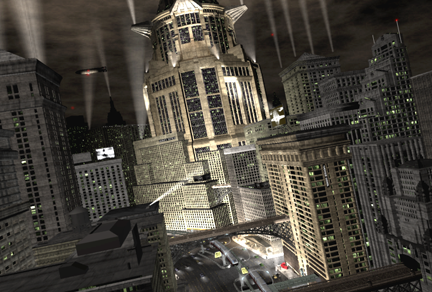
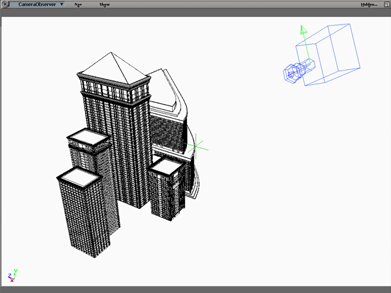
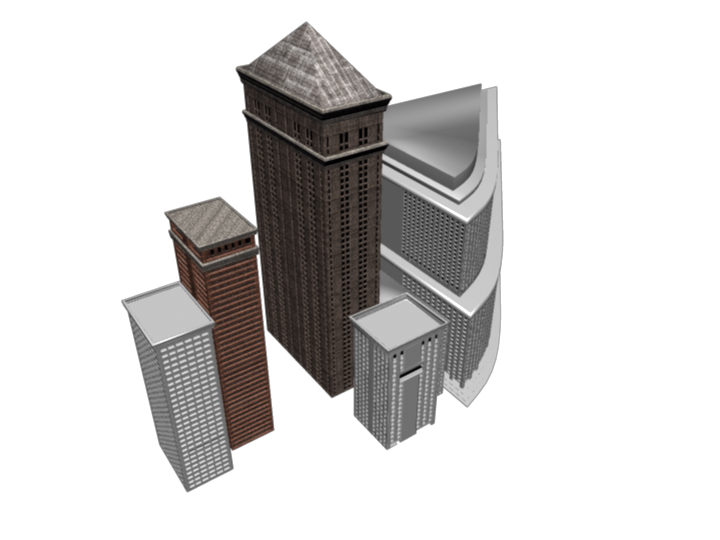
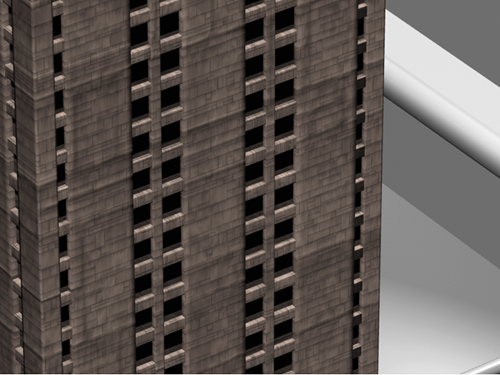
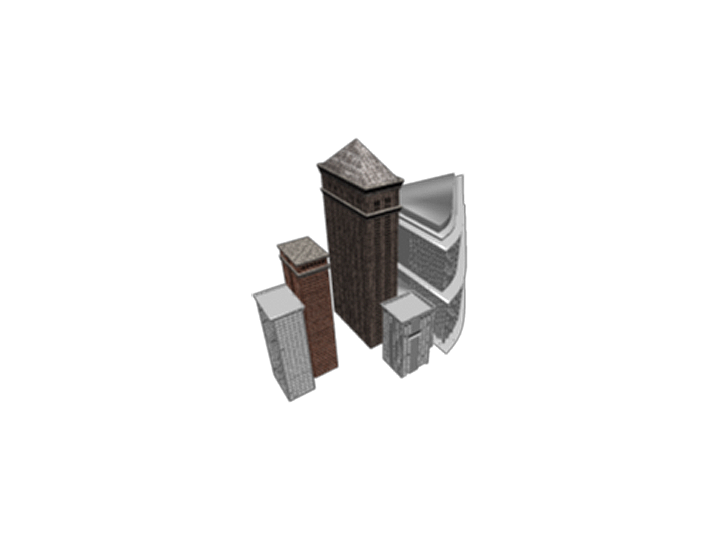
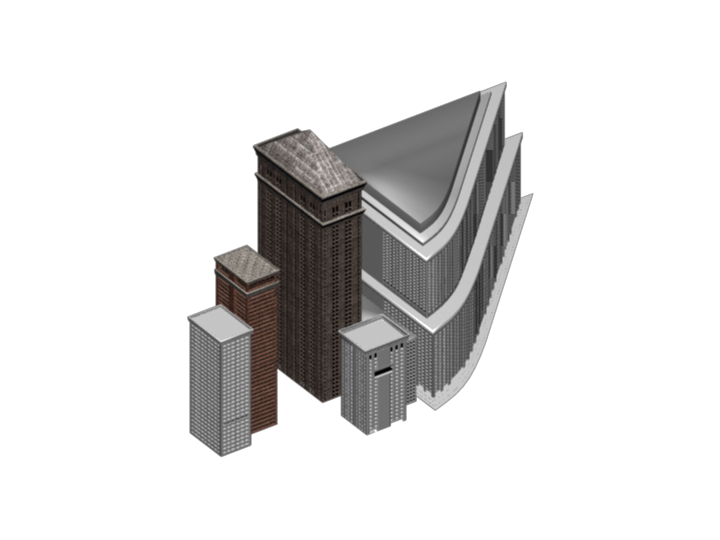
Each of the images below was taken from the same position, but using a different camera each time. The image in the upper-left corner shows a wireframe view of the original scene, including the position of the camera.
|
|
|
|
|
|
|
Each camera that you create is made up of three separate parts: the camera root, the camera interest, and the camera itself. If you look at a camera in the explorer, you'll see that the camera root is the parent of both the camera and its interest. Each of these elements is viewable in the 3D views as well.
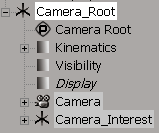
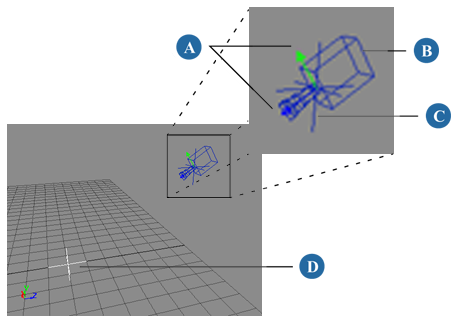
The camera root is represented by a null in the scene. By default, it appears in the middle of the wireframe camera, but you can translate and animate it as you would any other object. The null is useful as an extra level of control over the camera rig, allowing you to translate and animate the entire rig the same way that you animate its individual components.
The camera is the camera is the camera. In the 3D views, it is represented by a wireframe control object of a camera which is, for rendering purposes, invisible, but it allows you to manipulate the camera in 3D space. The camera has a directional constraint to the camera interest.
The camera's interest (what the camera is always looking at) is represented by a null in the scene. You can translate and animate the null, as you would any other object, to change the camera's interest. For more information, see Animating the Camera Interest.
The camera icon displays a blue and a green arrow. The blue arrow shows where the camera is "looking"; that is, the direction the lens is facing. The green arrow shows the camera's up direction. You can change its direction by rolling the camera (press L). For more information, see Animating a Camera Roll.
The Camera Property Editor contains every parameter needed to define how a camera "sees" your scene. To display the camera property editor, do one of the following: