Show in Contents

Add to Favorites

Home: Autodesk Showcase Help

Light properties

Add lights

Associating lights and geometry

Positioning lights
Lights can be placed in the scene automatically,
interactively, or with the standard transform controls. Automatic
and interactive placement are done through the Light Properties dialog
and require that the light be associated with some objects in the
scene.
Auto Placement
Auto placement will set
the position, orientation and drop-off distance of the light to appropriate
values based on the current camera distance to the associated objects
and the placement method you choose.
Click the Choose>> button
to select the auto placement method for the light.
- In
Front of Lit Objects: places the light in front of the
associated objects (relative to the current camera view) and slightly
above and to the right. This is the same auto placement that is
done when a light is first created.
- Behind Lit Objects:
places the light behind the associated objects and slightly above and
to the left. This is the inverse of In Front, and is useful for
back-lighting and “rim” lights.
- Above Lit Objects:
places the light above the associated objects, pointing at the center
of the bounding box of the associated objects.
- Behind Current Camera
View: places the light behind the camera, but pointed
at the associated objects. This is useful for intuitive positioning
using the camera controls and for “headlamp” effects.
NoteAuto Placement of
the type “In front of lit objects” is
used during the creation of a light whenever geometry is selected.
This insures that the lighting effect will immediately be visible
in the scene and that the light will be positioned relative to the
objects it is associated to.
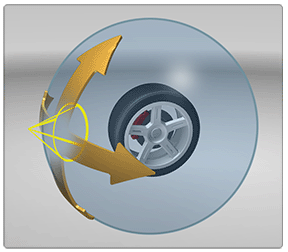
Interactive Placement
Click the Start button
to interactively position the light around your objects. The light
will maintain its distance to the current point of interest, as
if sliding on the surface of a sphere centered on that point. Moving
the point of interest will change the radius of that sphere.
Transform controls
Lights
can be positioned and oriented like any object in the scene using
interactive and numeric transforms. Unlike the automatic or interactive
placement methods above, transforms can be applied to more than
one light at a time. Lights can also be Grouped and transformed
as a group.
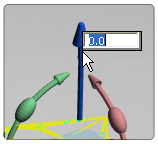
To interactively transform
the selected light, press the H key
to show the transform handles (or select Edit -> Show Transform
Handles). Click and drag on the handles to move or rotate
the light.
- To numerically transform the selected
light in one axis, click on the transform handle for that axis and
type in the relative value you wish to add to the transform.
- To numerically transform the
selected light in all axes, press the Shift and H keys (or select Edit
> Transform) to open the Transform dialog. Enter relative
values for either translation or rotation.
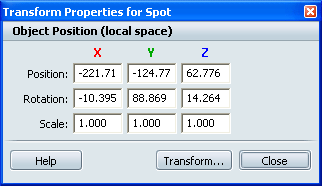
- To numerically transform the selected
light with absolute values, select Edit > Transform
Properties..., and modify the values for translation,
rotation, or scale.
NoteScale has no effect
on the properties of the light. Only the 3D “grip” becomes larger
or smaller.


